
As is typical at this time of the year, I start getting the itch to photograph. By the end of the fall I’m usually exhausted from it and gravitate to video games and other indoor activities. After a few months I get the itch again. Sometimes the weather cooperates and allows me to go outside, usually in March at the earliest, but otherwise I set up my dining room studio to play around. Well it’s about that time of year…
Starting Simple

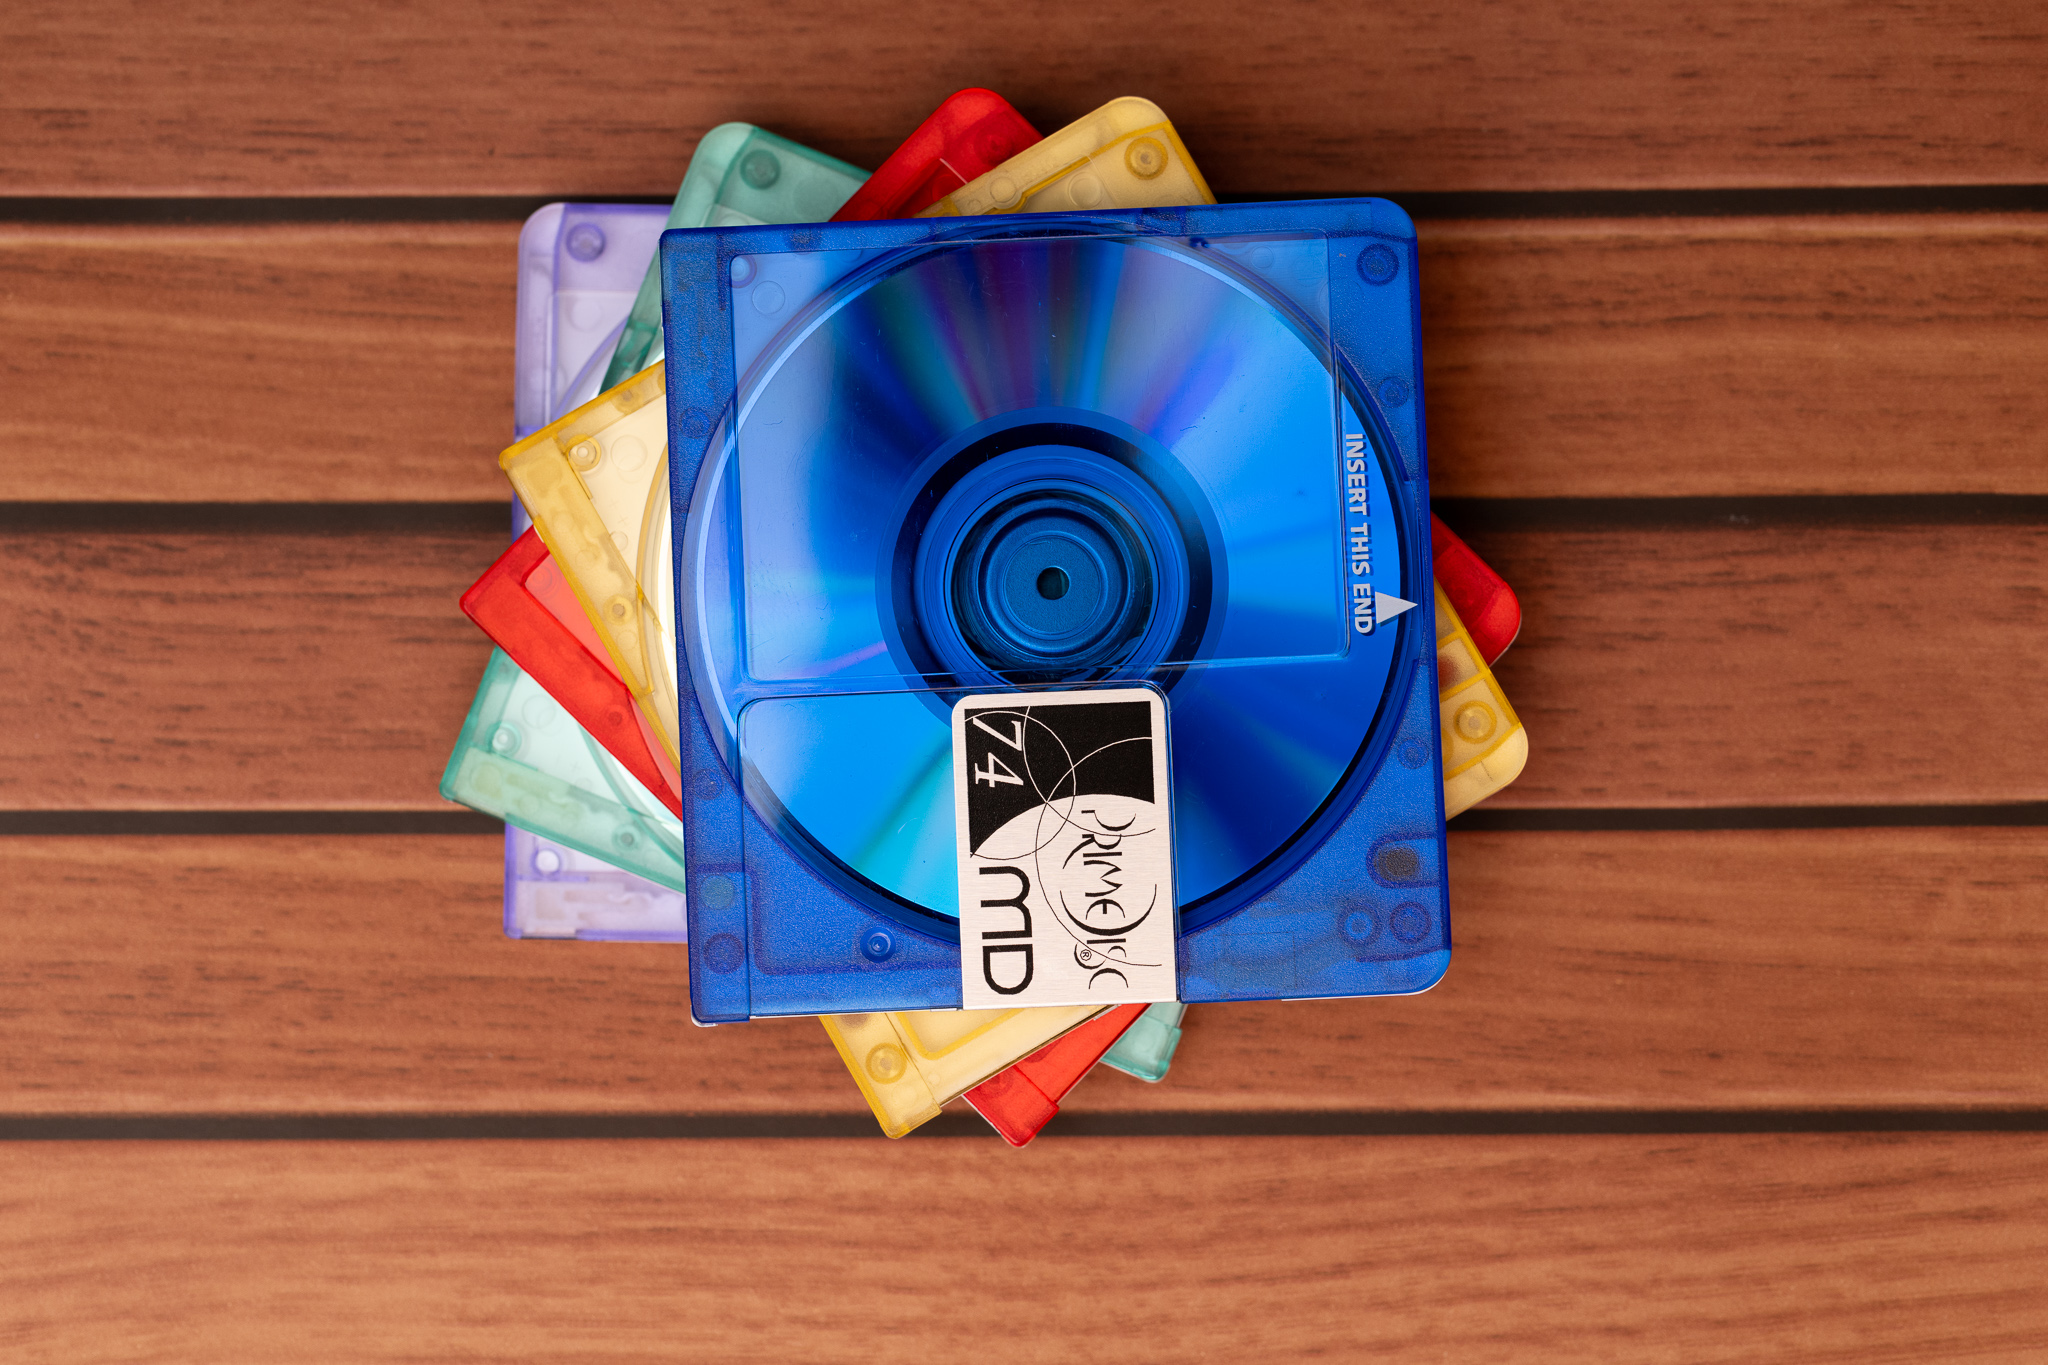


A simple start with a simple background.
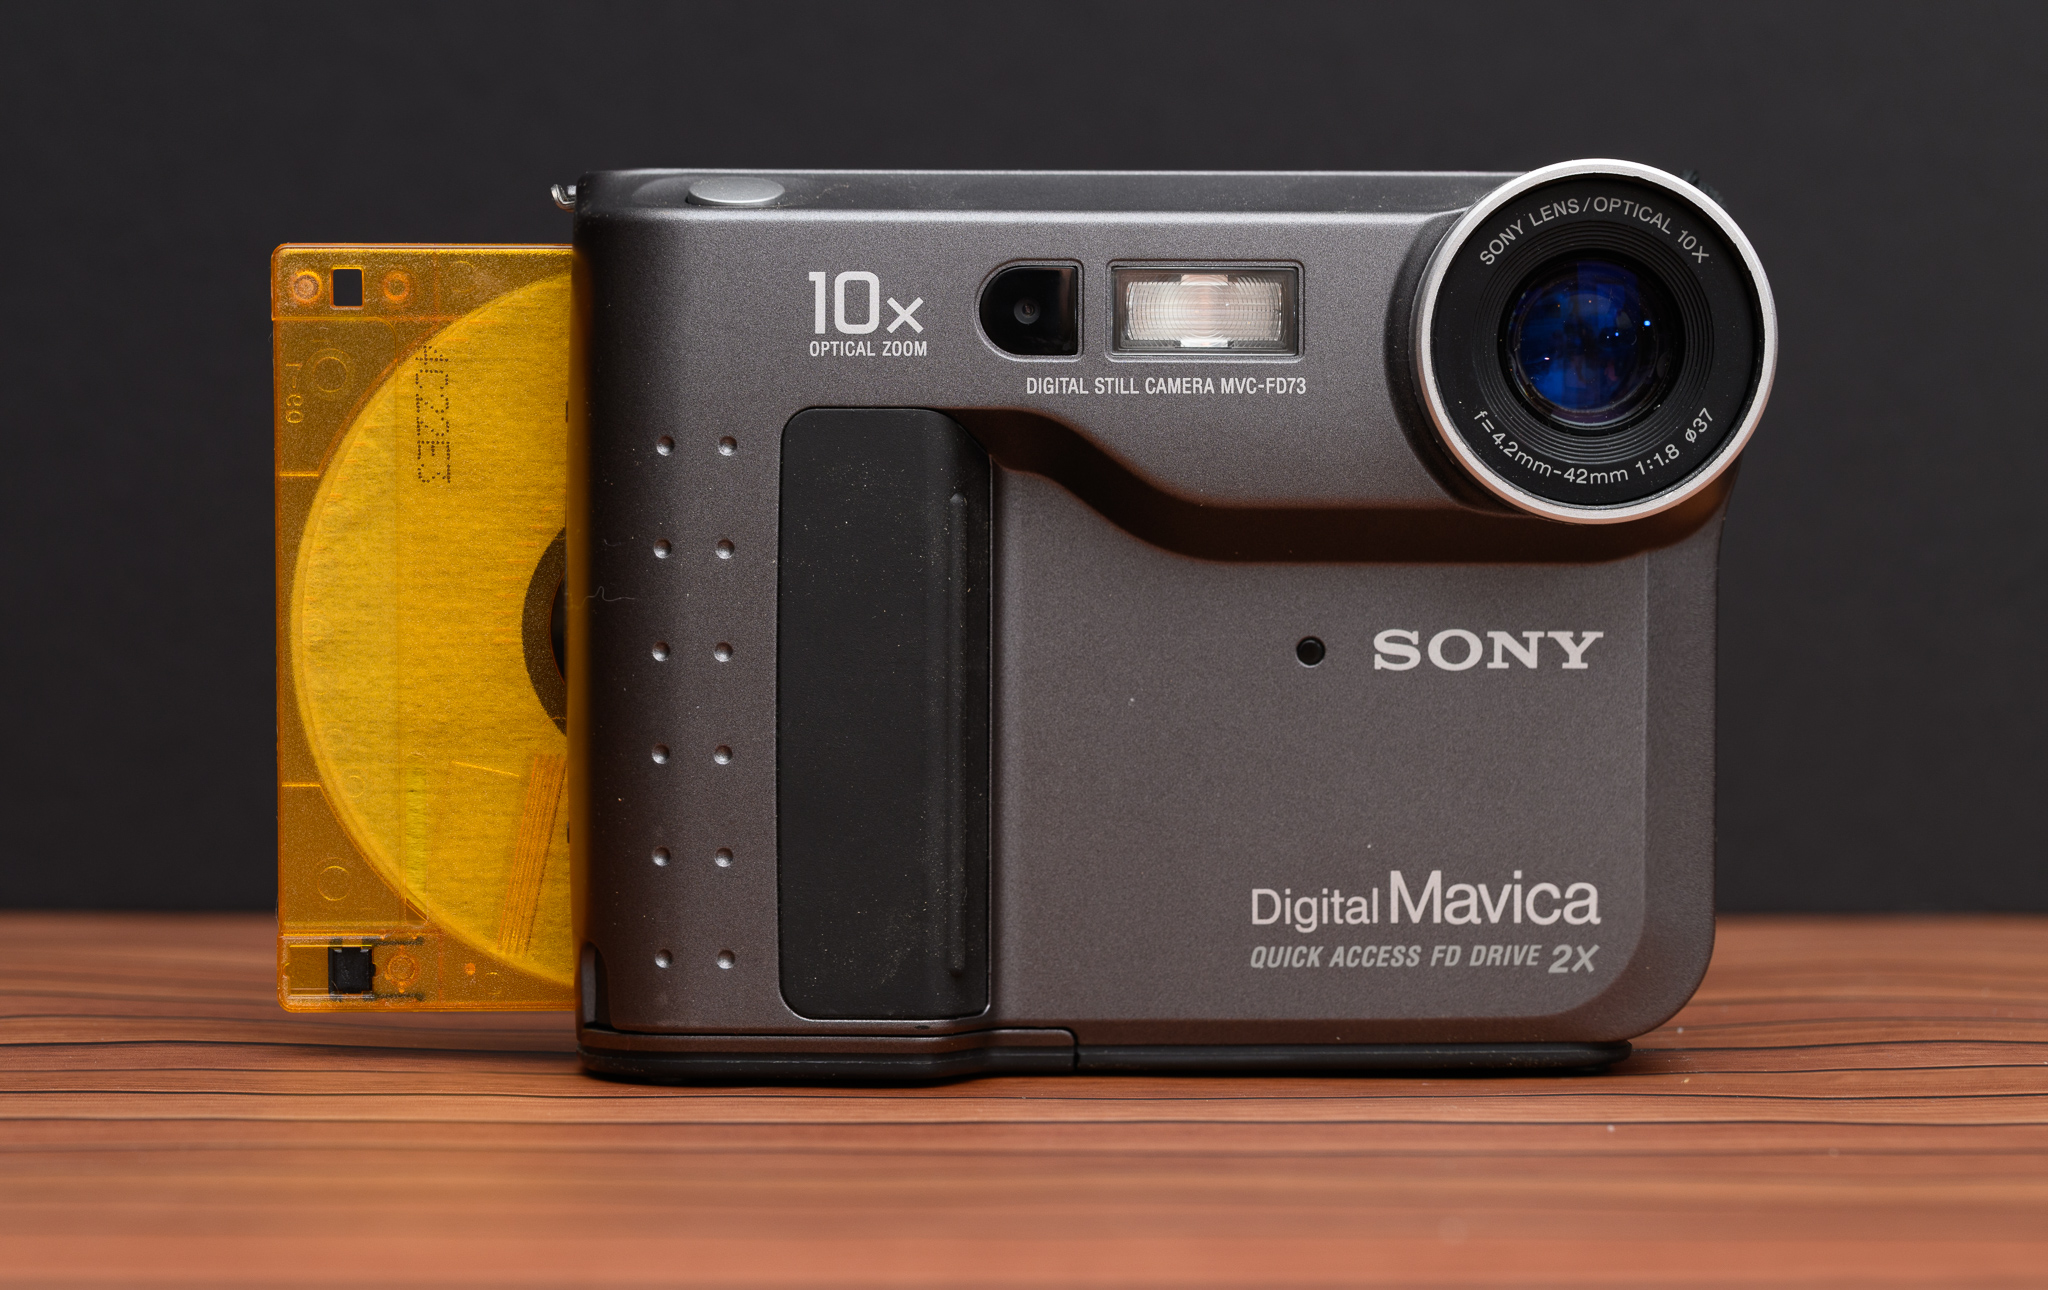
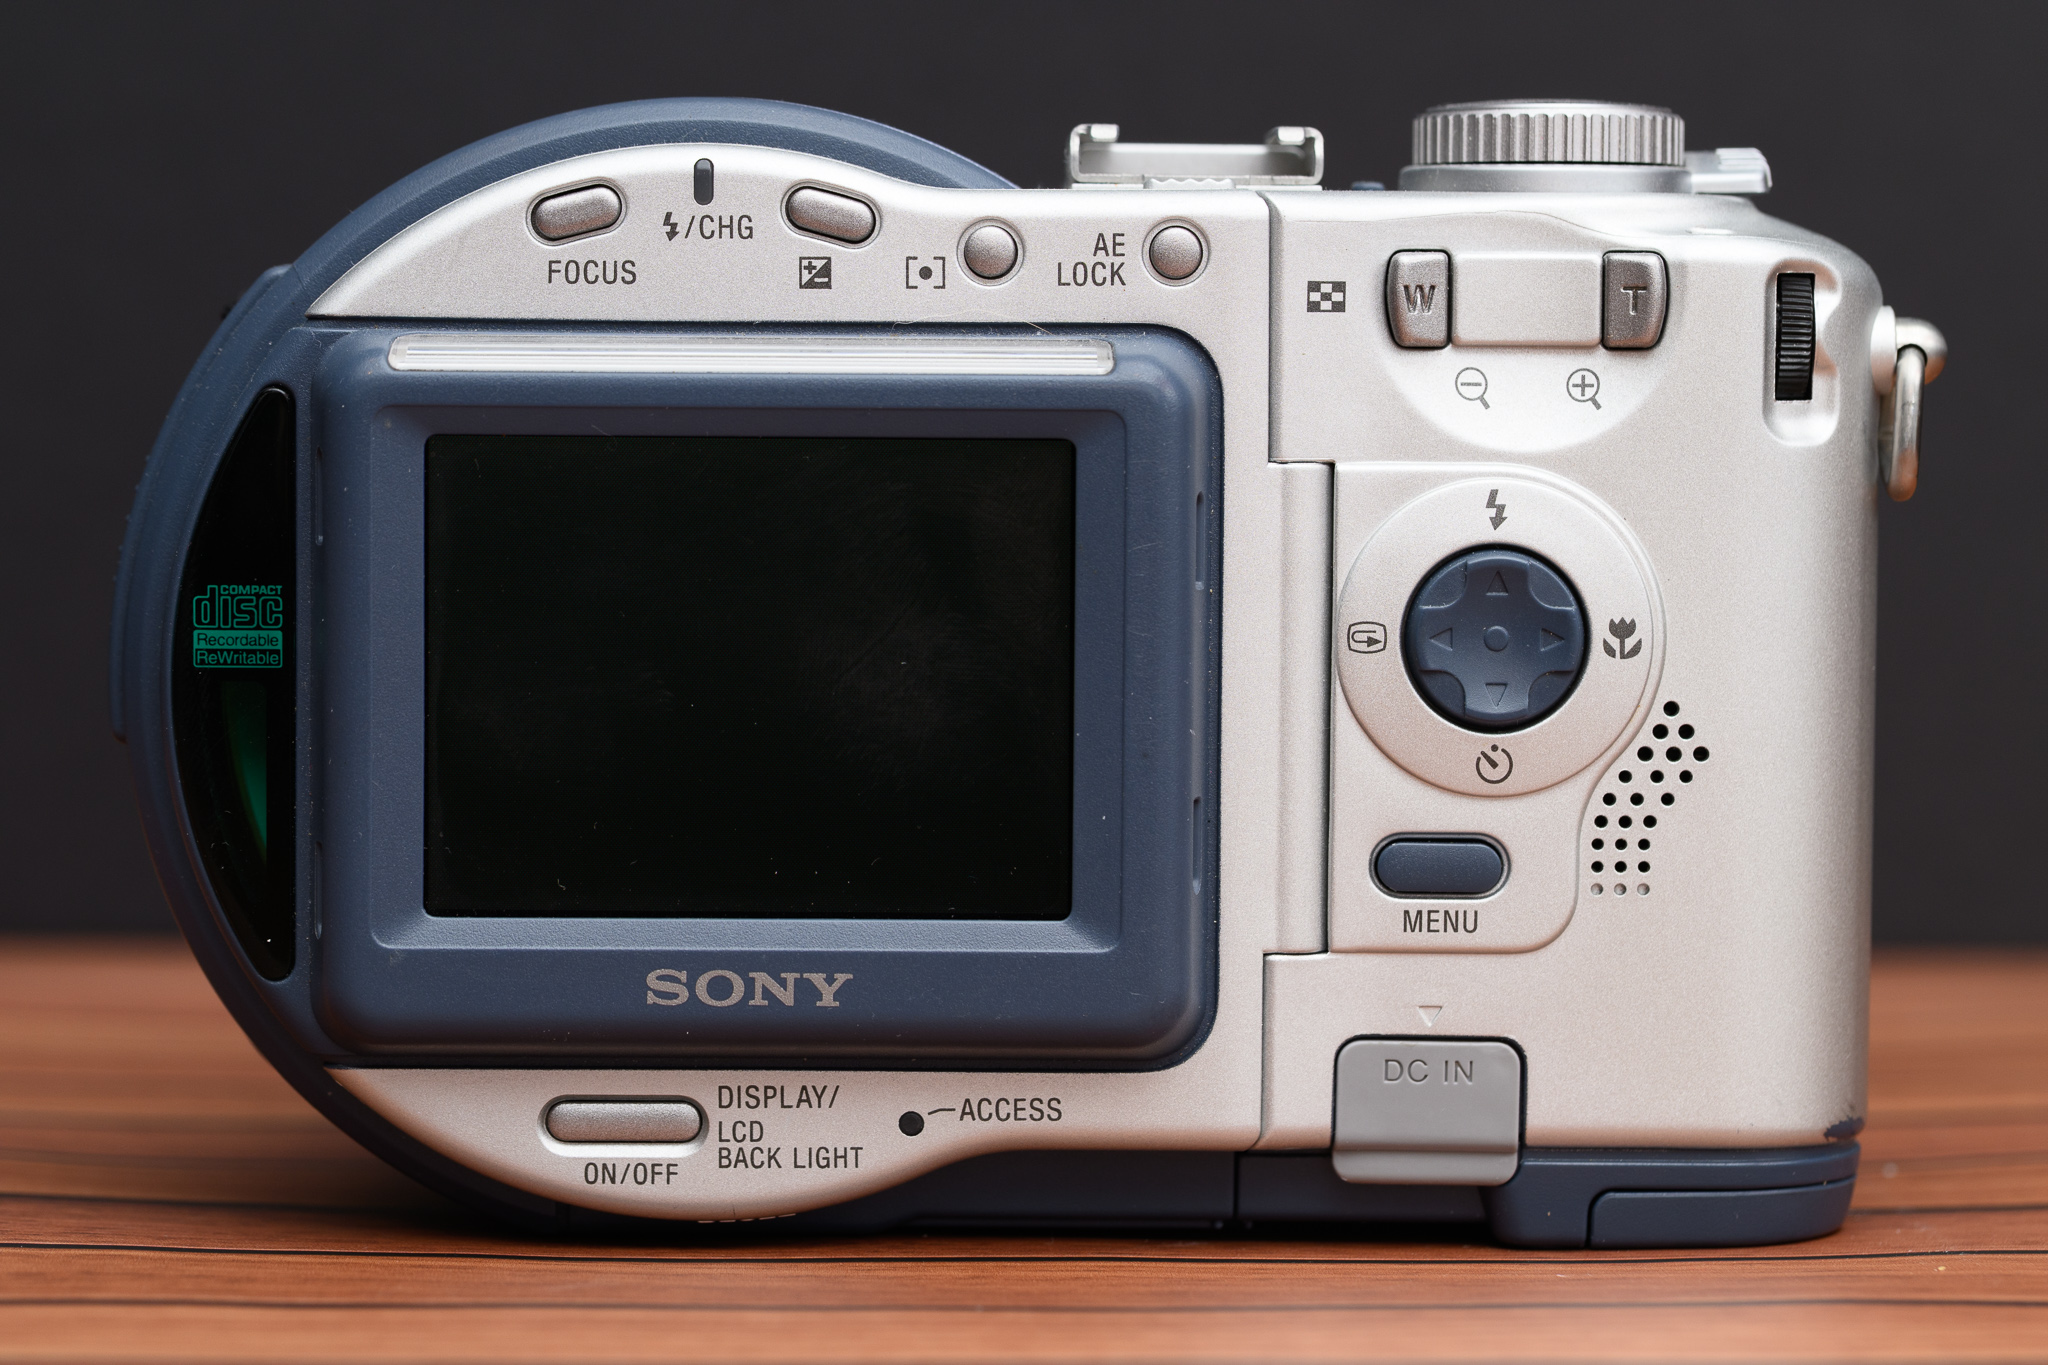
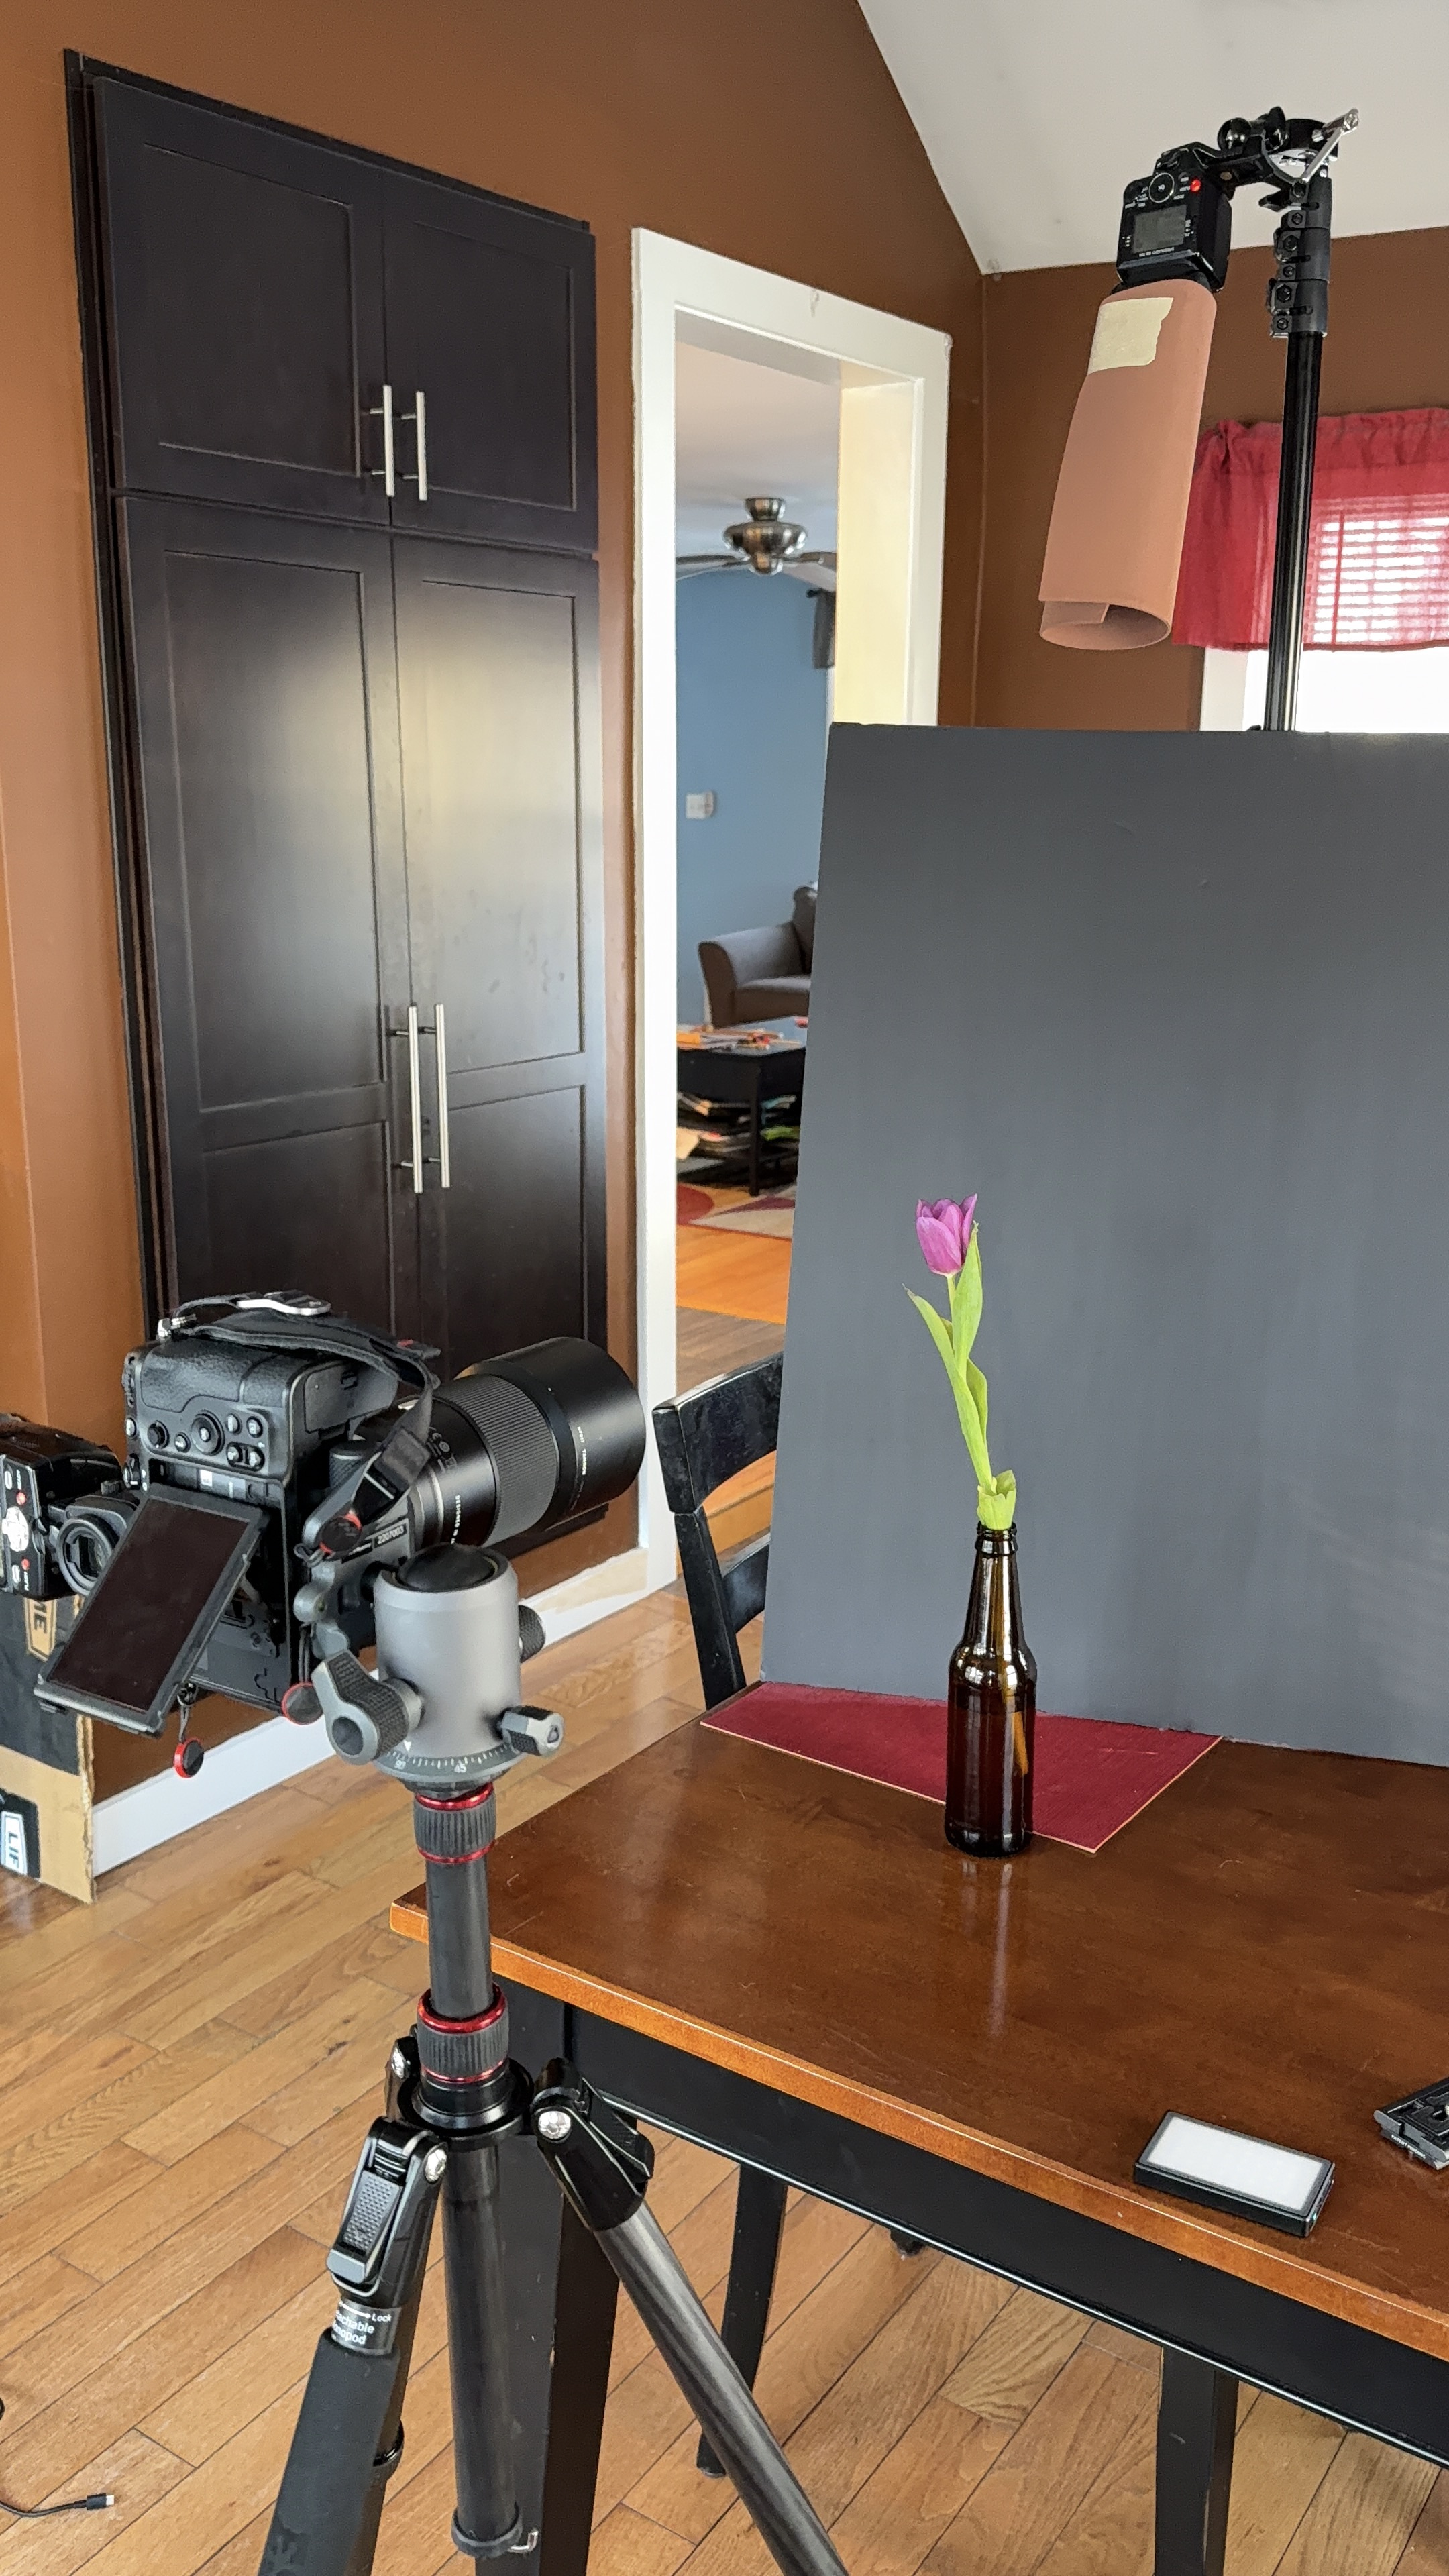
I started by taking some product shot style images over multiple days. I used simple black and white foam board as a backdrop and experimented with my remote flash setup. I put a flash on the camera as a controller and the remote flash on the table. I didn’t feel like pulling out a soft box or a stand so I just positioned the flash toward the ceiling to diffuse the light. I also used a roll of wood-grain vinyl adhesive that I found on clearance as a surface. I didn’t stick it to my table, of course, but wanted to test it in case I want to permanently affix it to a wooden platform in the future. I used this setup to capture images of my floppy and CD-ROM based cameras as well as some colorful MiniDiscs.
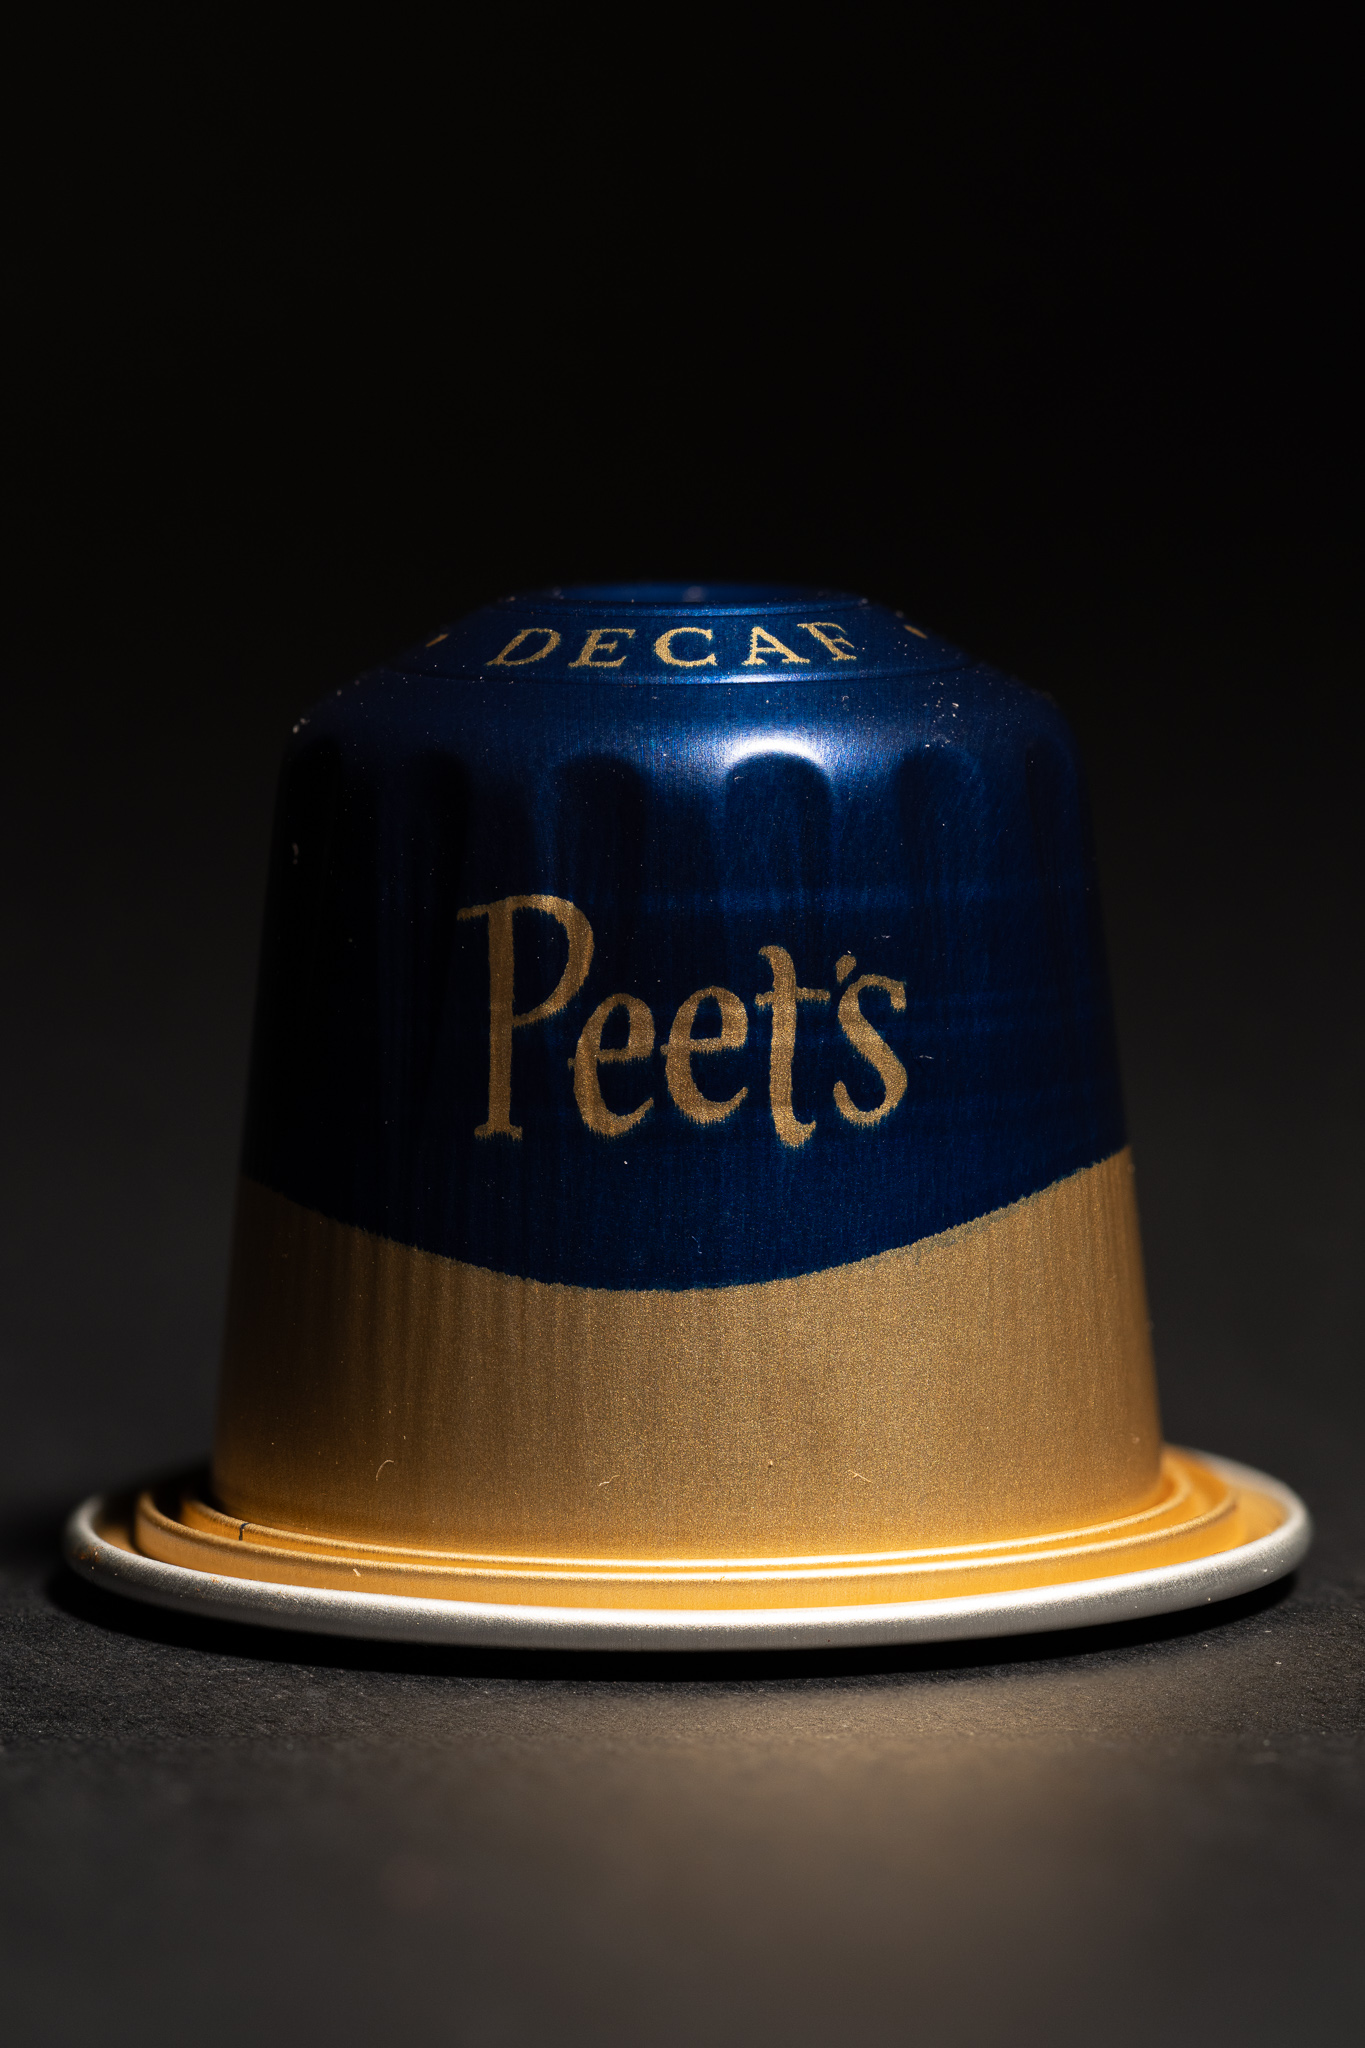

Such a moody coffee pod! I really like the way this just melts away into the shadows.
The next night I swapped out the flashes for an adjustable LED panel to simplify the lighting even more. This provided a harder light than the flash, but forced me to experiment with distance and exposure to soften the light. My subject in this case was an aluminum Nespresso-style coffee pod from our L’OR coffee maker. I used a black background and placed the pod on black foam board as well. Lighting it from just one side created a deep shadow, allowing the pod to fade into sea of black.

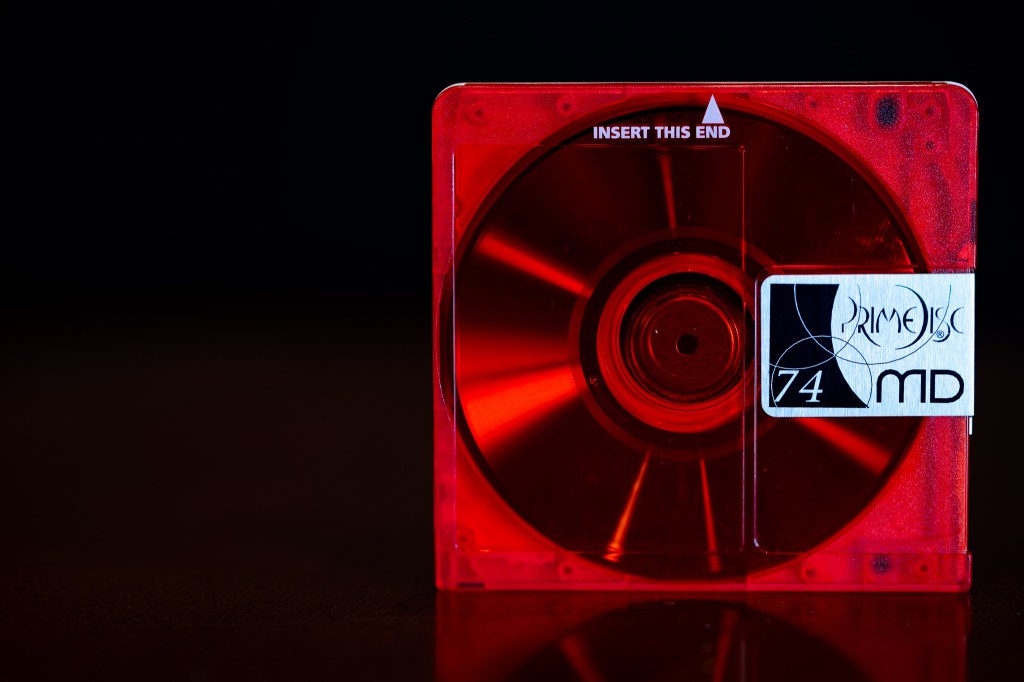


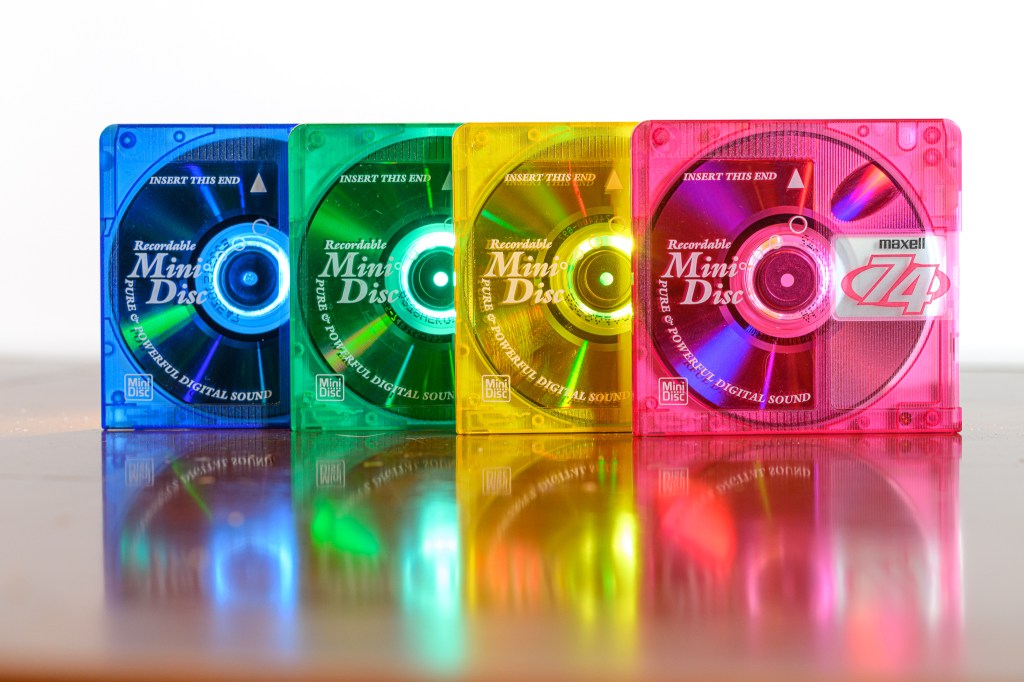

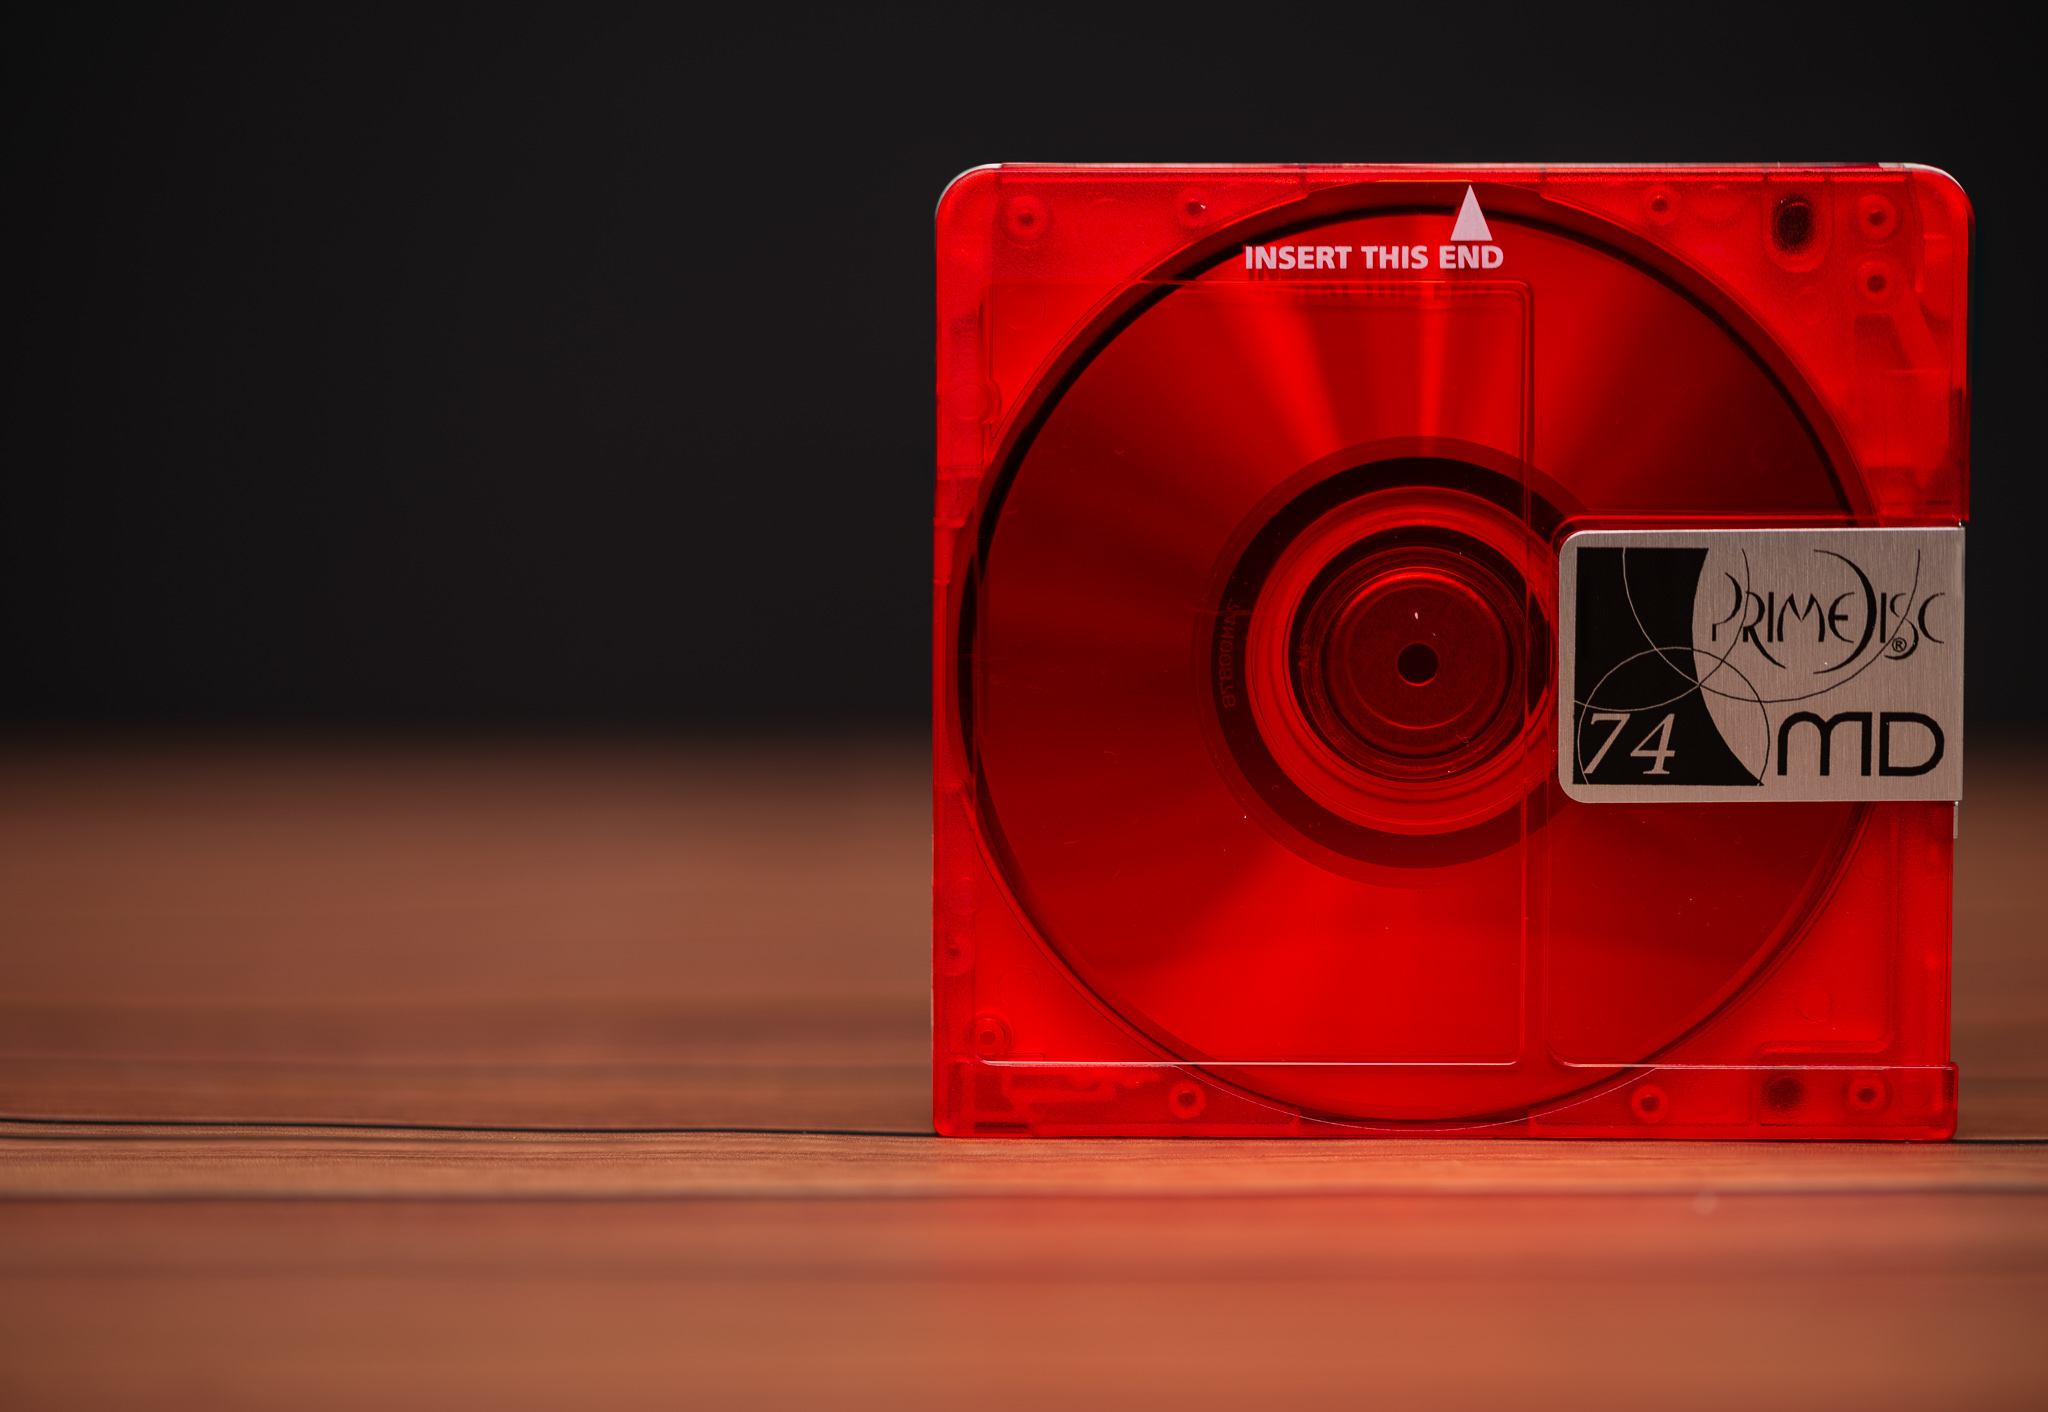
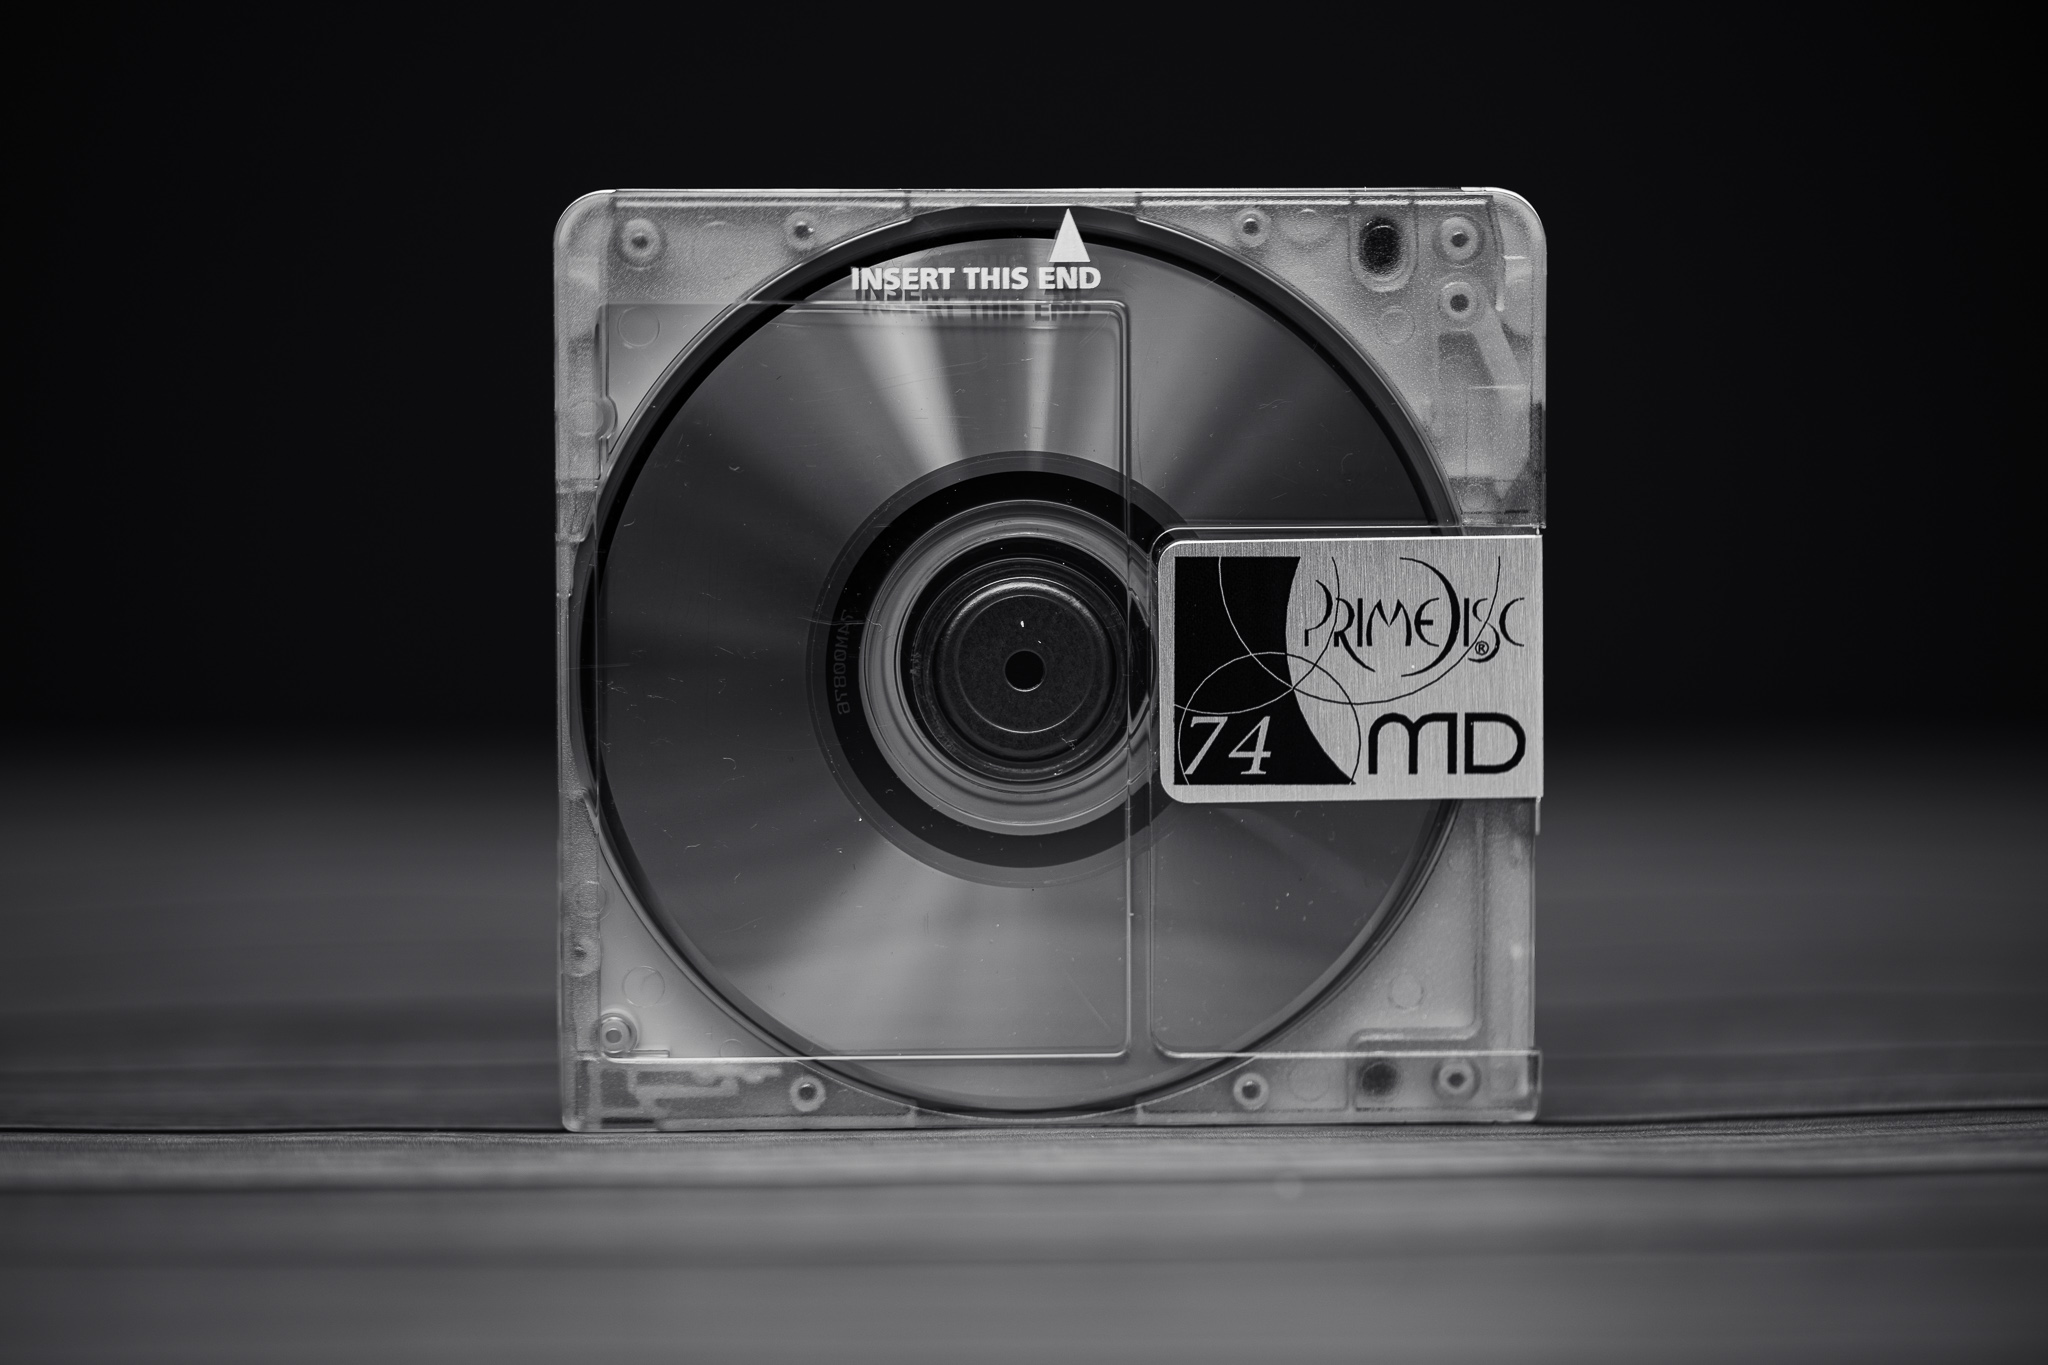
I continued with my foam board the next night, but put my subjects directly on the dining room table. The subjects were MiniDiscs again and I experimented with bright pictures on a white background as well as dark ones on a black background. The surface of the table provided a nice gradient reflection. I’ll put them on glass someday to mimic a more professional product shot.
Big Backdrops
After using black and white foam board for the last 10 years for backgrounds, I finally decided to purchase real fabric backdrops. I’ve considered it a million times and always said “what I have works”, but finally decided to take action. I did it partly because we bought Zach a green screen backdrop for his stop motion Lego movies and now had a backdrop stand. A quick order on Amazon, $40, and 2 days resulted in two 10×10’ fabric backdrops – one in black and one in white.


That’s a much bigger background than I’ve ever had before. I’m pretty happy with it. The side lighting made for some professional-looking product shots. The setup for this was pretty basic other than lots of fabric.
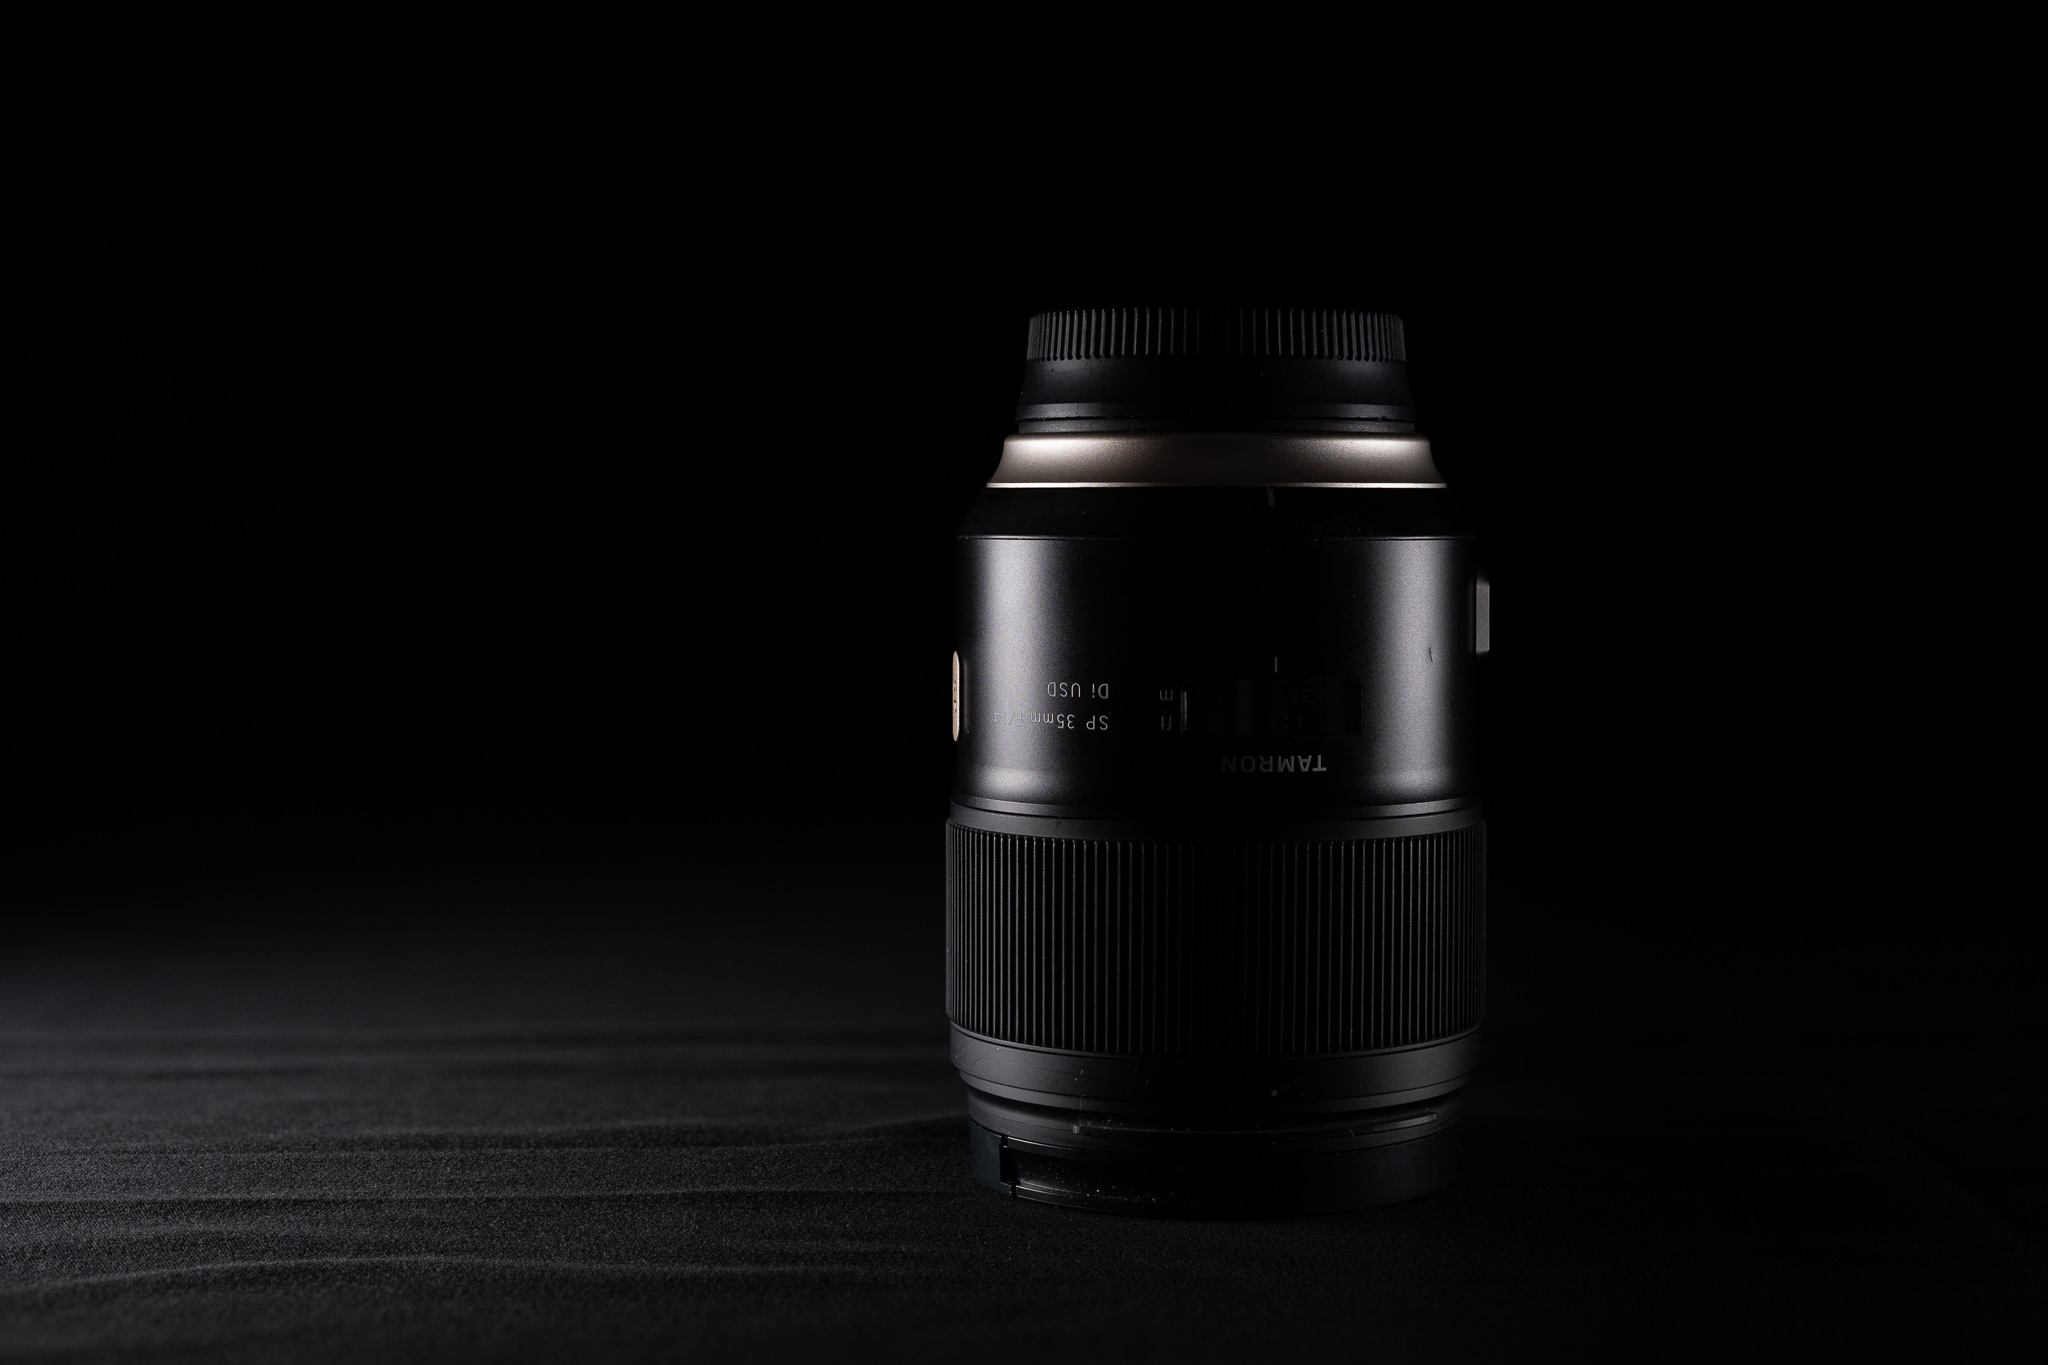
Setup was pretty straightforward and I got to work. I used a couple camera lenses as subjects this time, along with my single LED light panel. I had fun casting a shadow on one side of the lens and used Focus Shift shooting to take 30 images in sequence at slightly different macro focuses. I dropped the files into Helicon Focus and it quickly generated beautifully detailed focus stacks that were sharp from front to back. I applied some gradient masks in Lightroom to add color casts to the highlights, mimicking colored lighting.
The next night I continued using my fabric backdrop and added two LED lights I had just purchased from B&H on sale. They’re brighter than the light I already have and can display the whole gamut of the rainbow instead of just adjusting color temperature. They even have programs (like police lights, paparazzi, and broken TV) and include flimsy, but functional stands.


I used this setup to once again photograph some of my lenses, focusing on a product shot style. I used the black backdrop and placed the LEDs on either side to create highlights and shadows. Focus Shift and Helicon Focus were my friends here again, ensuring every detail was razor sharp.
A sidebar about Helicon Focus. In short, it’s a life saver. In long, it’s an application dedicated to focus stacking. Take a bunch of photos while varying the focus ever so slightly to capture sharpness from the front to the back of the image. Drop those images into Helicon Focus and allow it to build a depth map and combine them together into a final, super-detailed, super sharp RAW image. It takes about 3 minutes to process a 40 image set on my M4 Max and 95% of the results require no focus adjustment after. Helicon provides a few different stacking models with parameters, so it’s easy to try again if the image doesn’t come out. In cases where the images still aren’t quite perfectly, it provides intuitive editing tools that allow you to selectively paint images in the stack onto the combined image. While performance of the editor can be poor (it’s still an Intel application), the whole experience is far more successful than focus stacking in Photoshop, which took me literal hours of effort and resulted in far lower quality images. Helicon Focus costs $200 for a lifetime license and is completely worth it. I hesitated to buy a dedicated application for a long time, but I would have given up on focus stacking by now if not for Helicon.
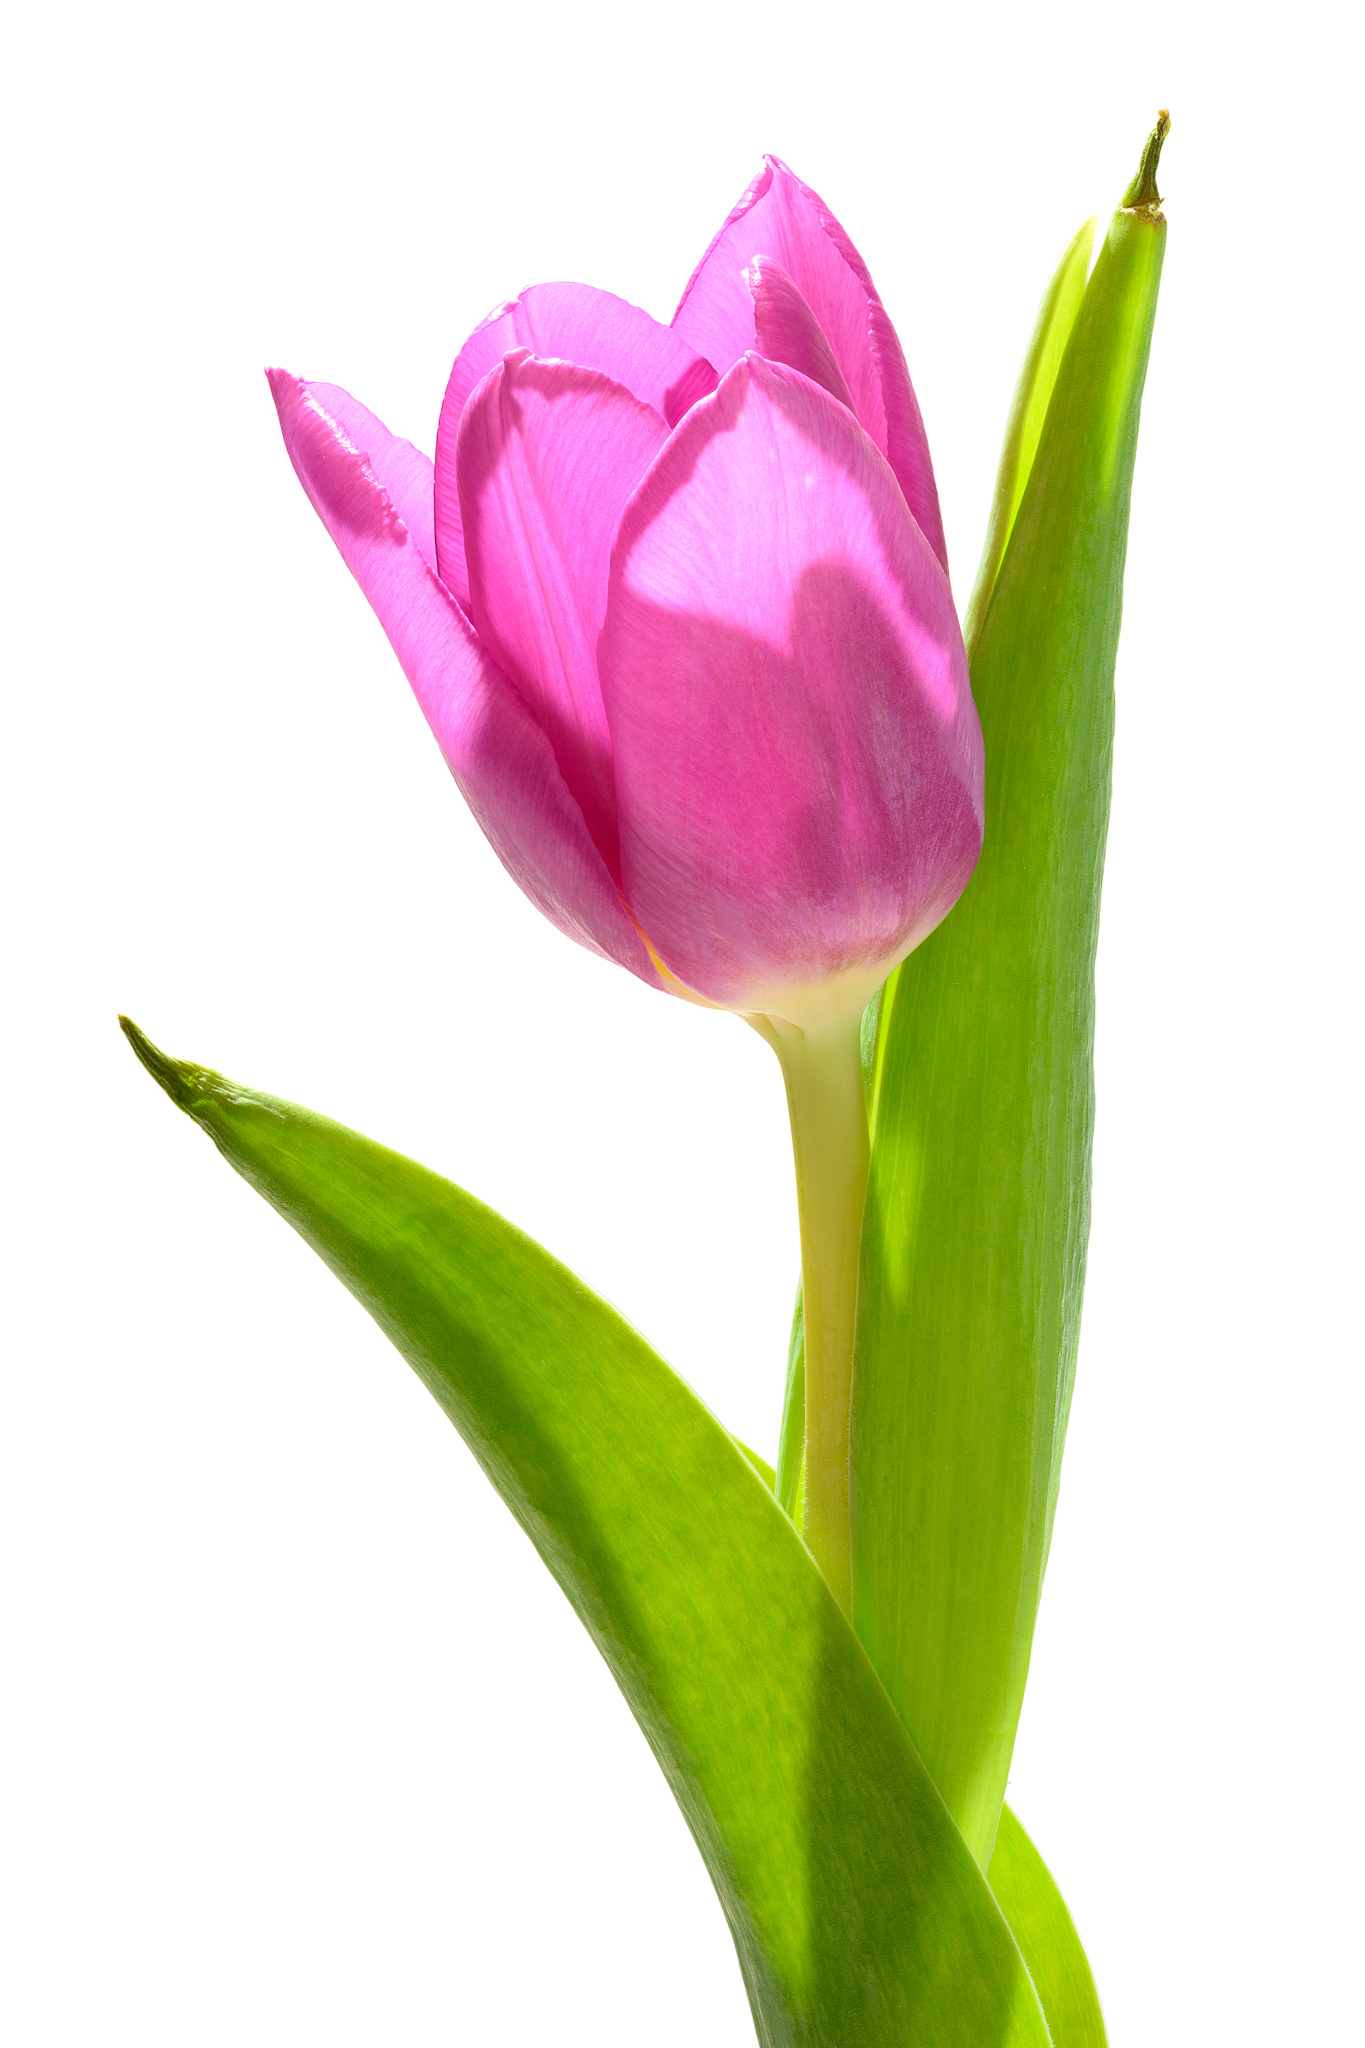
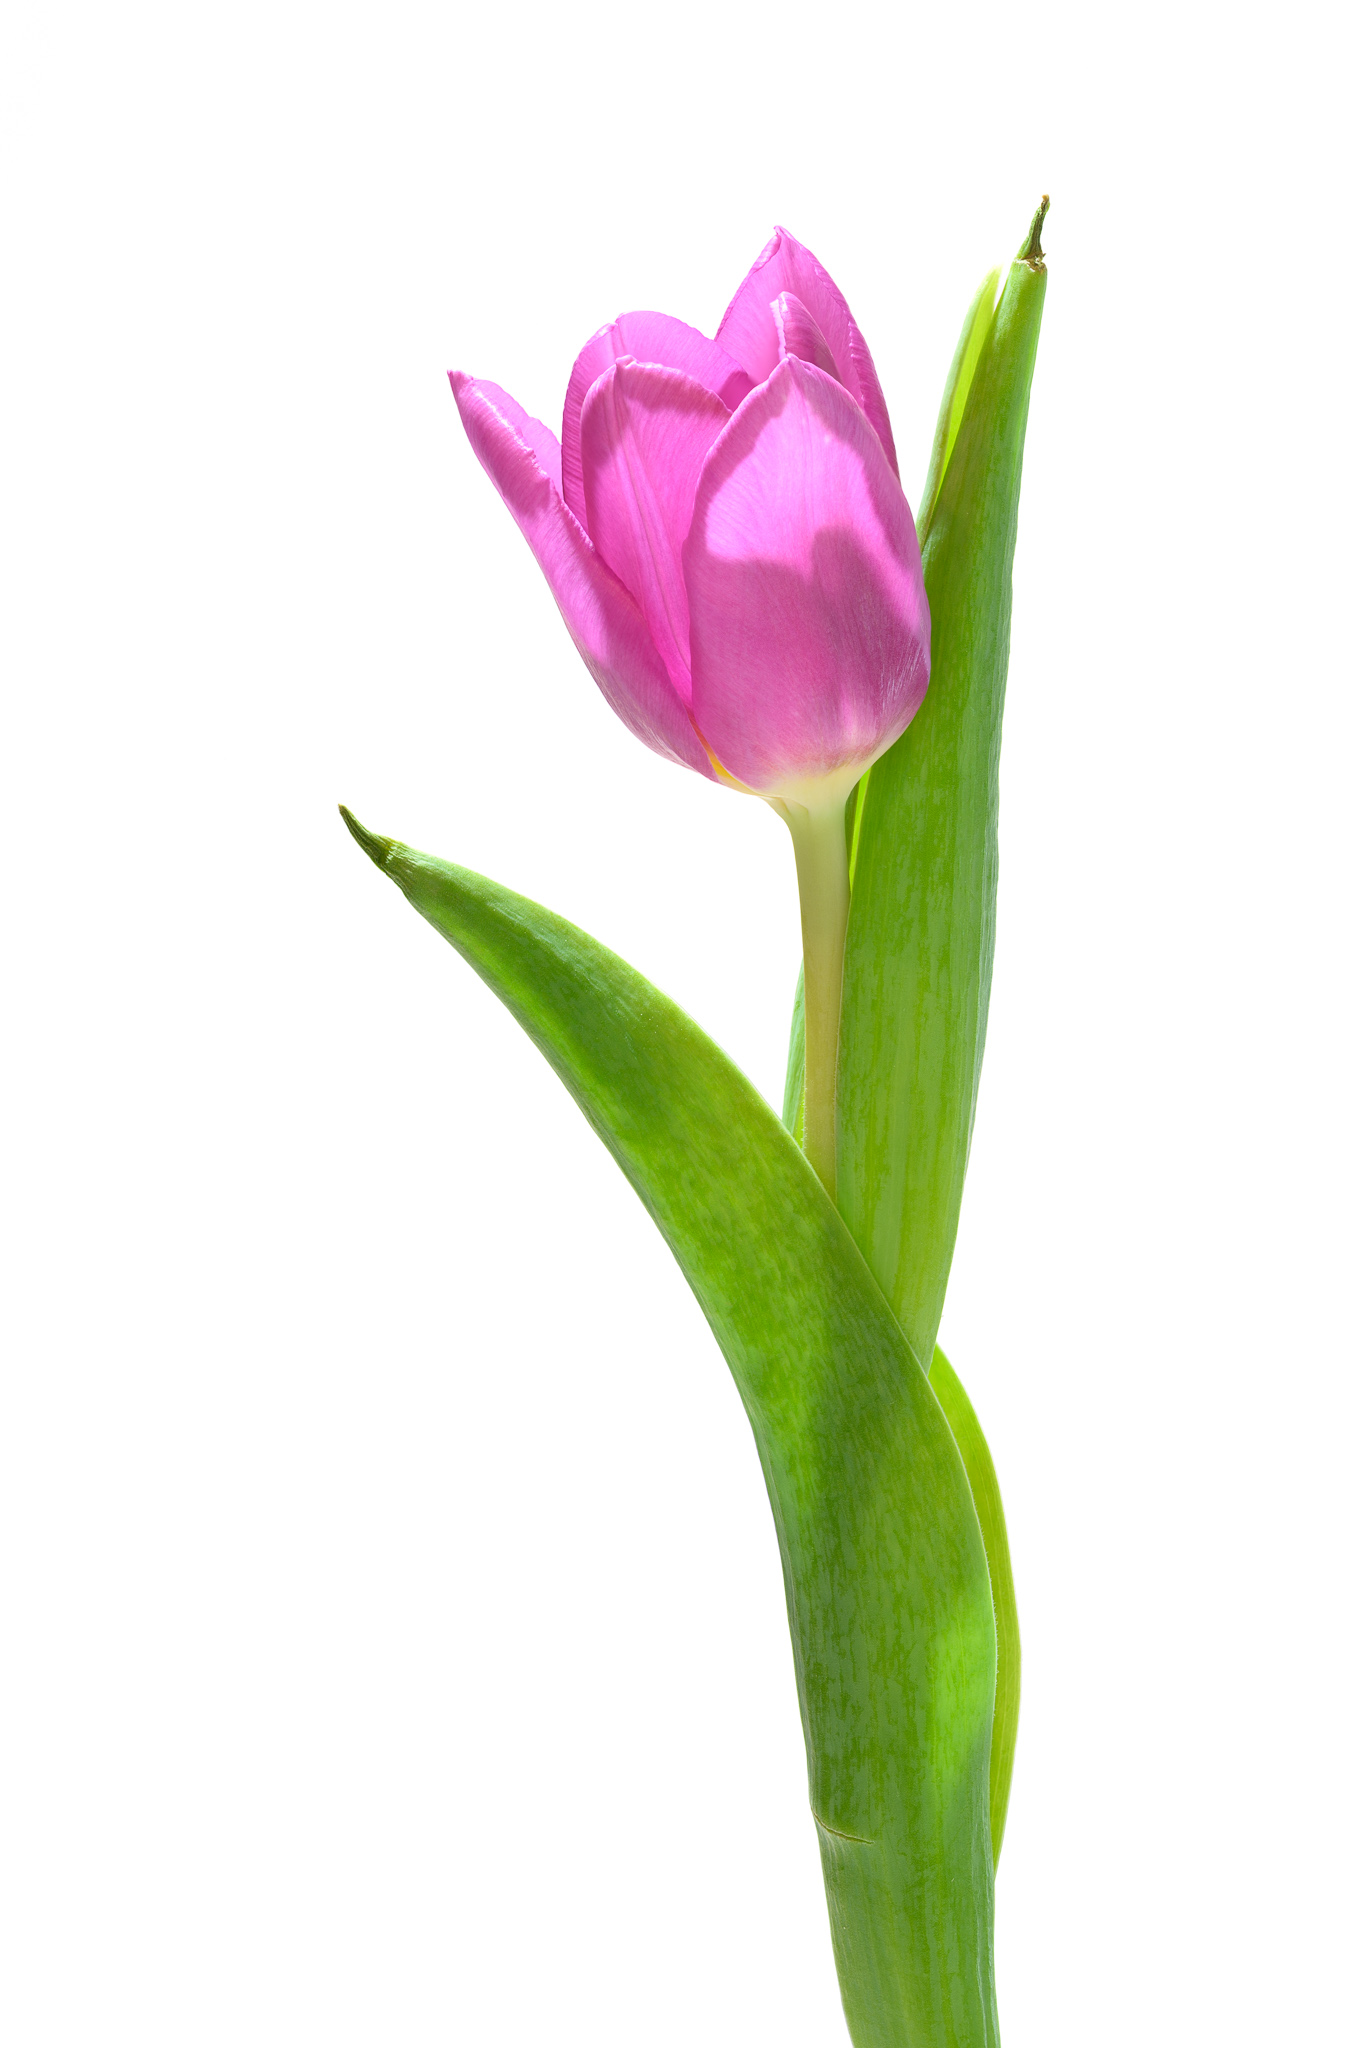
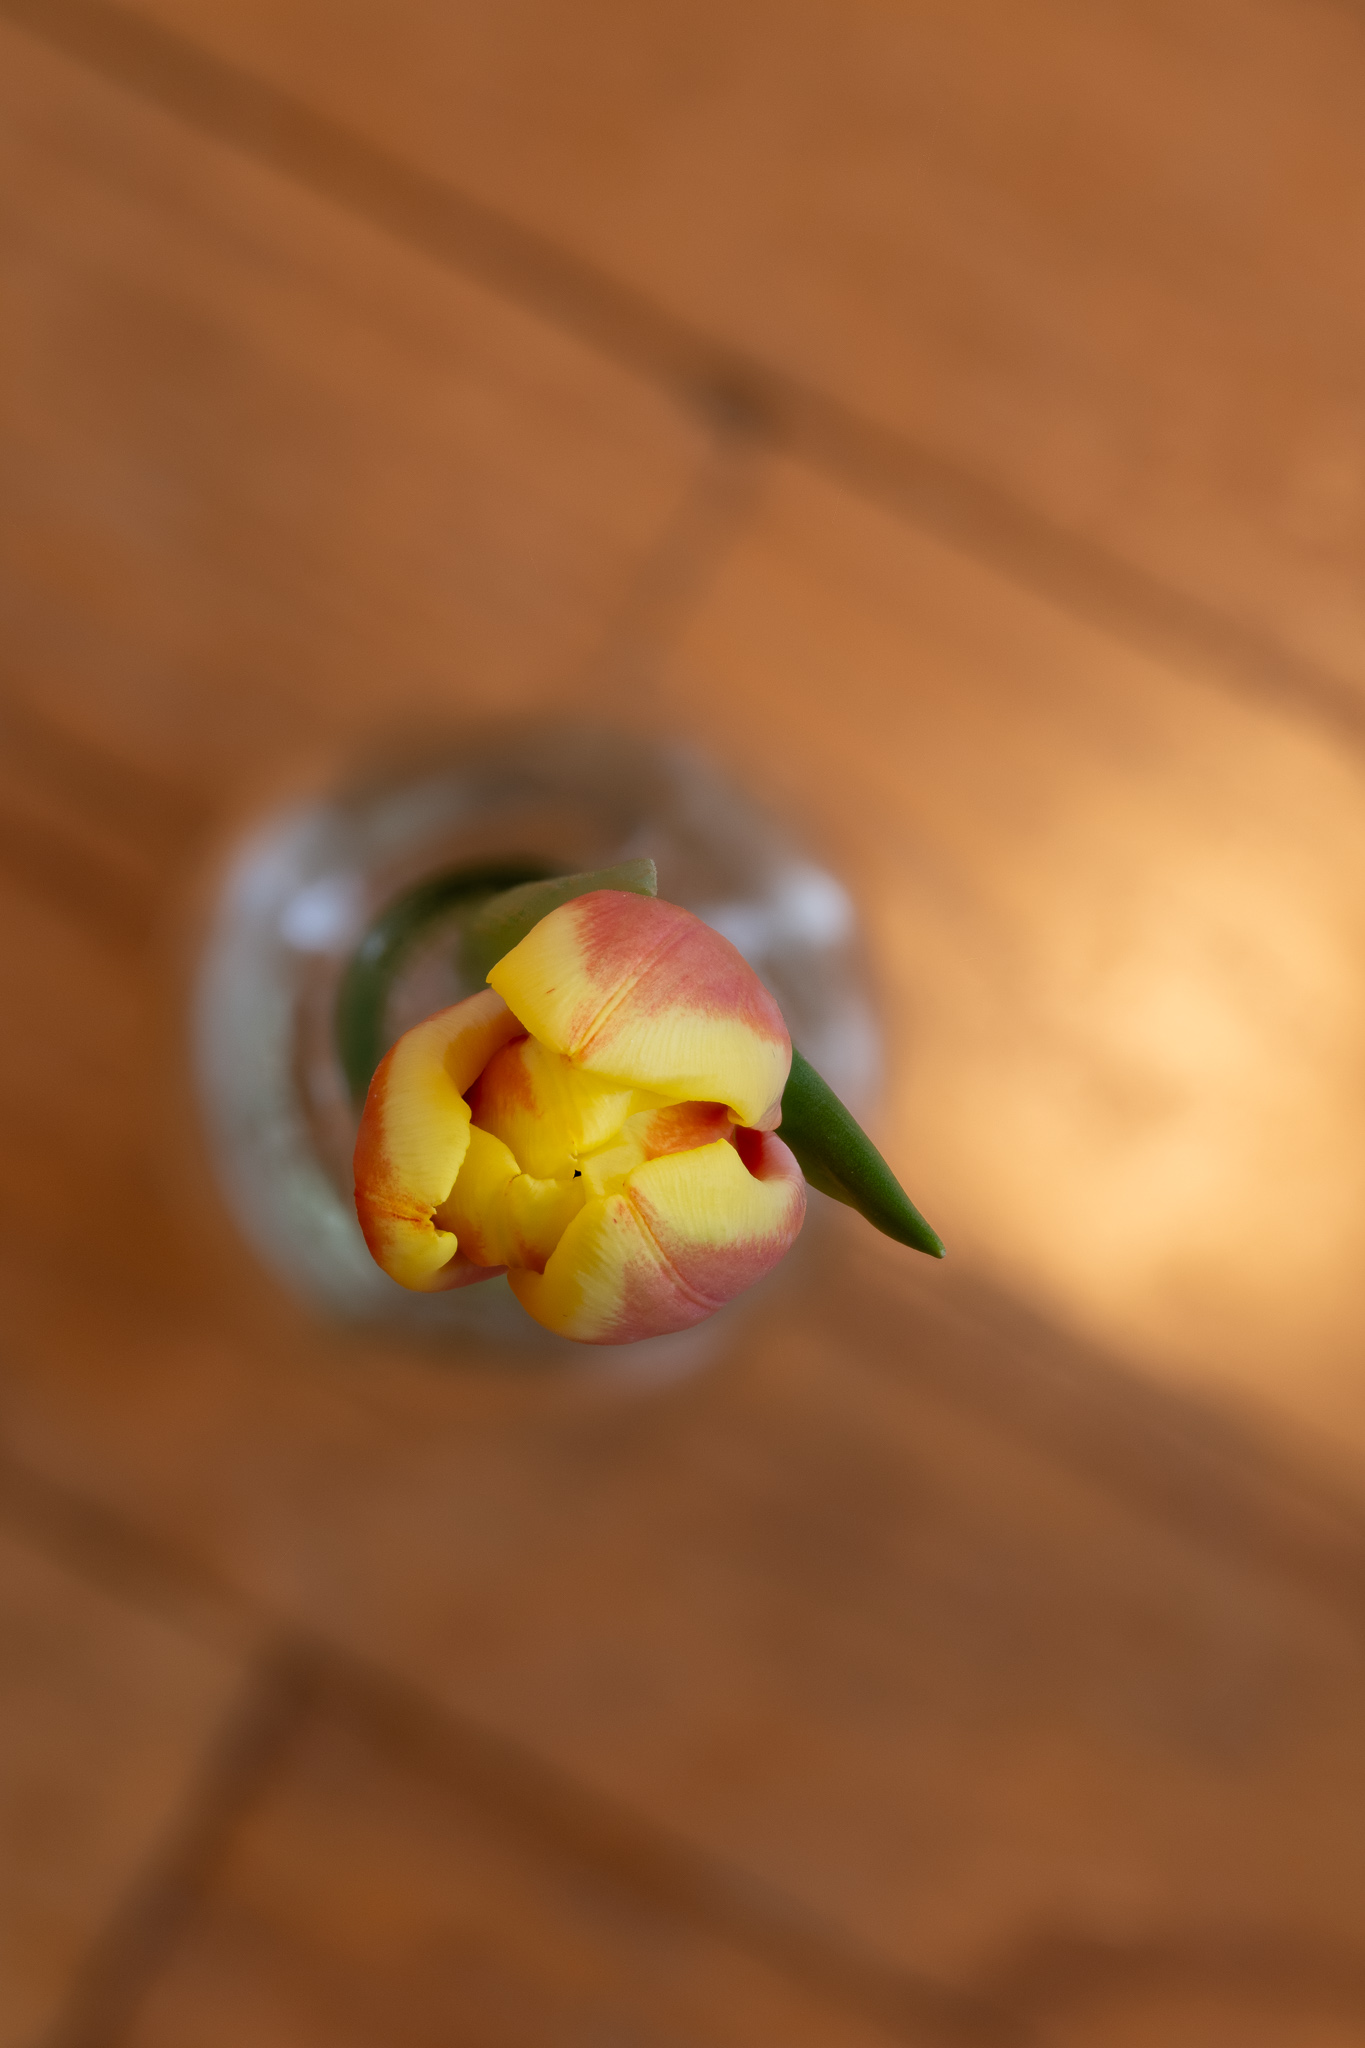
Always Back to Tulips

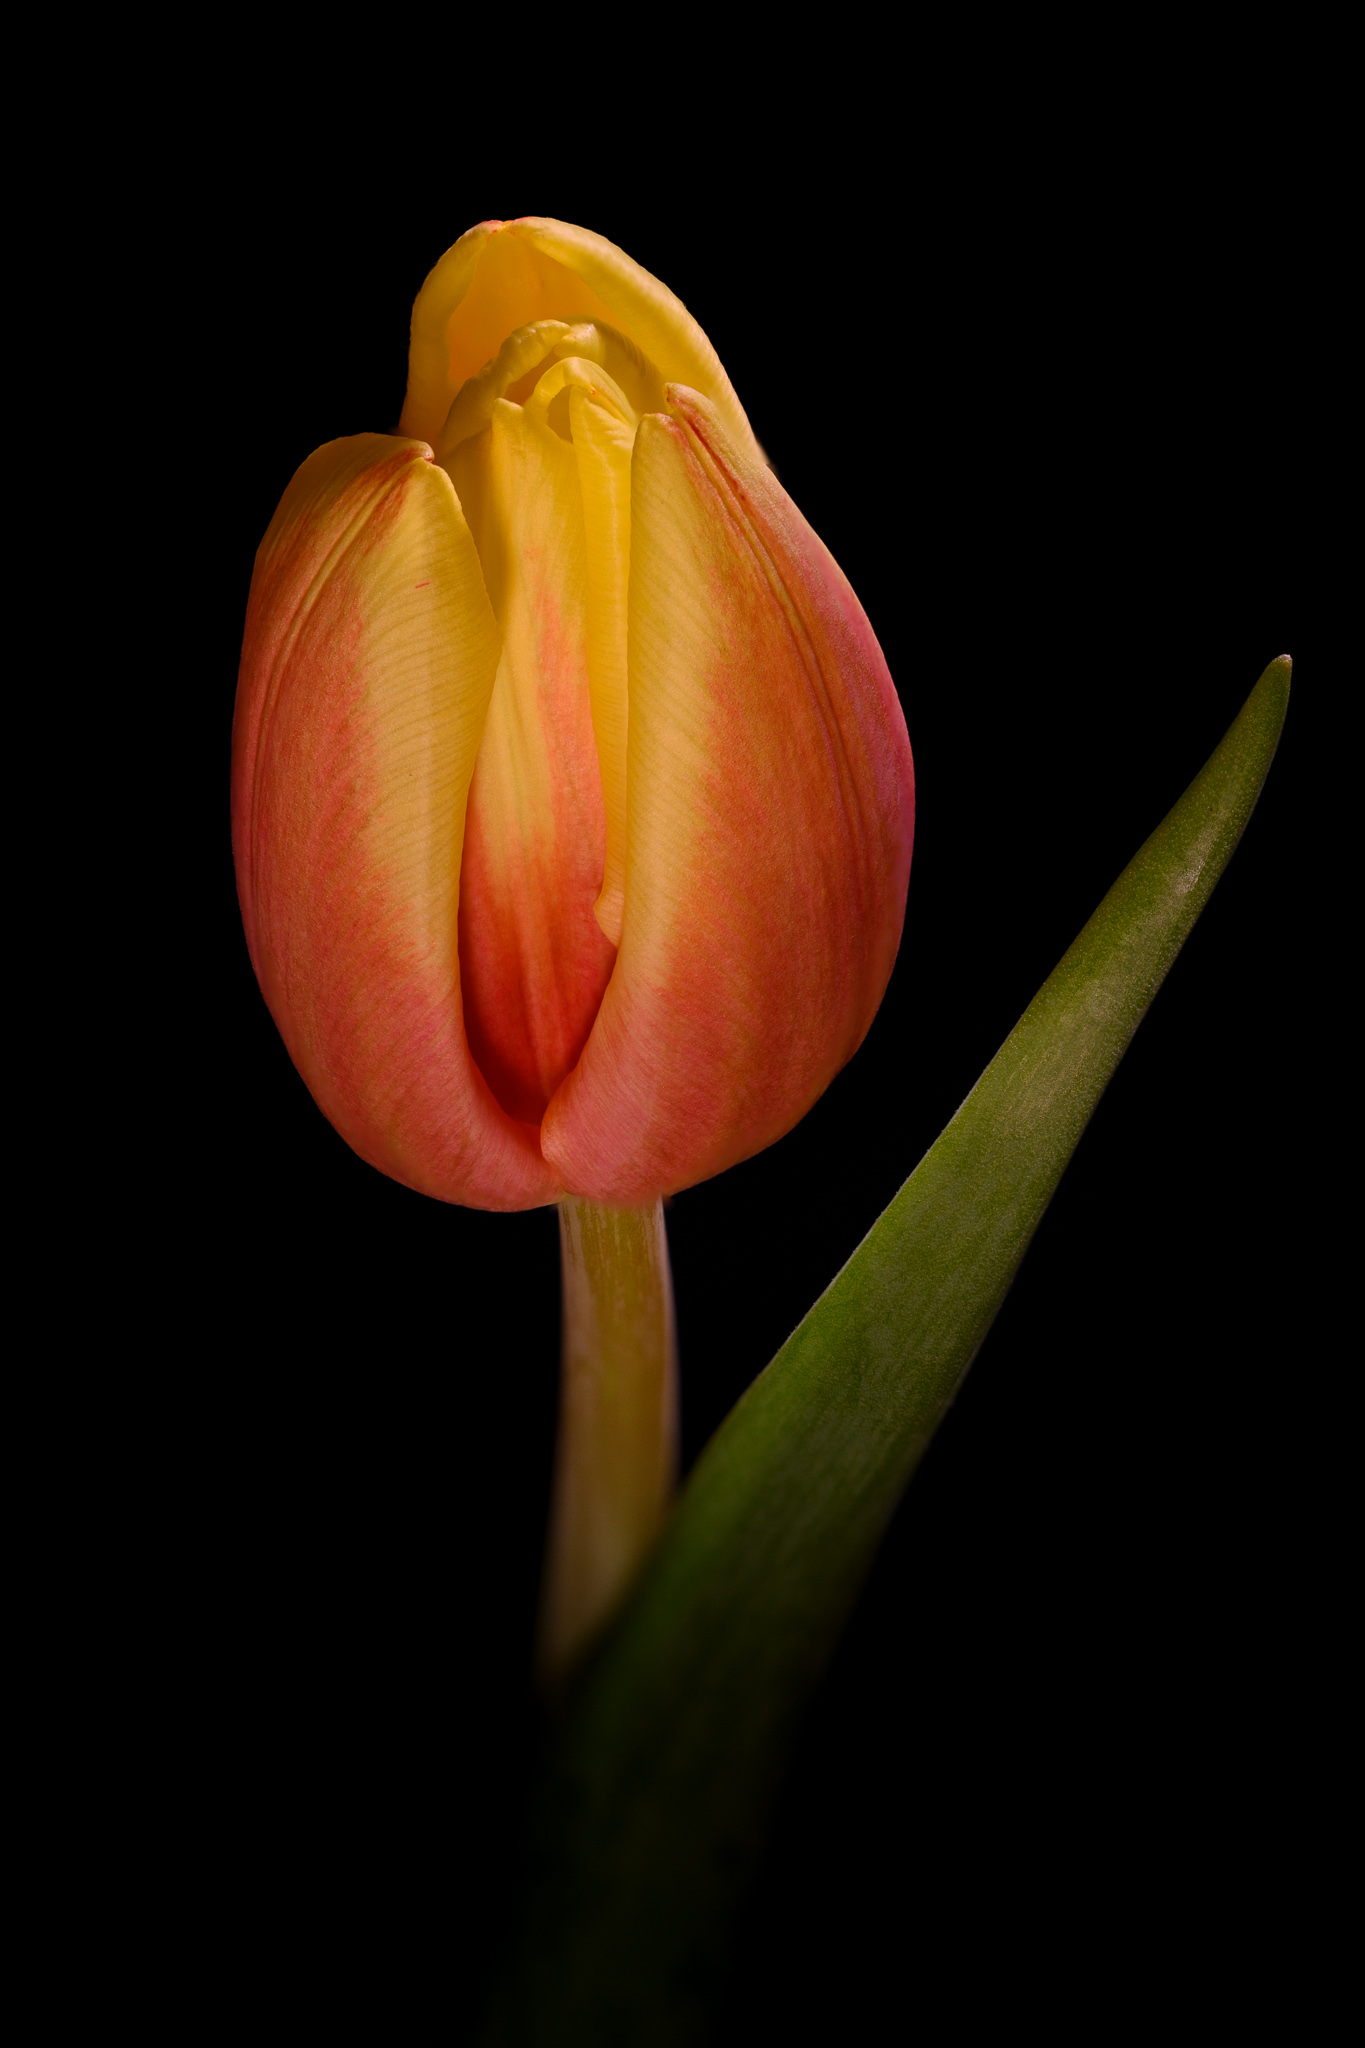

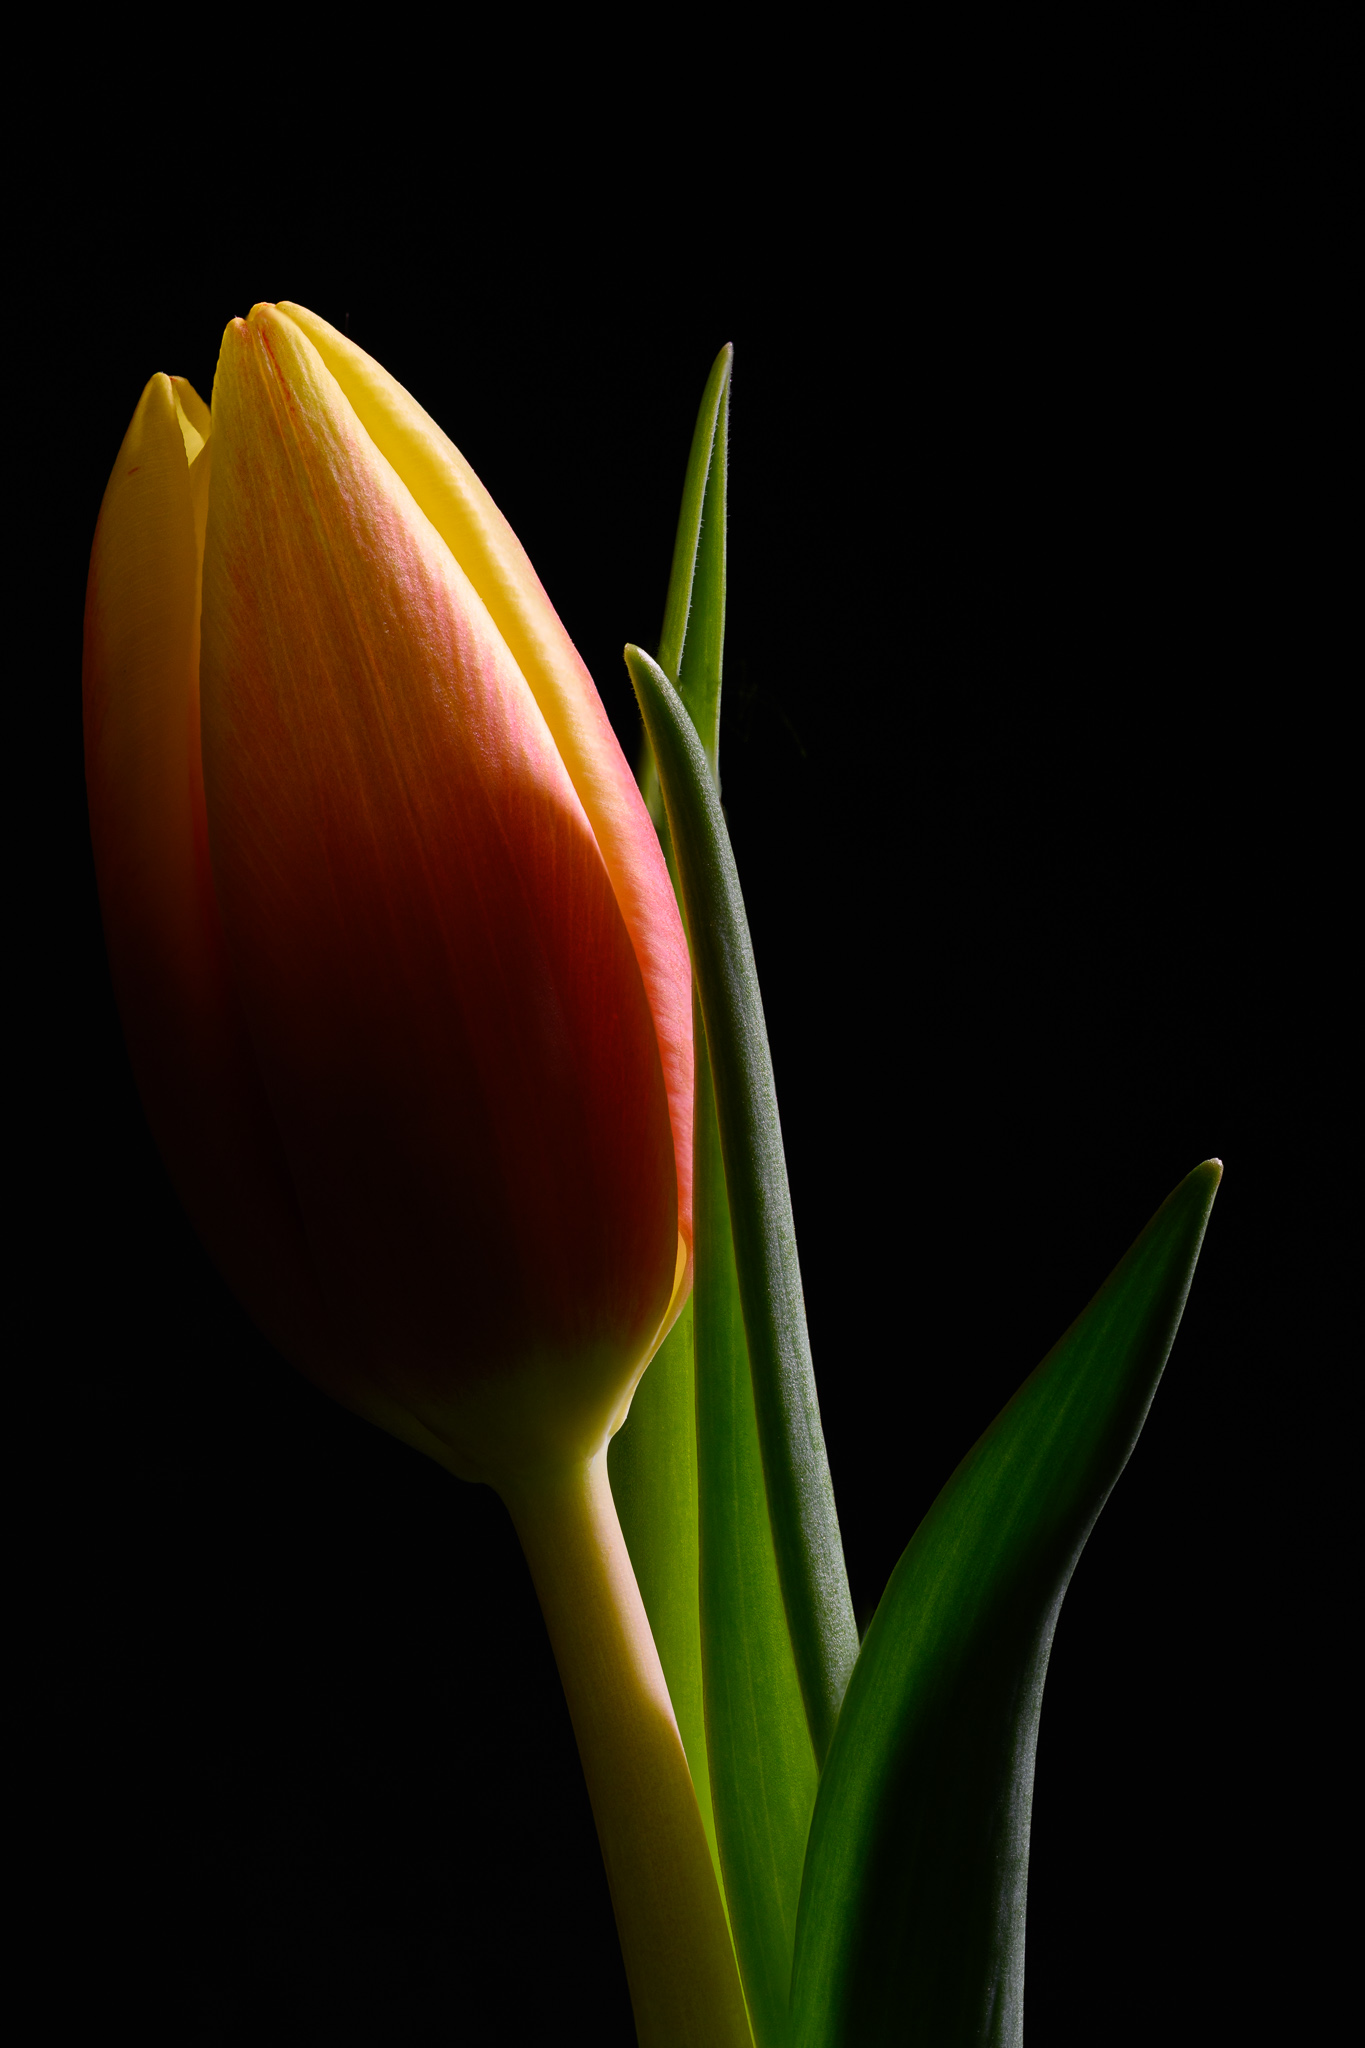


I’ll probably never stop photographing tulips. I love the way the orange/yellow ones came out. I’m so glad I decided to use a soda bottle as a vase – it’s perfect for a single flower!
My wife and I have an inverse relationship where she buys me flowers instead of the other way around. She picked up a nice bouquet of un-bloomed tulips in purple and yellow-orange that I promptly stored in the fridge. Combined with my black and white backdrops and Helicon Focus, I snagged quite a few focus stacks in different configurations. I tried a top-down approach for an entire bouquet as well as a various angles of single and multiple flowers.
Even though I’ve taken photos of tulips many times I still enjoy trying different things and improving the quality of the images I take. I used a combination of off-camera bounce flash and continuous LED lighting for each shot. I didn’t really plan anything; I just moved lights around, took images, and tried again. I ended up with some moody images of orange and yellow tulips as well as some nice backlit and angled ones. I even tried some images of bouquets from a few angles.


So that’s it, Photography Season 2025 has officially begun! I’ve got more still life to photograph in my “studio”, I’ve got a new lens to test, and I’ll be outside in warmer weather before I know it.
