

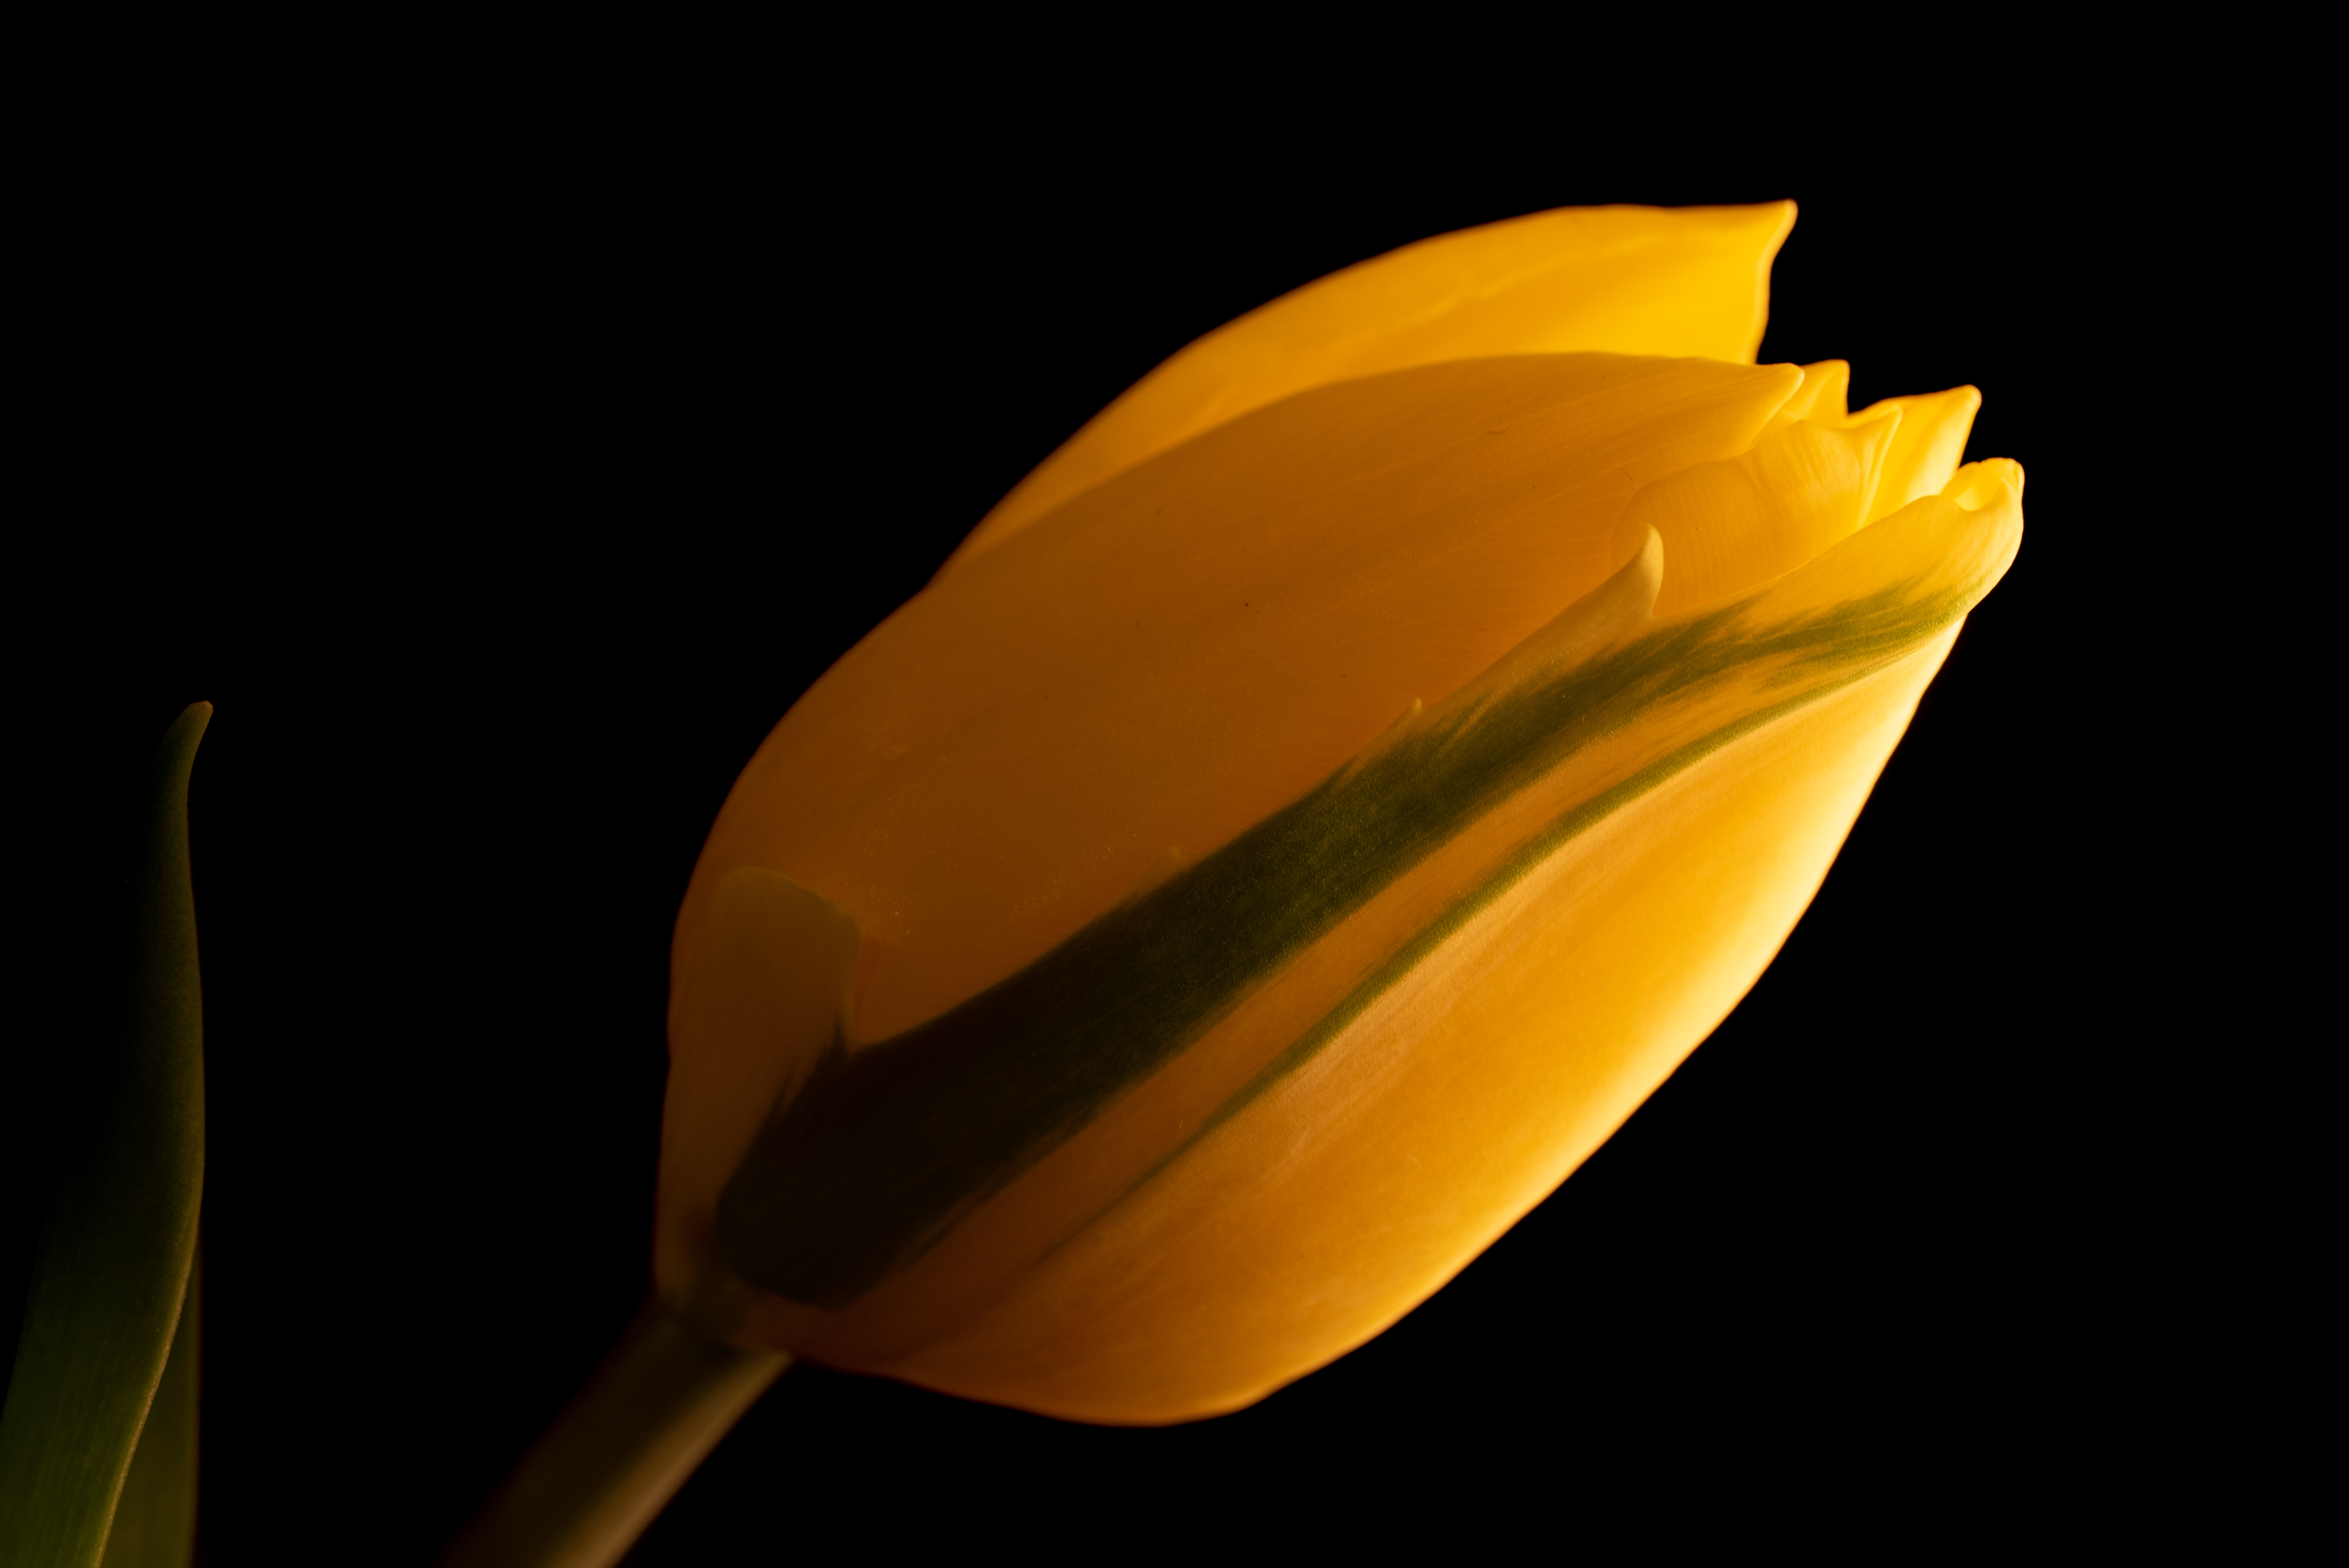
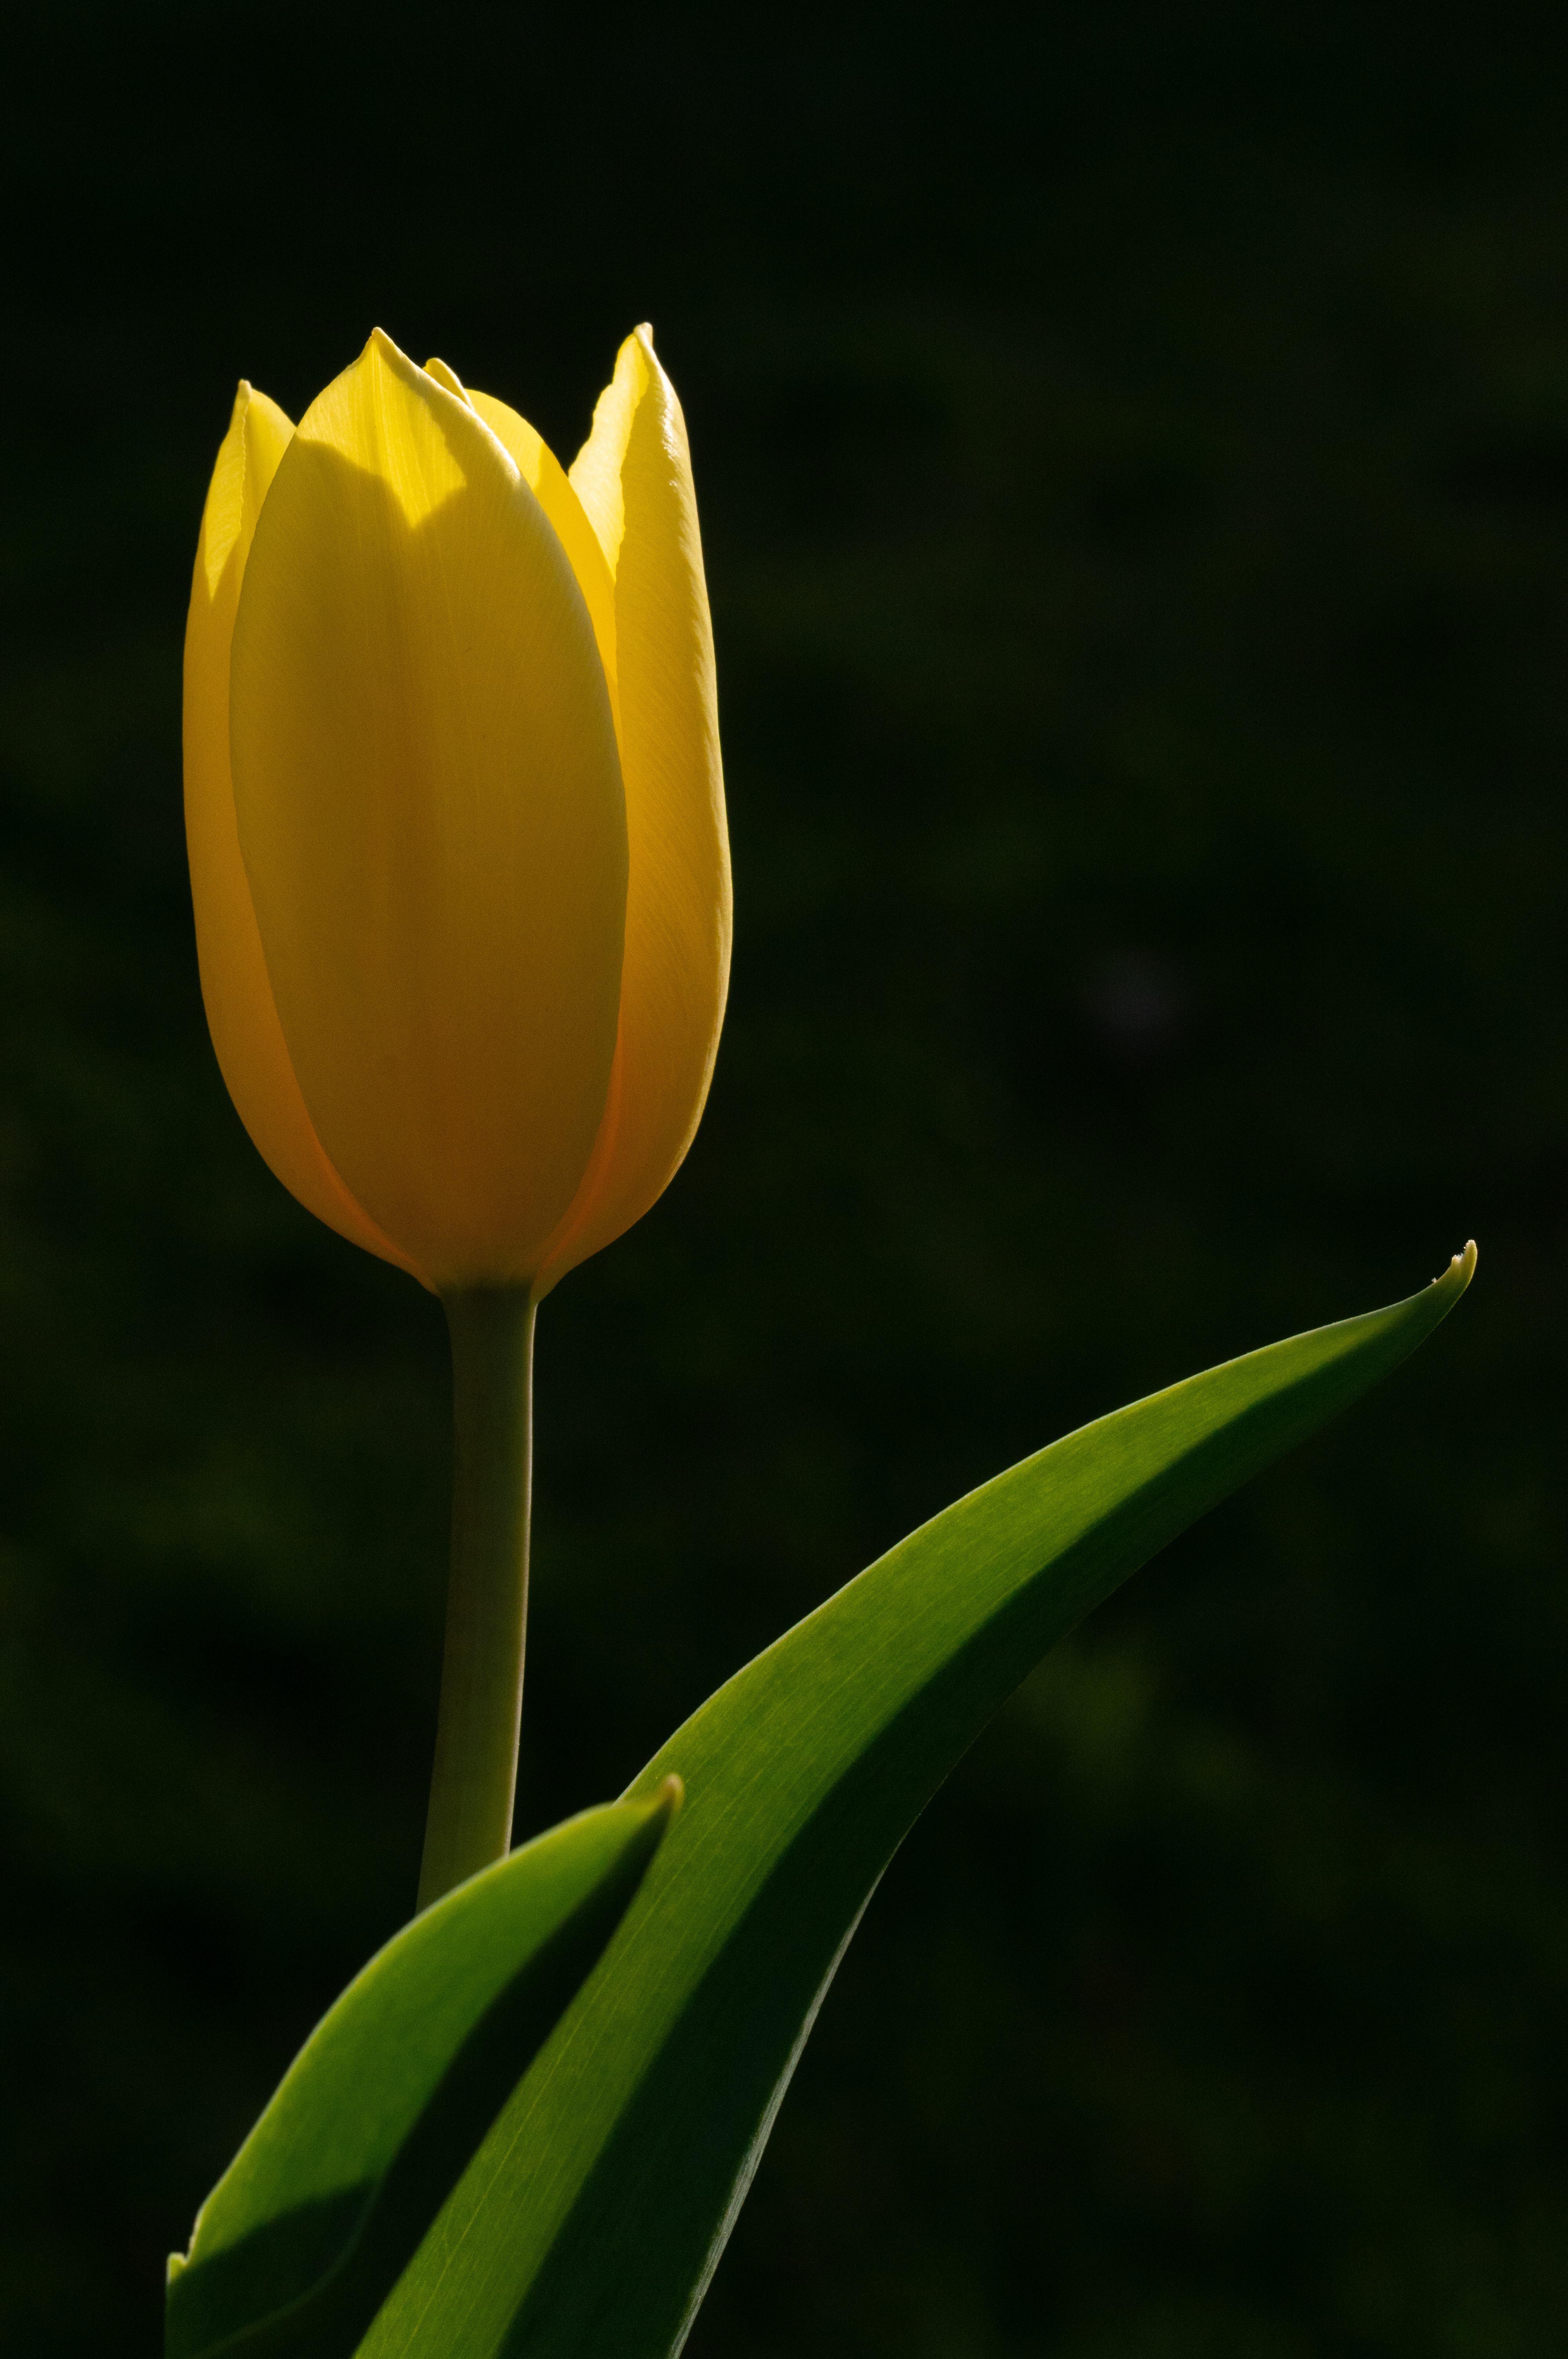
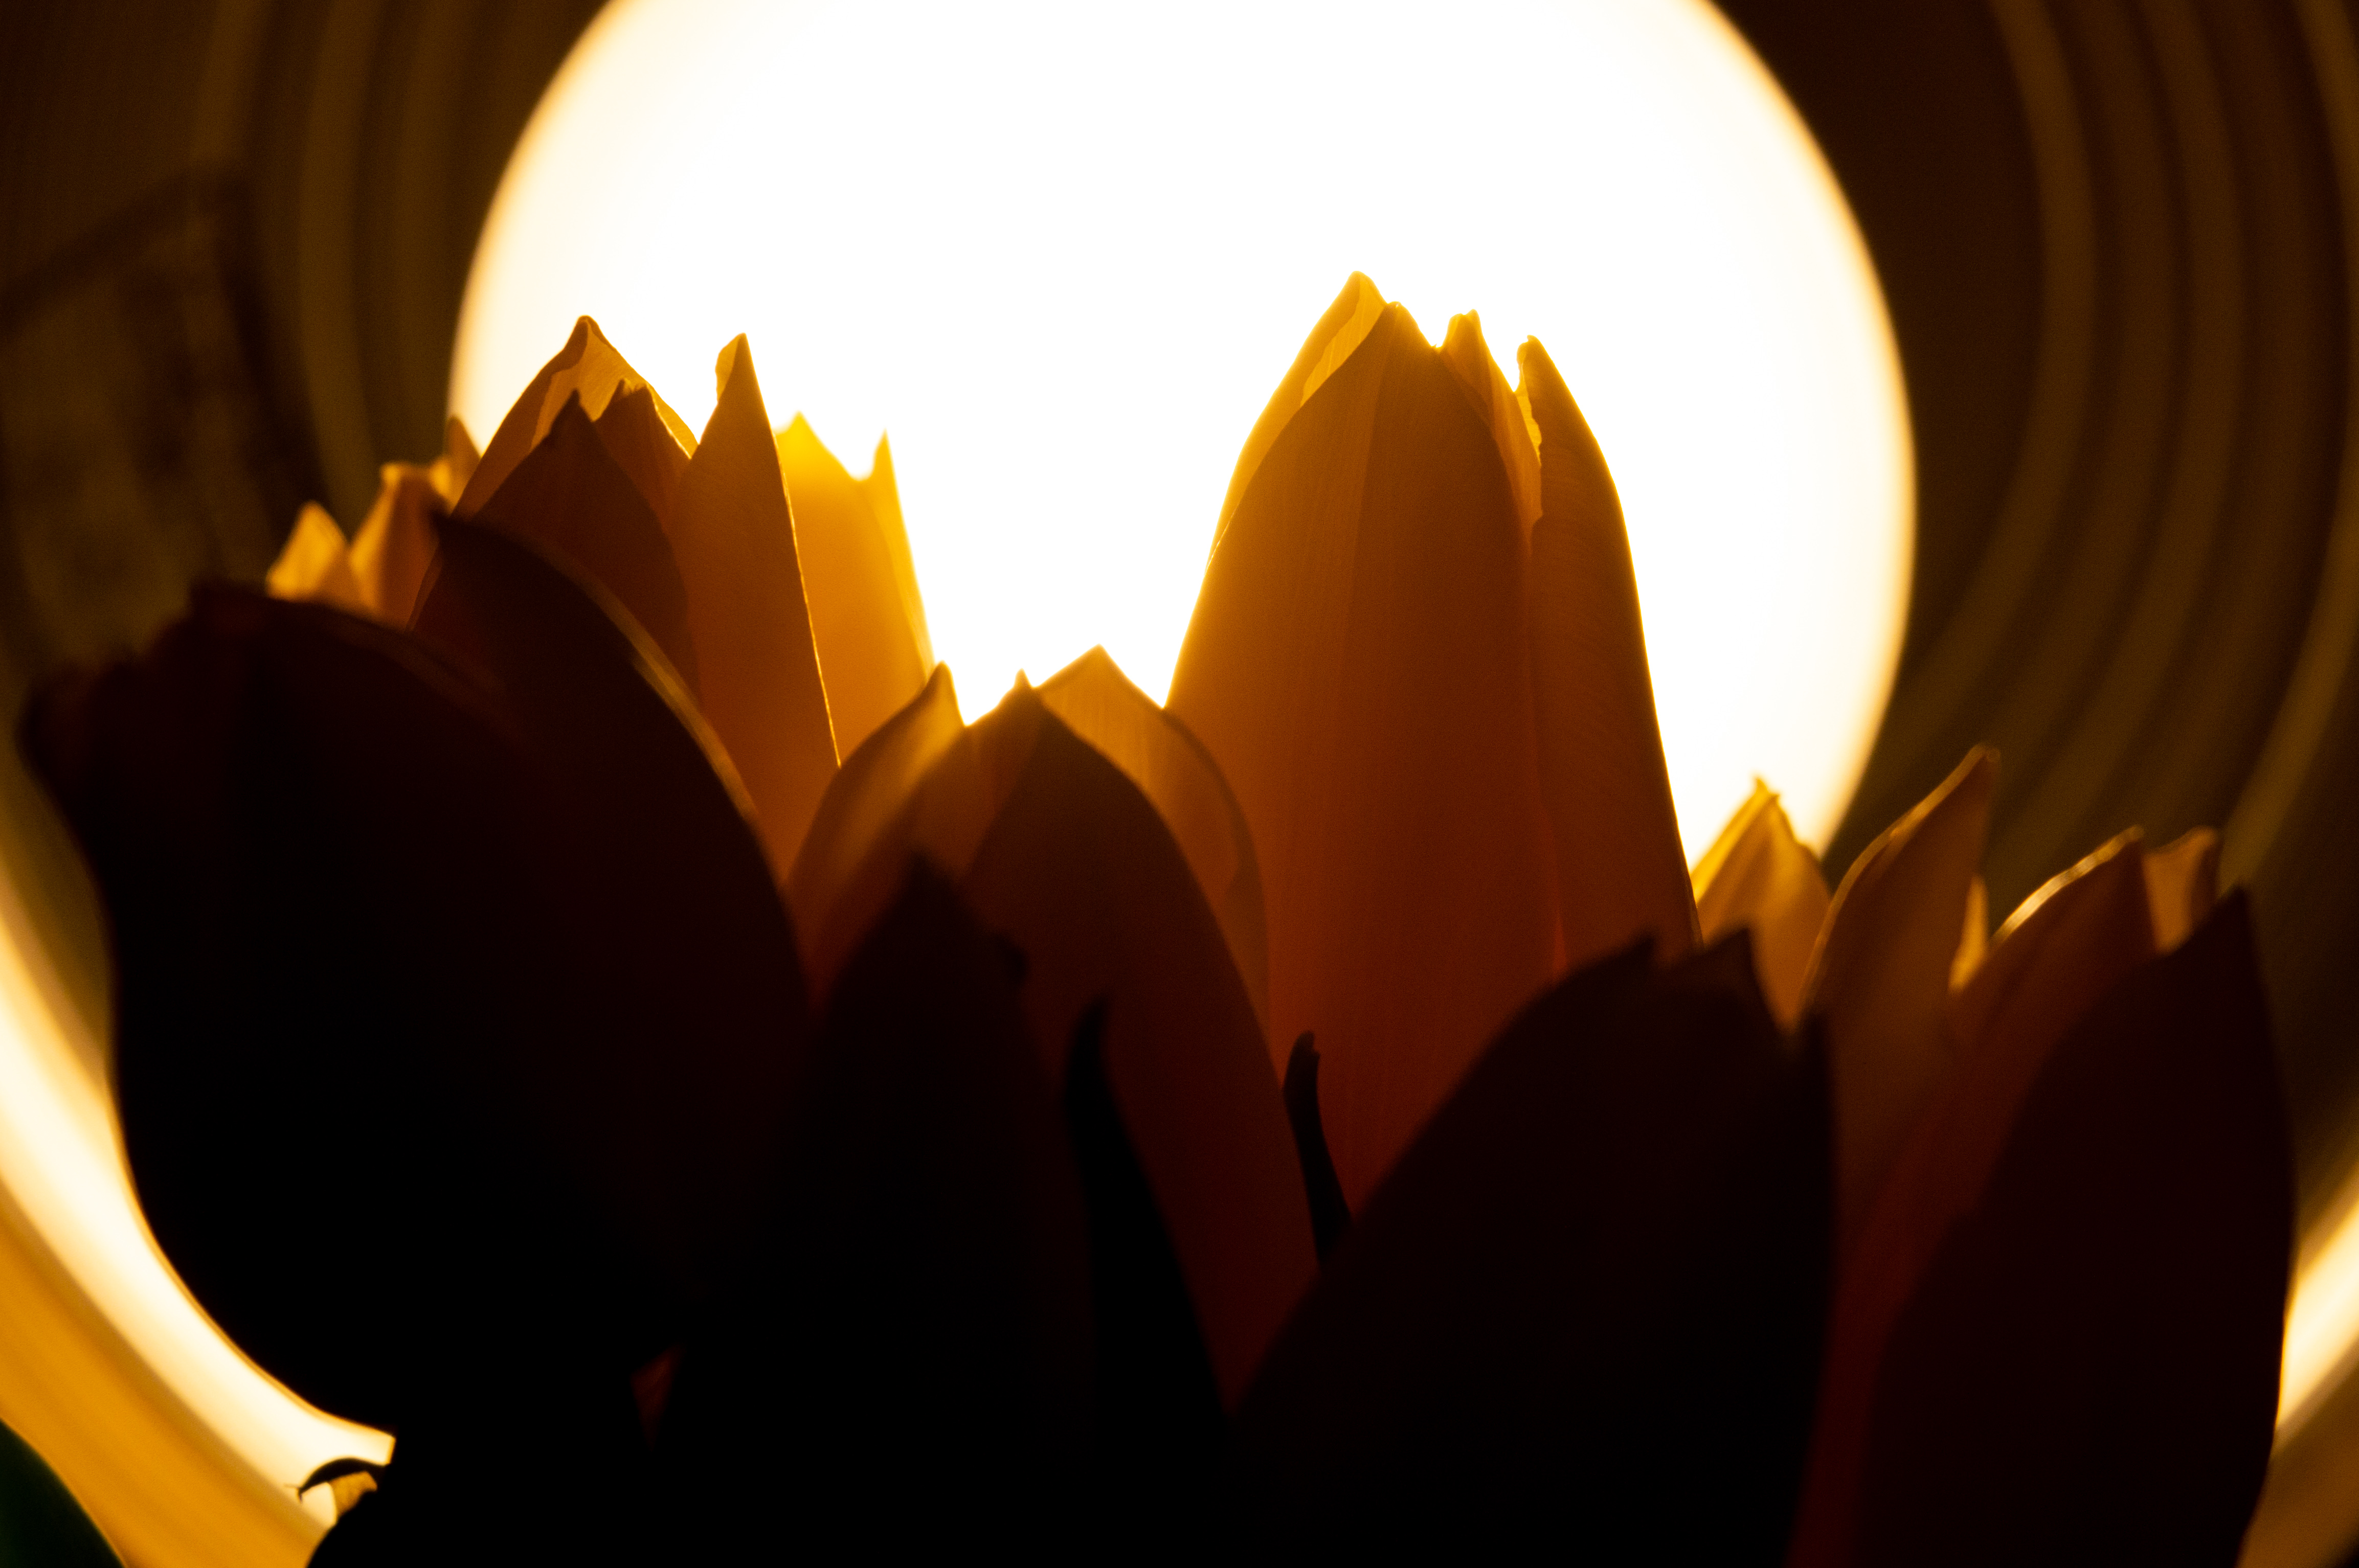
I’ve always enjoyed Tulips. They come in beautiful colors like red, purple, yellow, orange, pink, as well as interesting mixes. I like their cup shape and the way the tops of the petals layer together to make a jagged line. I particularly enjoy the way they look backlit, when the light creates deep shadows within the petals and the background becomes dark. One of my favorite photos is actually an “accidentally good” tulip photo I took on my Canon EOS 50D. I shot the image in the bright afternoon sun which made bright light filter through the petals while keeping the background nearly black. I say “accidentally good” because I didn’t do anything specifically to make the background black, it just came out that way.
For years I’ve “wanted to get some tulips” to recreate that photo but never have. I ogle them in people’s yards as they sway in the bright sunlight, wishing I could run up and take photos of them. I finally put my money where my mouth was and actually bought some to photograph.
About two weeks ago I was shopping for Mother’s Day flowers at Tendercrop Farm and came across a beautiful array of red and orange potted tulips. They looked amazing and I considered buying them, but didn’t. I found some red tulips downtown that week but the images weren’t that great due to the wind. I decided to buy some and went back to Tendercrop that Friday. They were gone. Tulip season was almost over. As I left the store I spotted a container of pre-cut yellow tulip bouquets. I knew they wouldn’t last long but they were $15 so I bought them.
For a week I semi-obsessively photographed them, trying every technique I could think of, photographing in different locations, with different lighting, different lenses, and different cameras. They are not perfect and I still have a lot of technique to develop, but I am very proud of them. I experimented and researched enough to be able to somewhat make the image I want rather than accidentally stumbling upon it.
The majority of the images were taken with my Tamron 90mm f/2.8 VR Macro, both handheld and on a tripod, while a few were taken with my Nikon 28-300mm VR. I shot the most images on my D750, followed by my D3200 to narrow the field of view and get closer, and a few on my D2Xs, as part of my review.
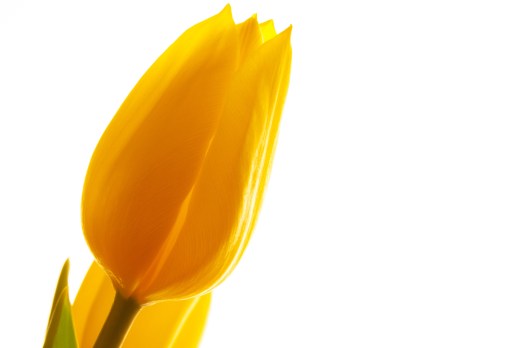
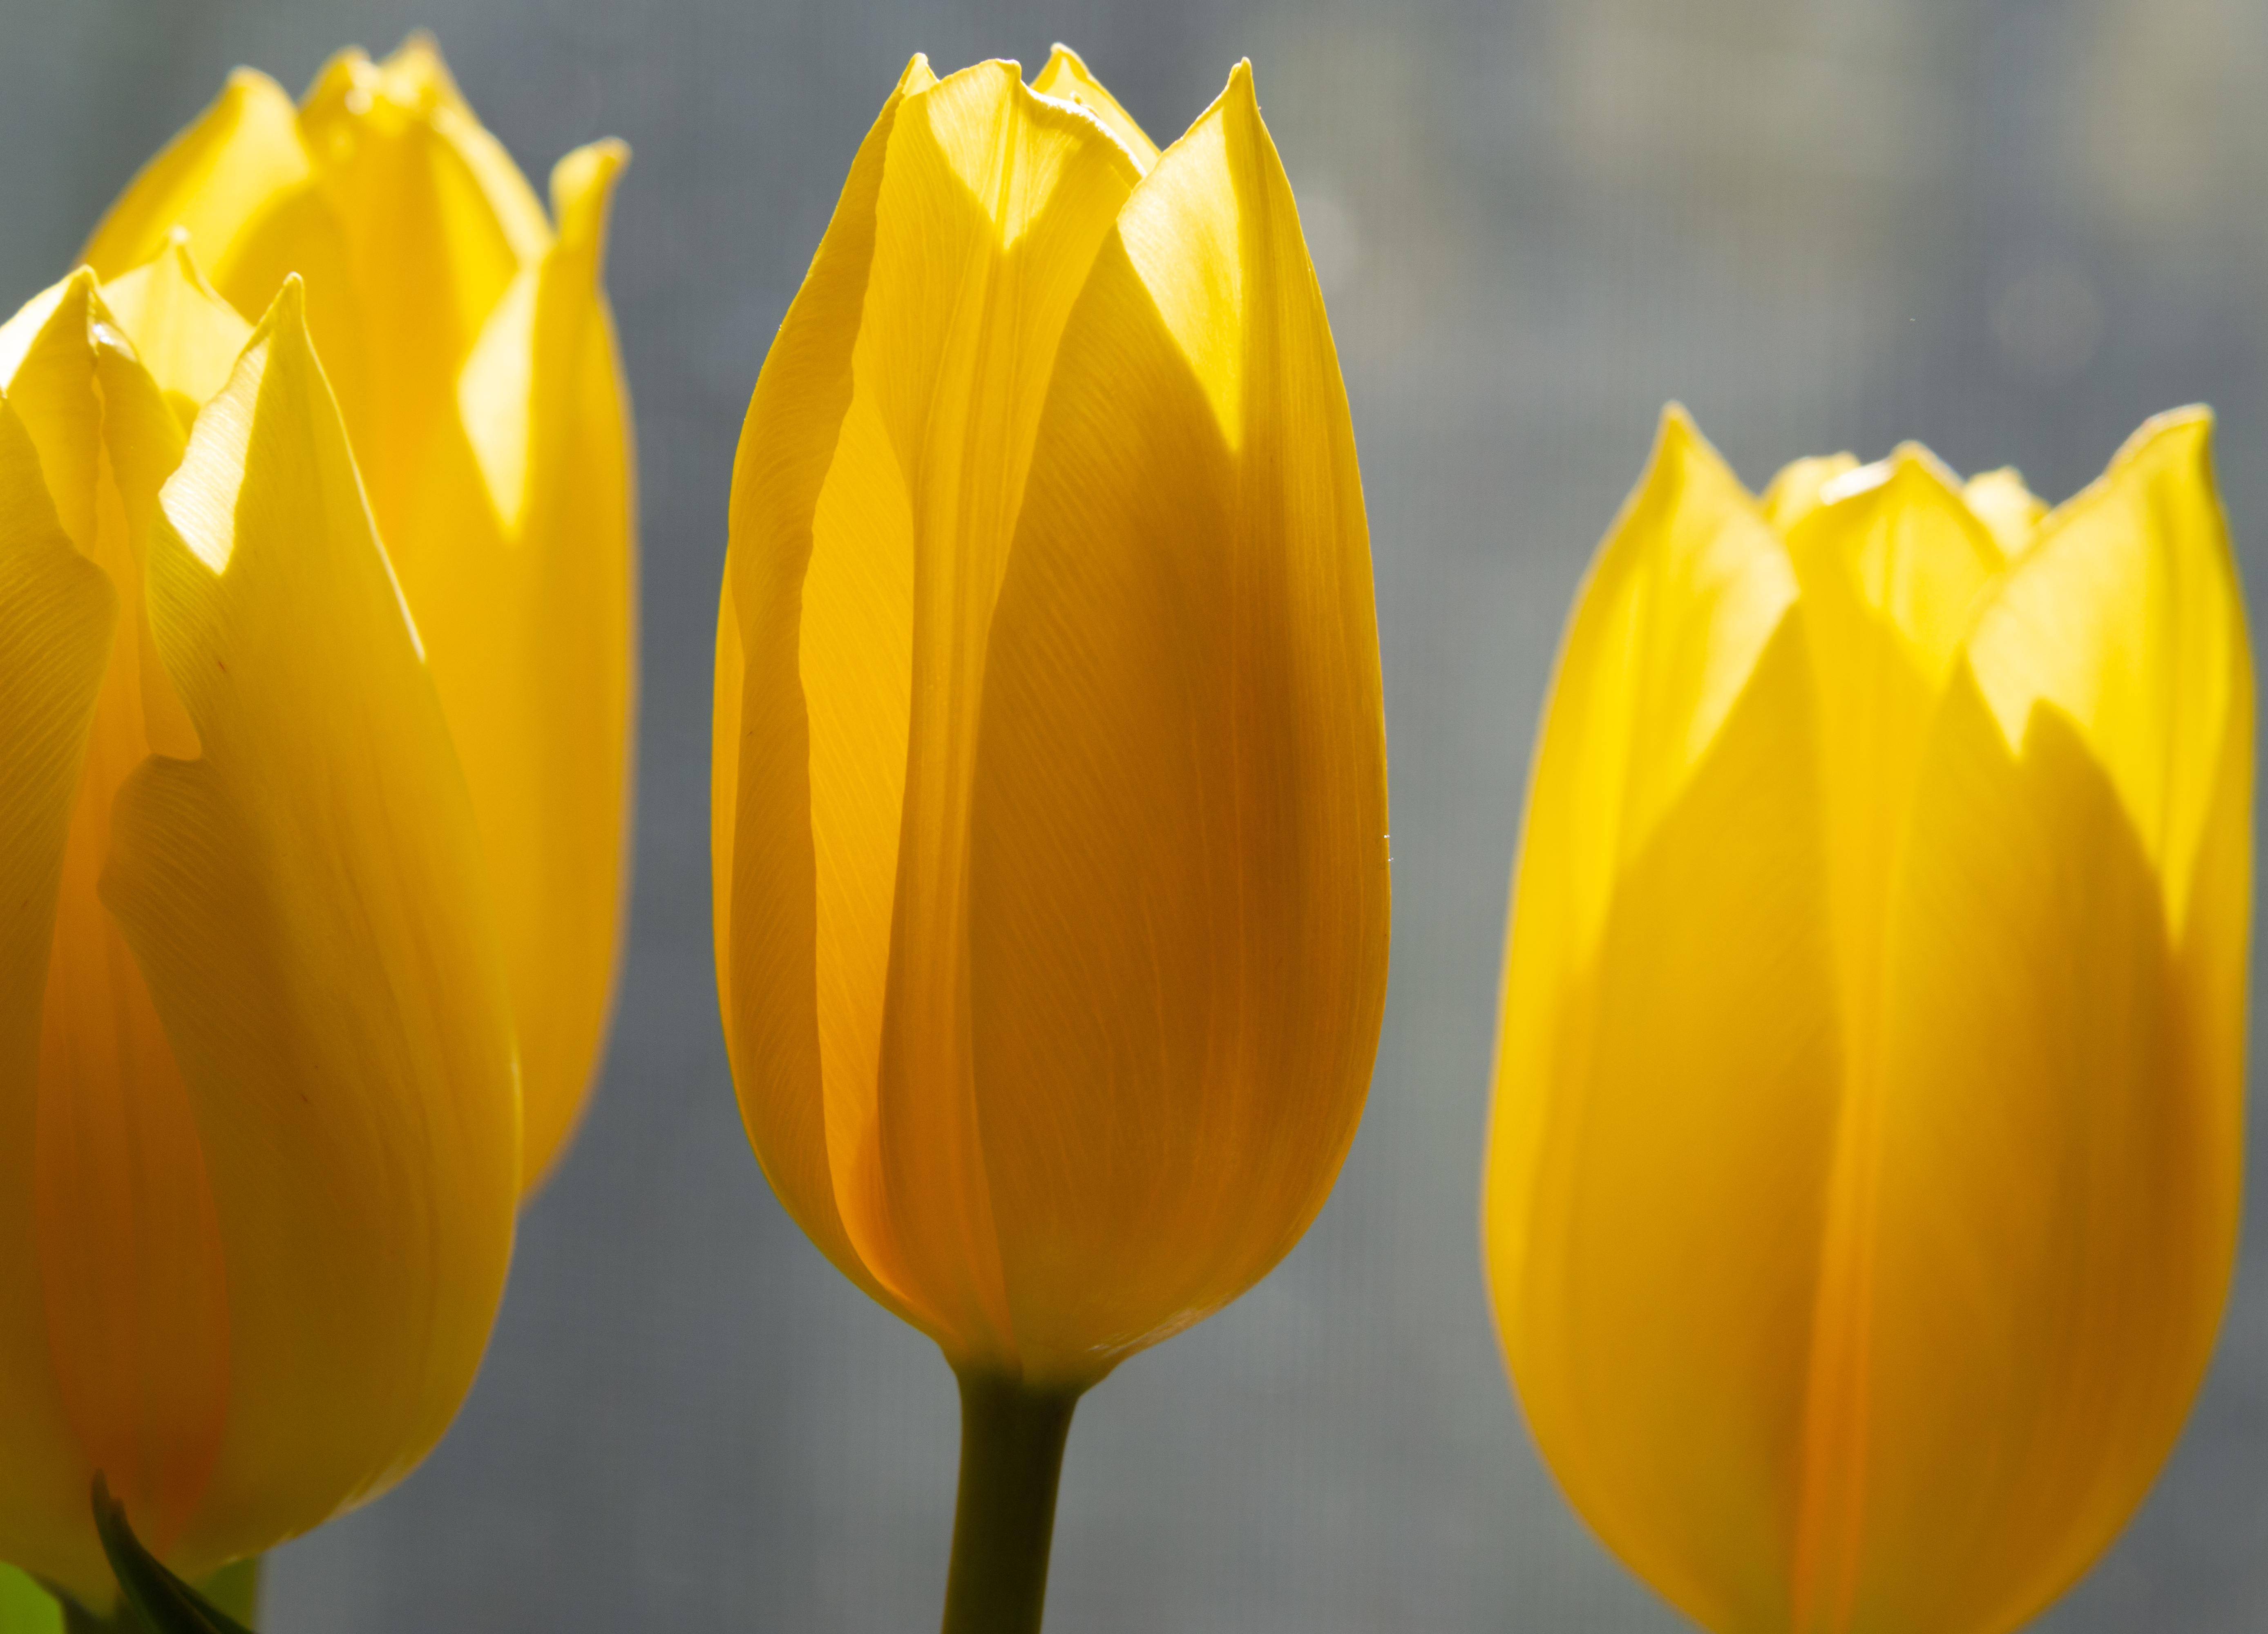
I tried a bunch of “studio” lighting setups in my dining room, using an LED flood light bulb plugged into a work lamp clipped to a chair to get high-key photos with completely white backgrounds. I placed the light behind the tulip and put my camera on a tripod so that it could properly expose the shaded side that was only lit by the dining room lights. These 1/4 and 1/25 second exposures blow out the bright background until it is white, no backdrop required.


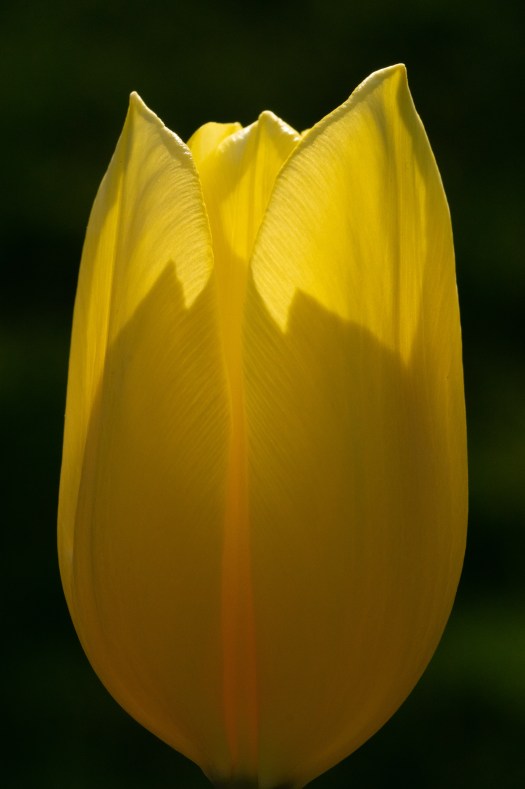
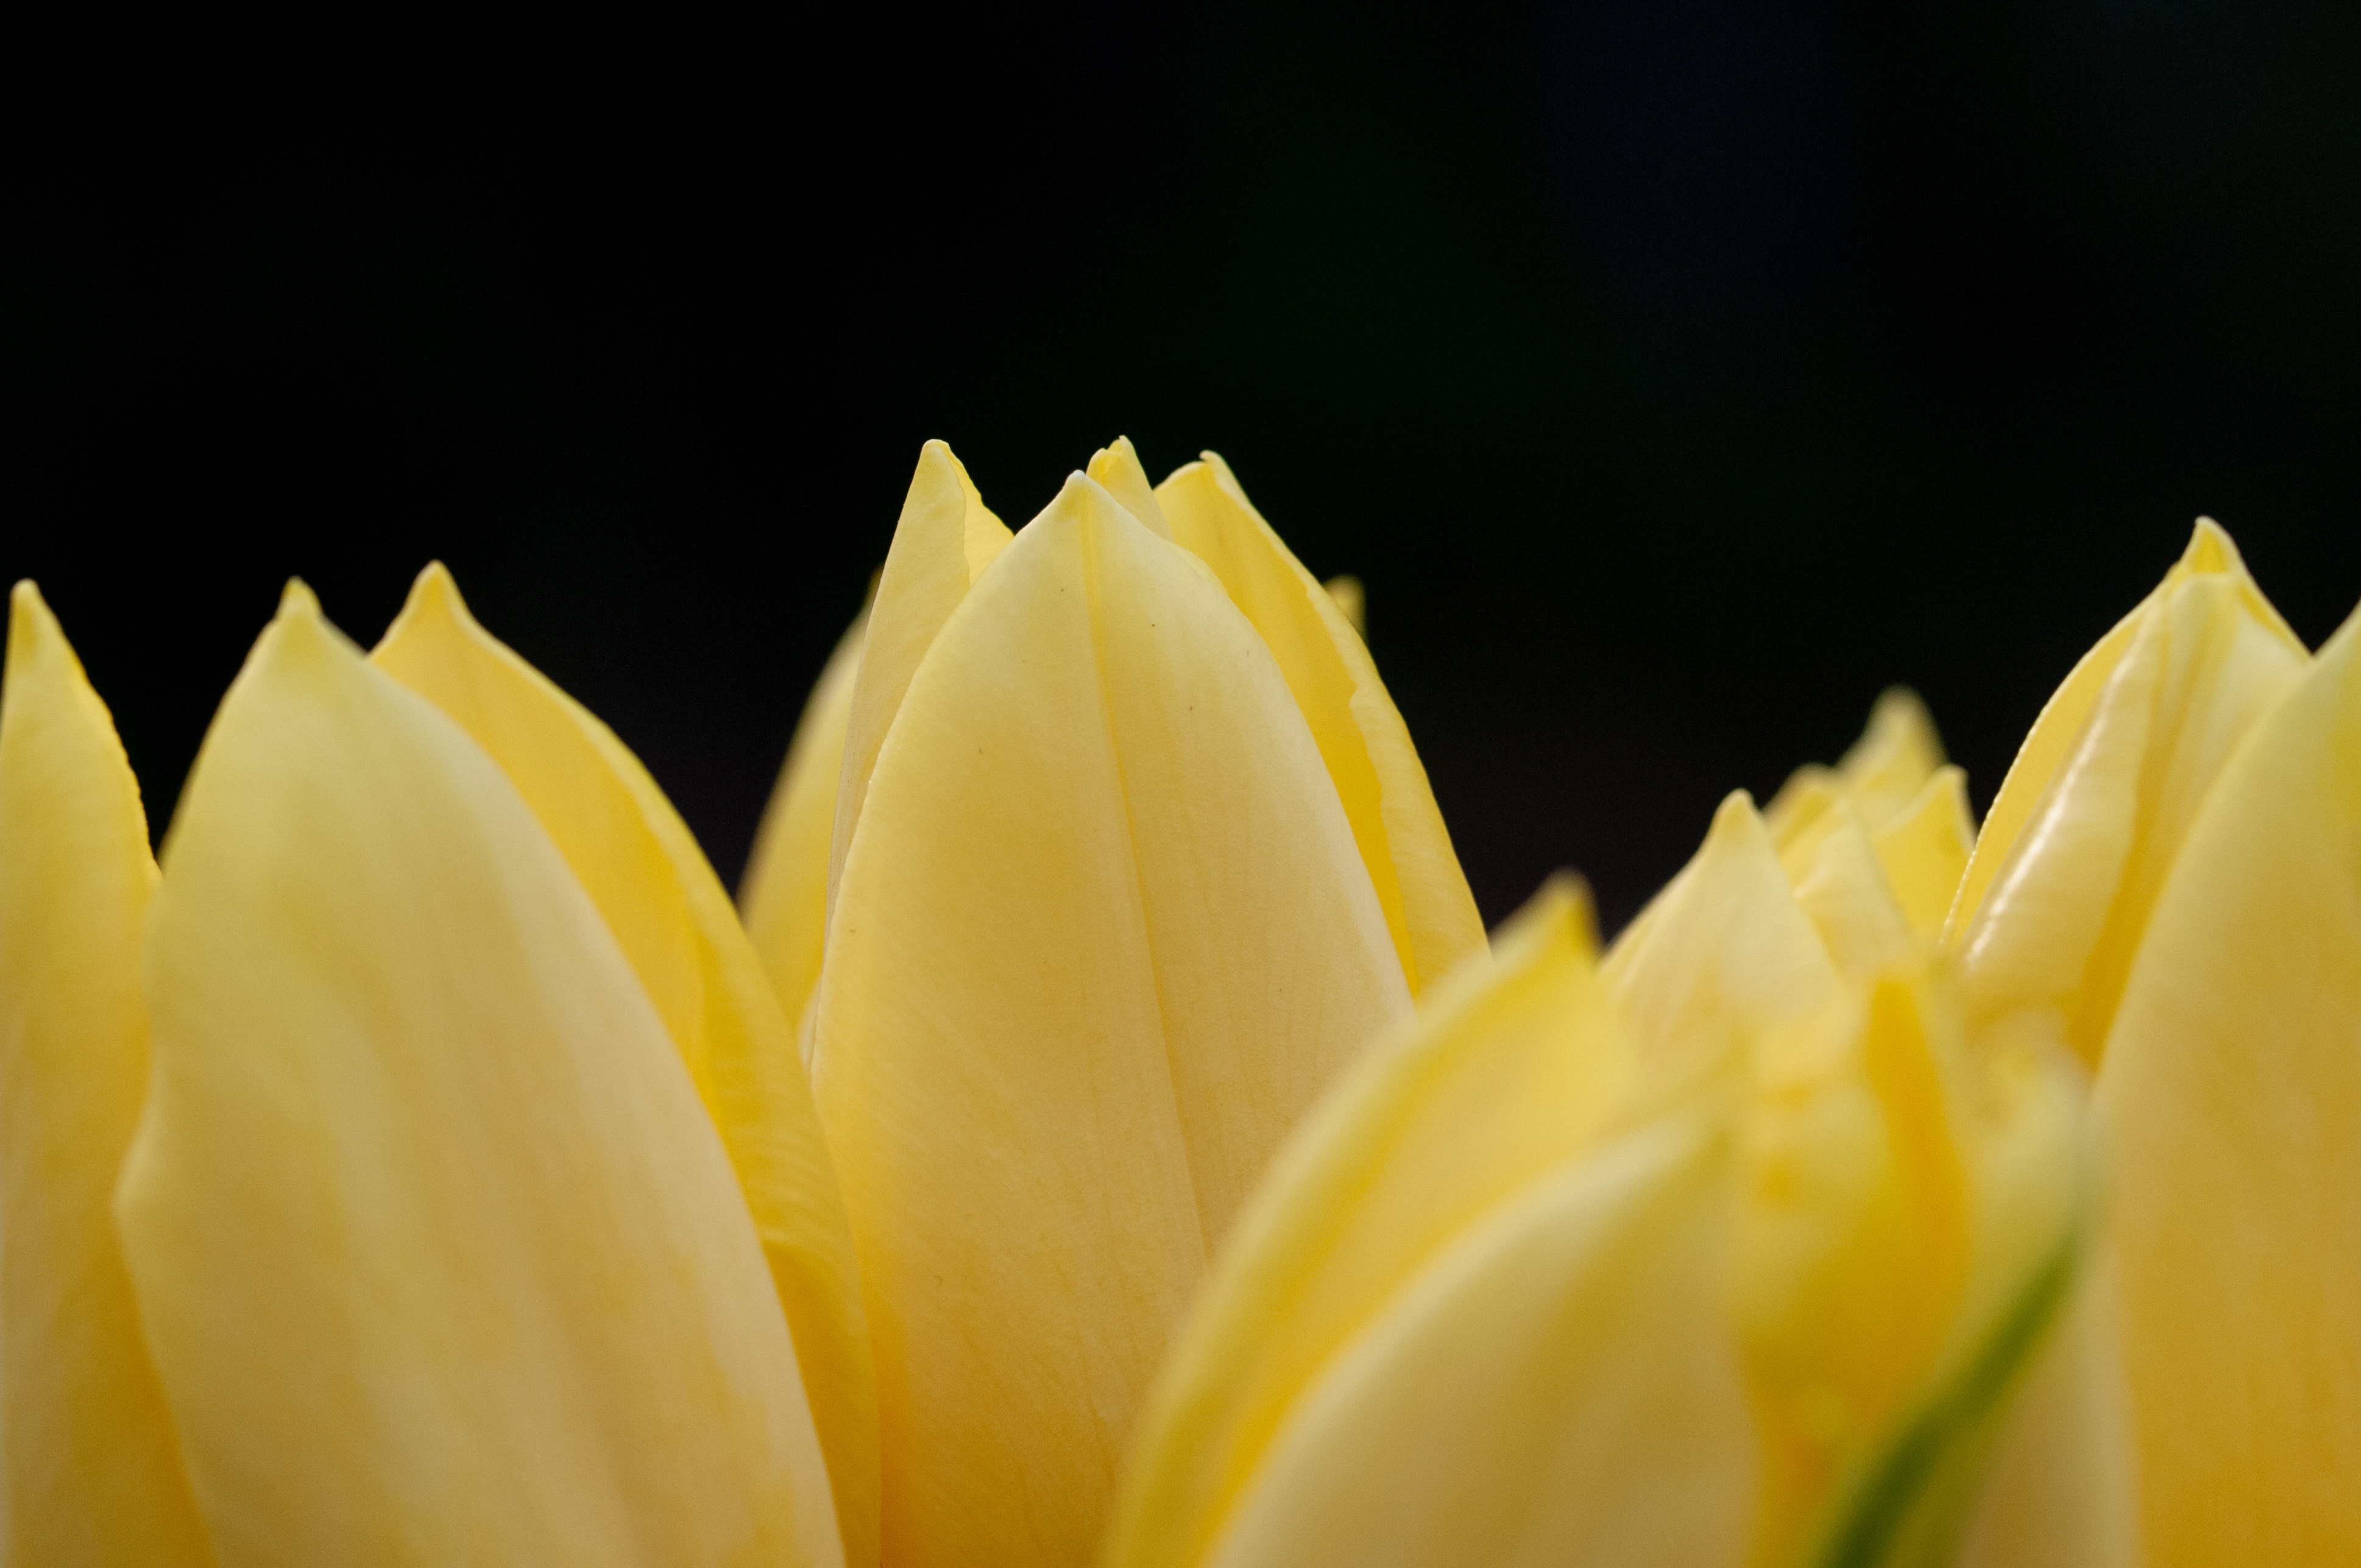
I also did the opposite, dimming the dining room lights, placing the light in front of the tulip, and exposing for the brightly lit side, which yielded higher shutter speeds like 1/160 second and nearly blacked out the background. For several of these I edited the images in Lightroom with an auto-masking brush to bring the backgrounds to complete black. I switched to off-camera flash and achieved the same effect (though less reliably) in mid-day light at f/11, ISO 100, and 1/250 second exposure.
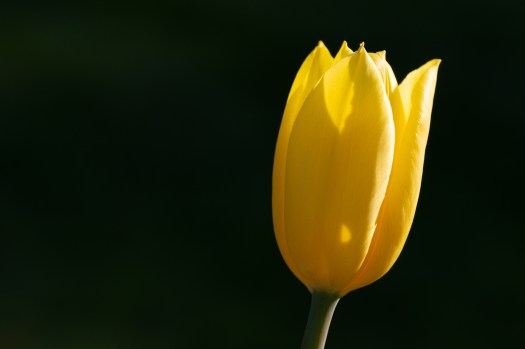
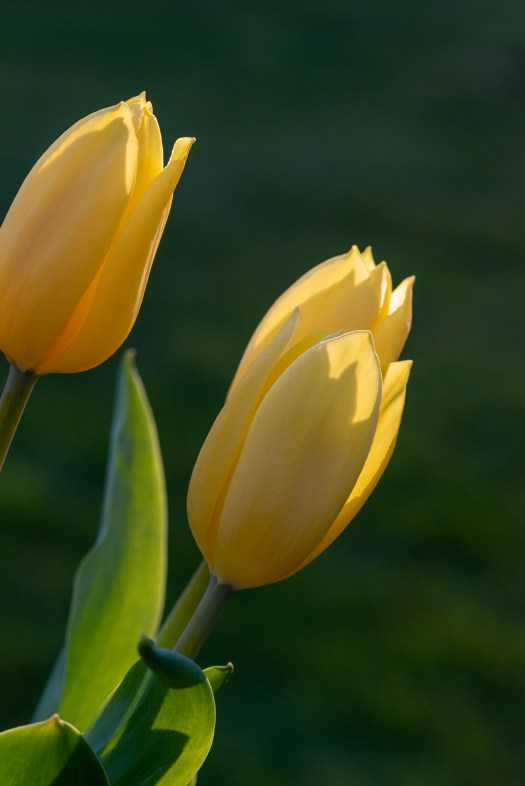
I tried simulating the strong sunlit backlighting I enjoyed so much in my dining room “studio” but it couldn’t match nature, so I brought my tulips outside to catch the sun when it was nearly at the horizon and extremely bright. I placed the vase on the ground and also borrowed a stump in my neighbor’s yard to raise them up and make positioning easier. It was splendid! The light was beautiful and the grass made for beautiful blurry green backgrounds.
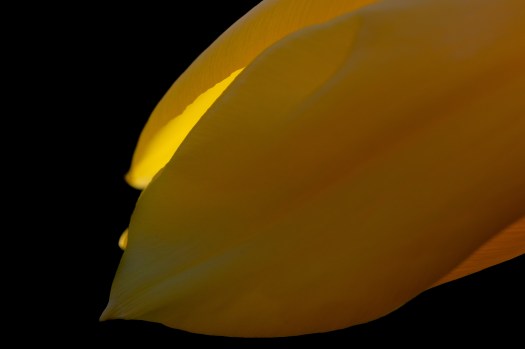
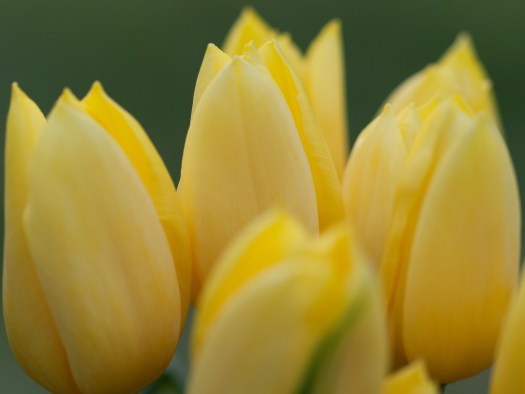


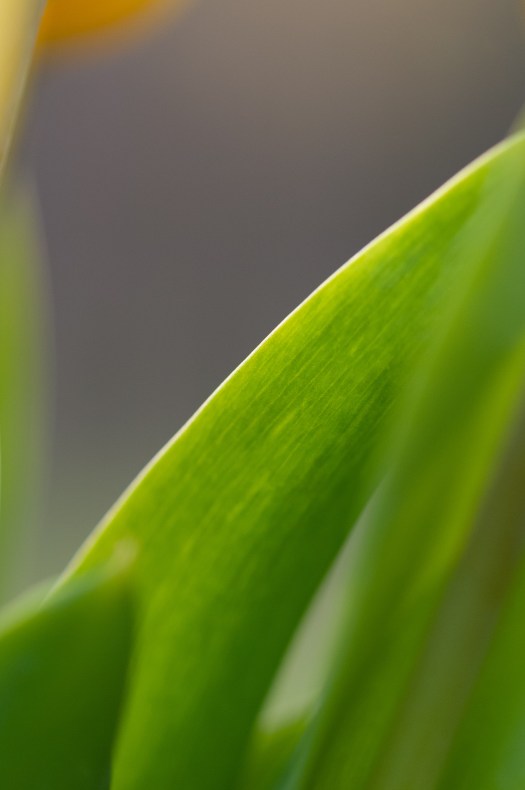
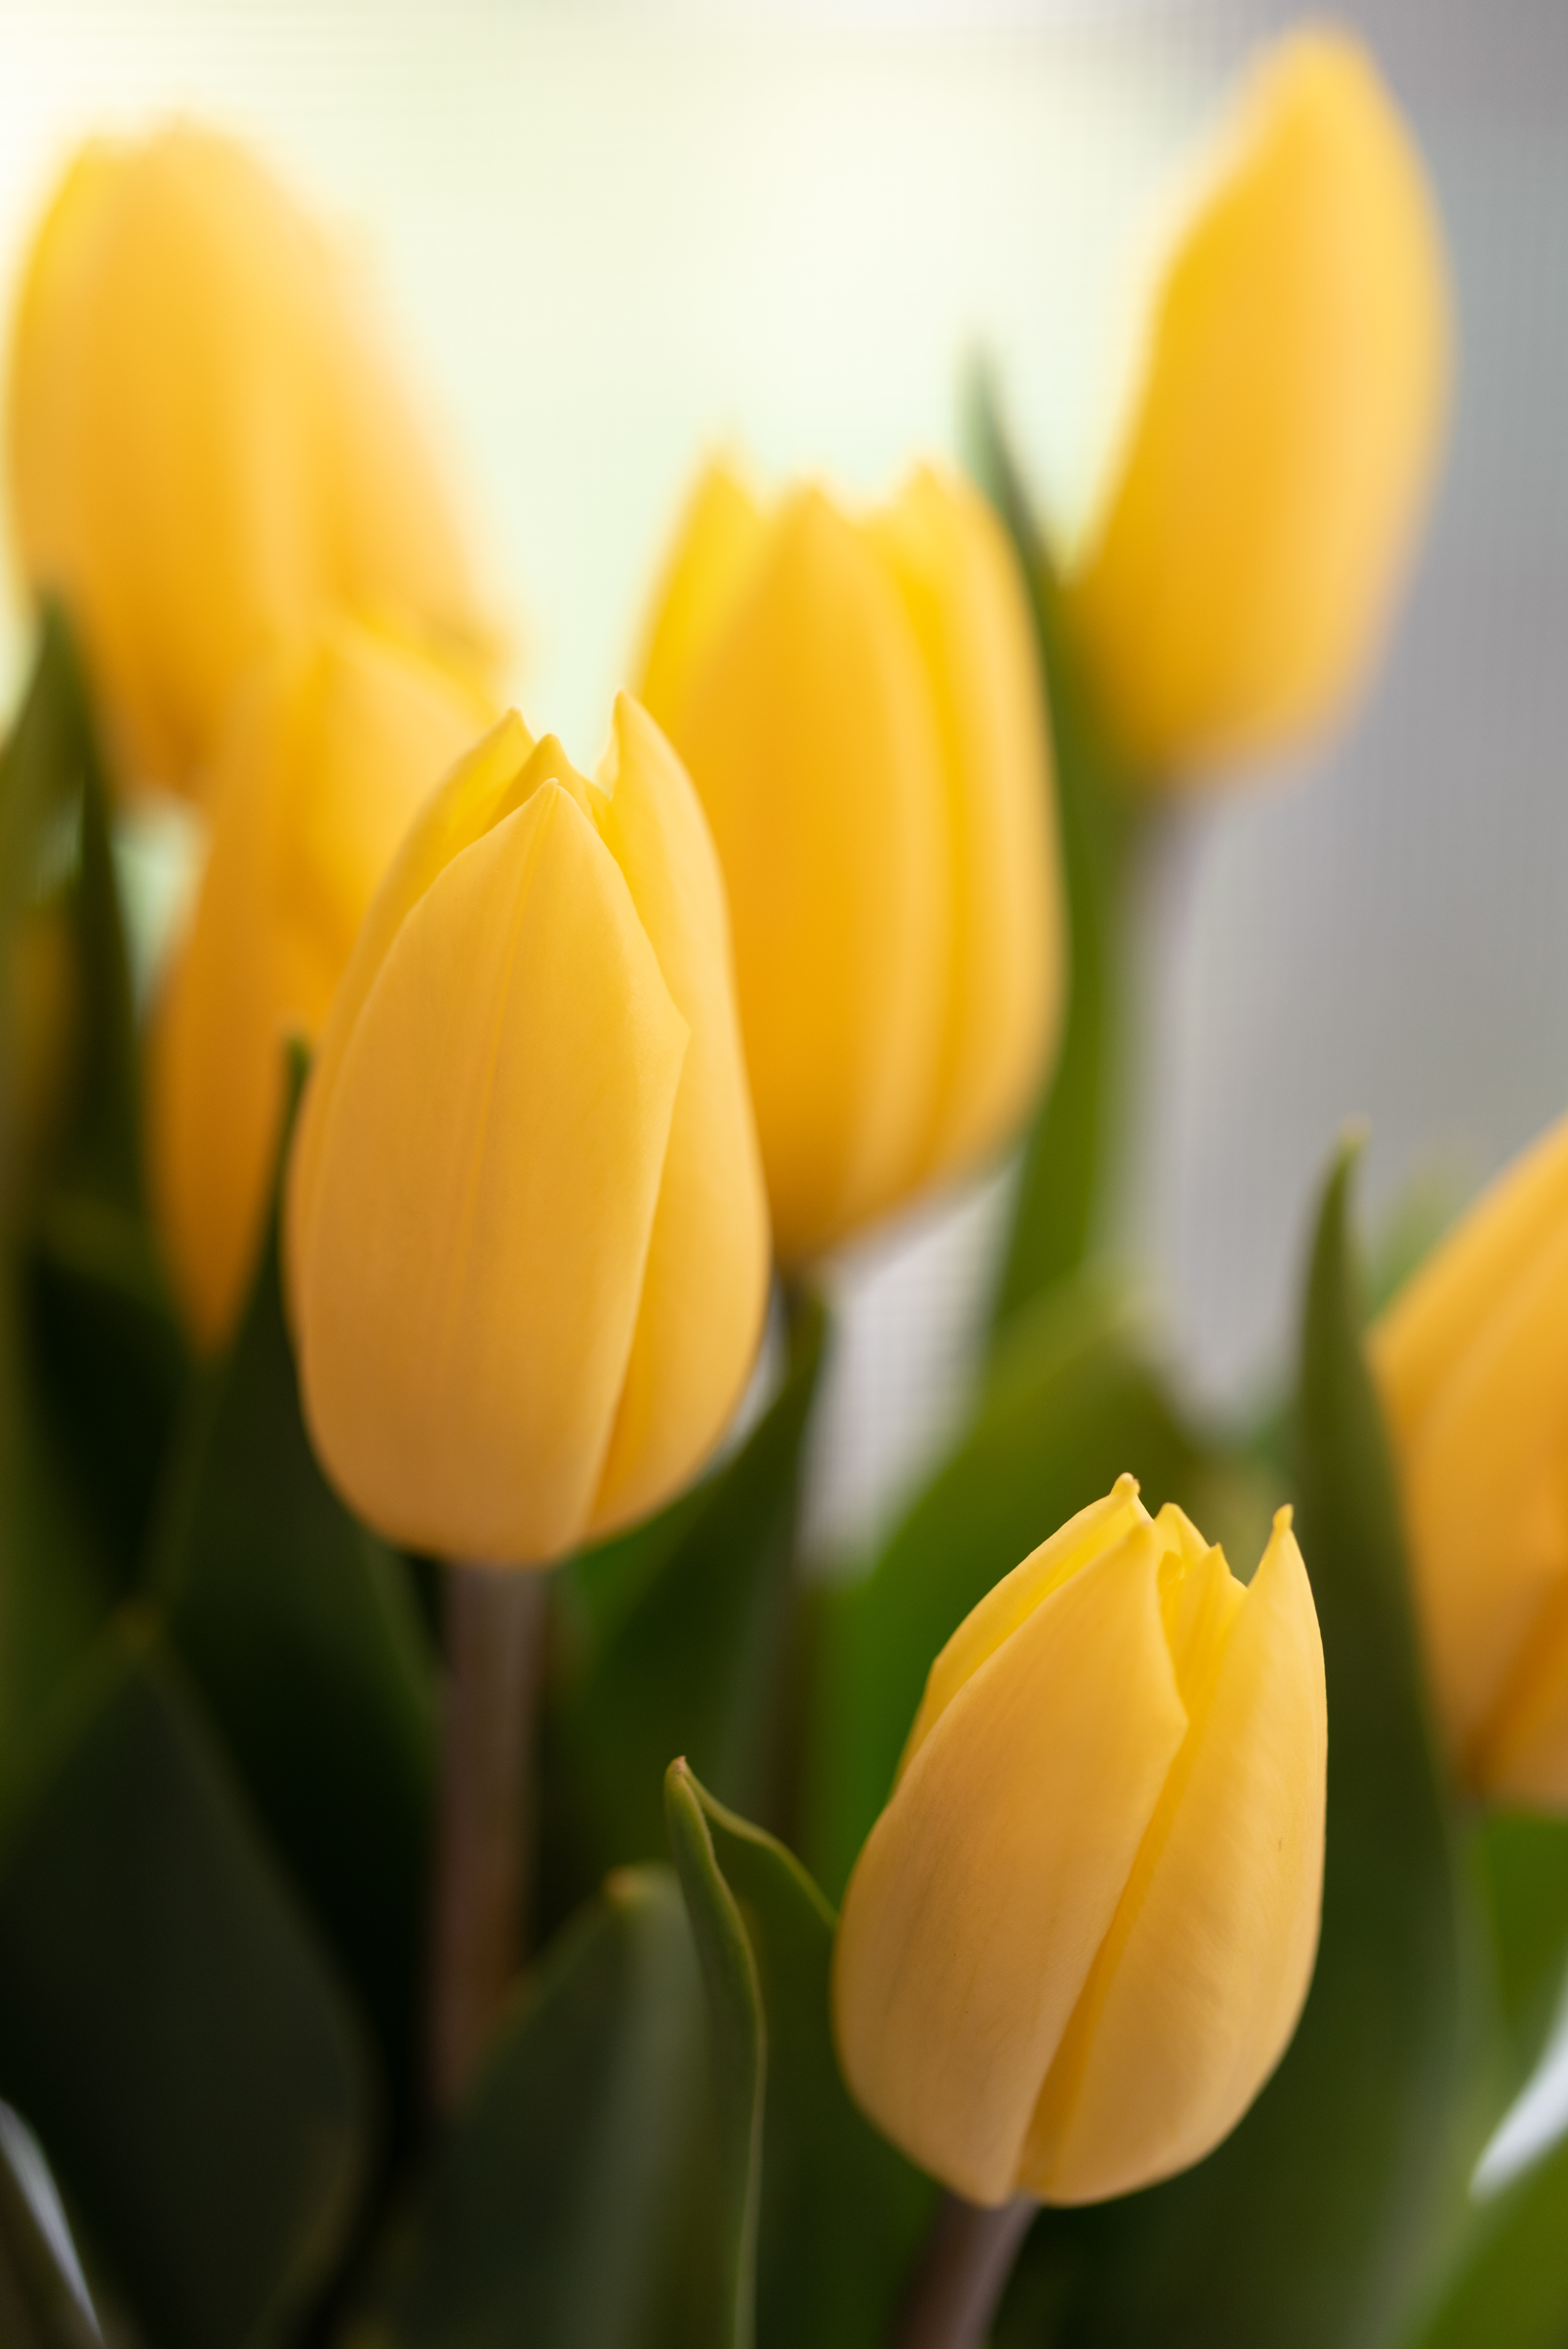
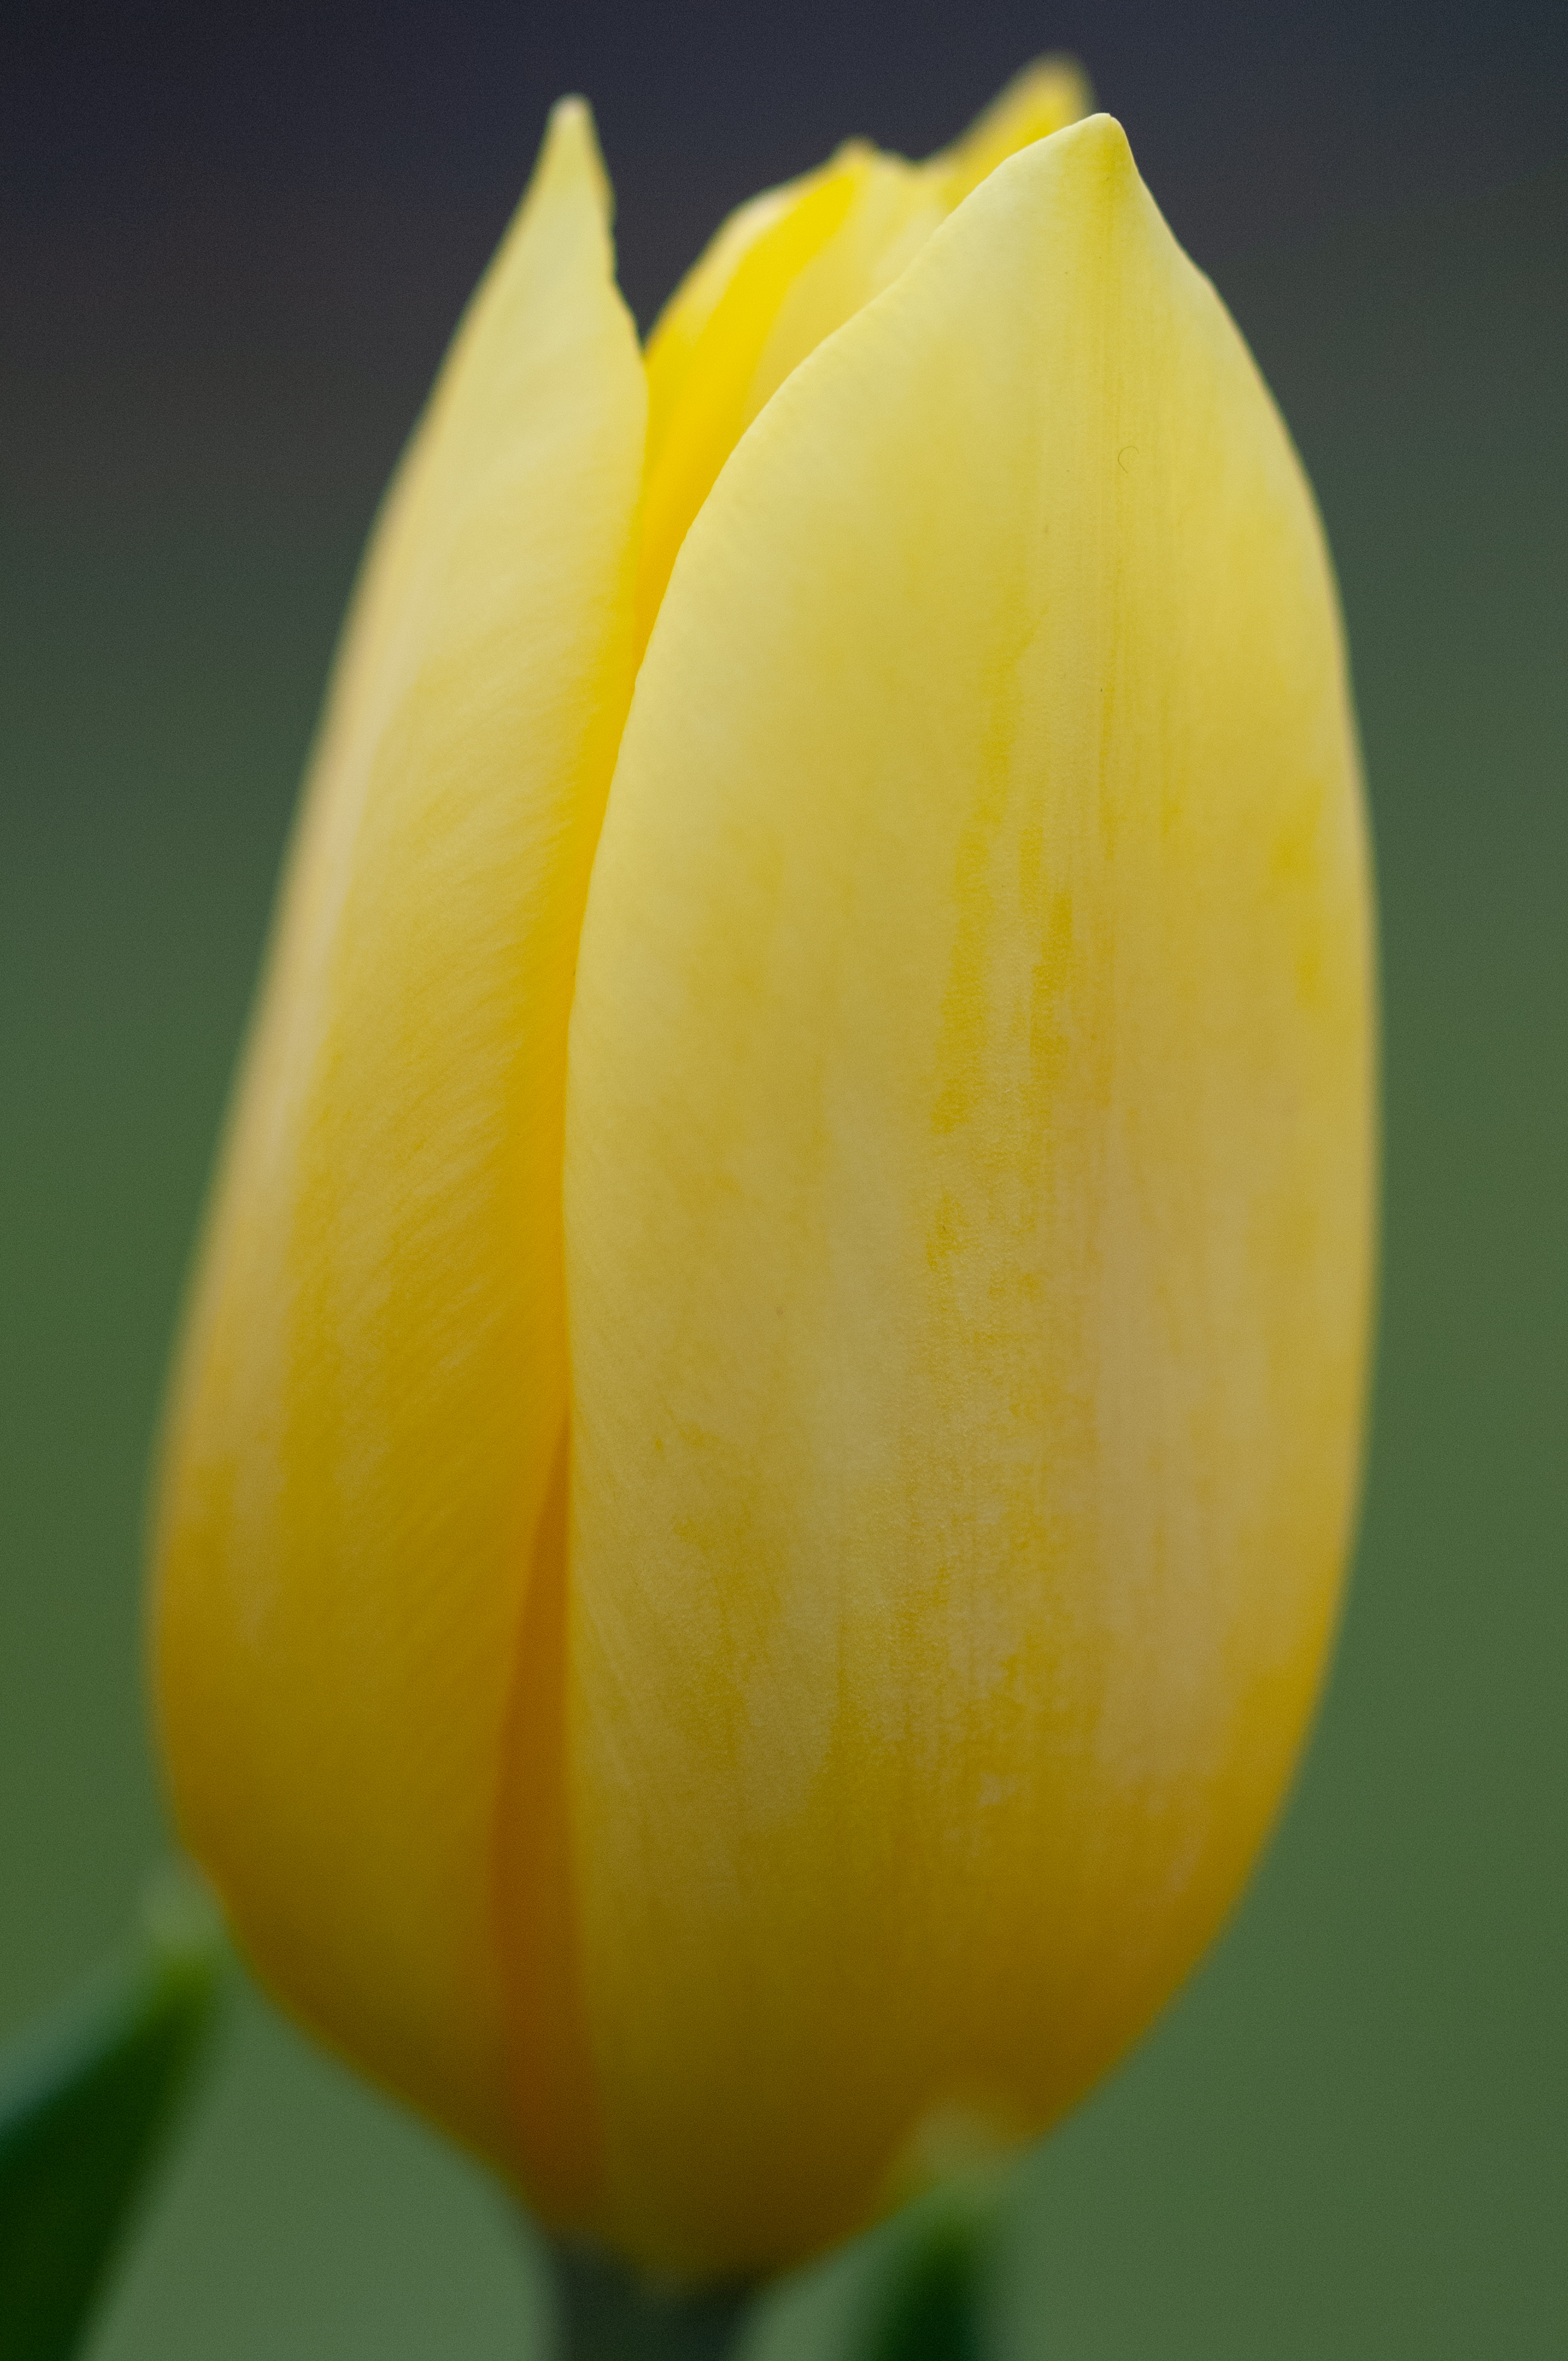
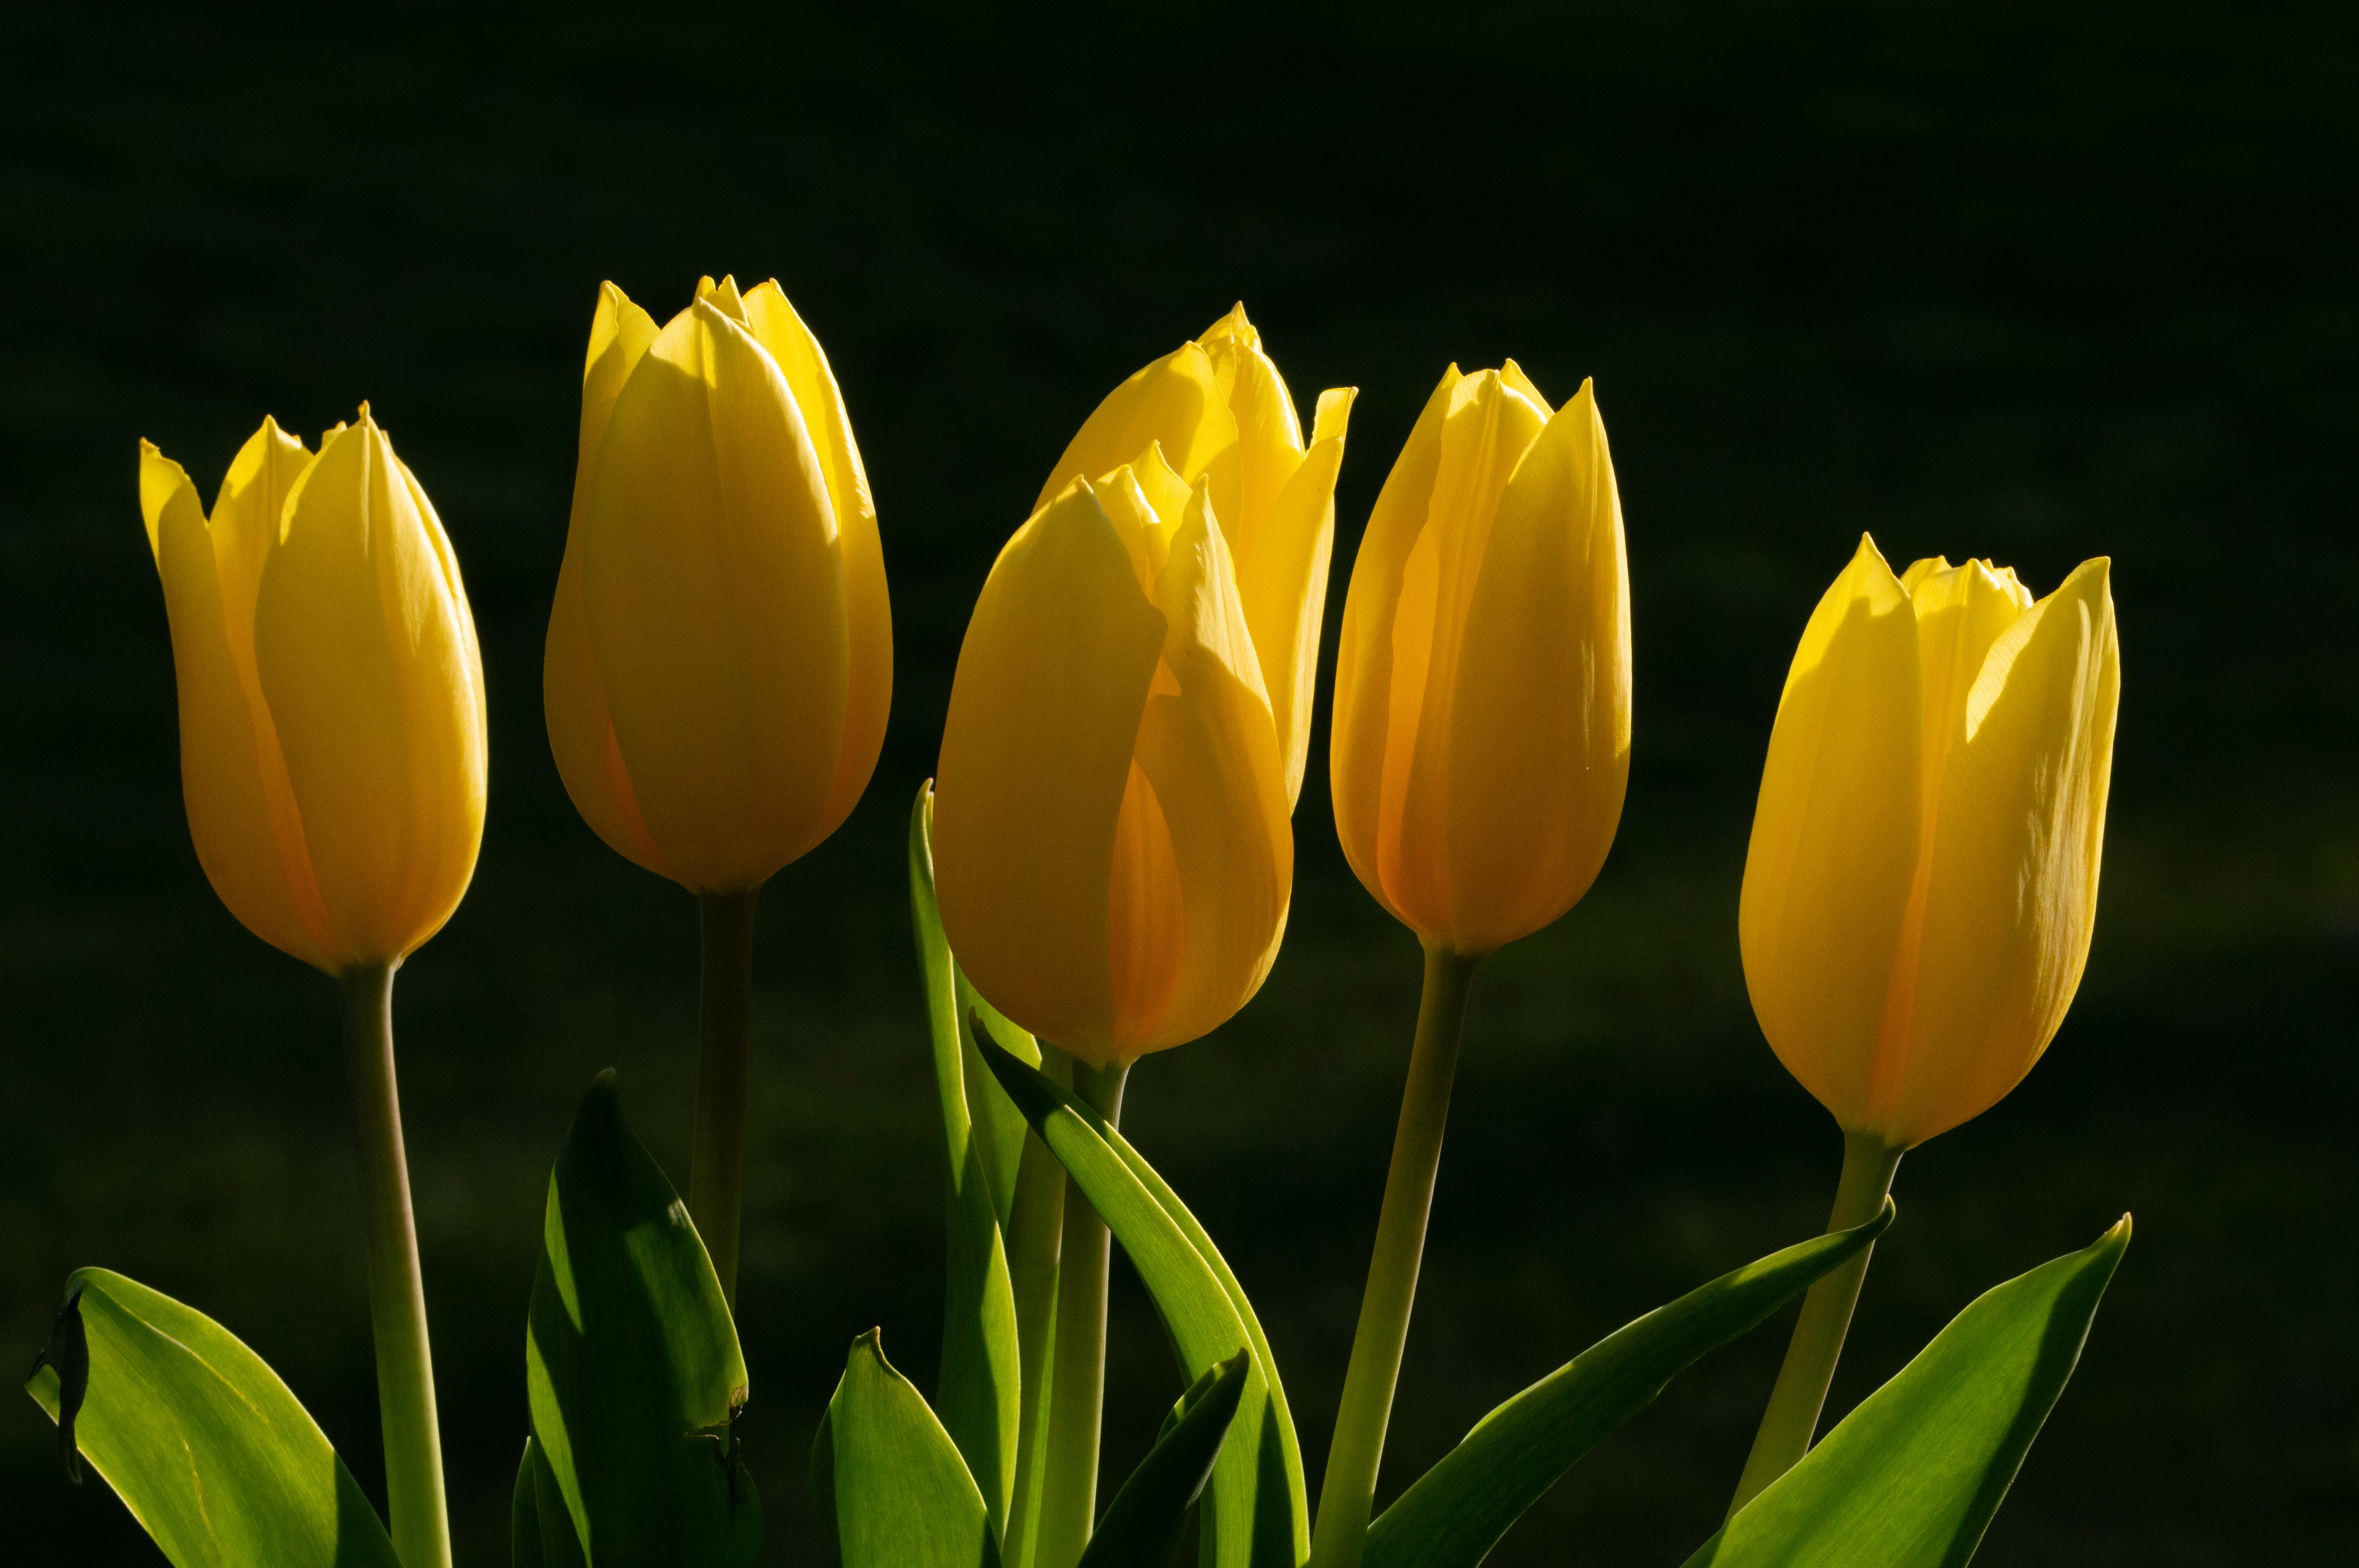
I took as many shots as I could in as many positions as I could think of – up close, far away, strong light, soft light, one flower, many flowers, with stem, without stem, dark background, light background. I also focused on the leaves for a few shots, and they came out really nicely.
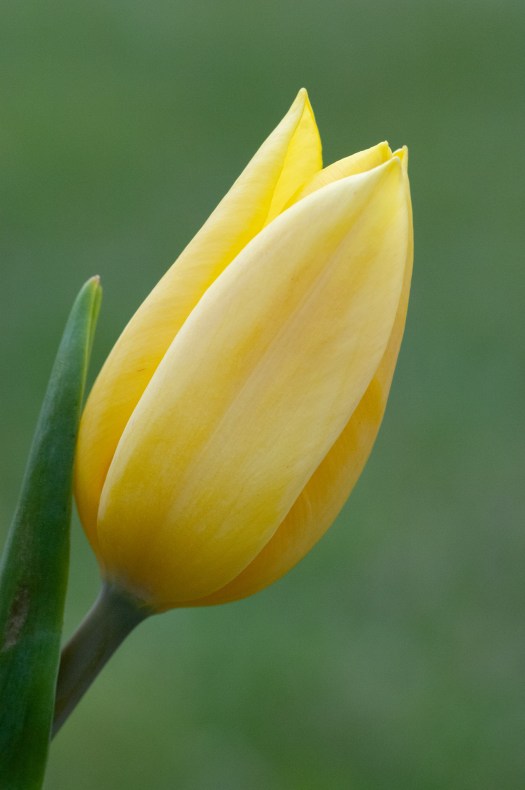
Most of my images were taken with my 90mm macro and I really got to know it during this process. I’m really glad I did. Though I researched extensively when I purchased it a few years ago I thought that it wasn’t as good as reviews had implied. Turns out I just didn’t know how to use it!
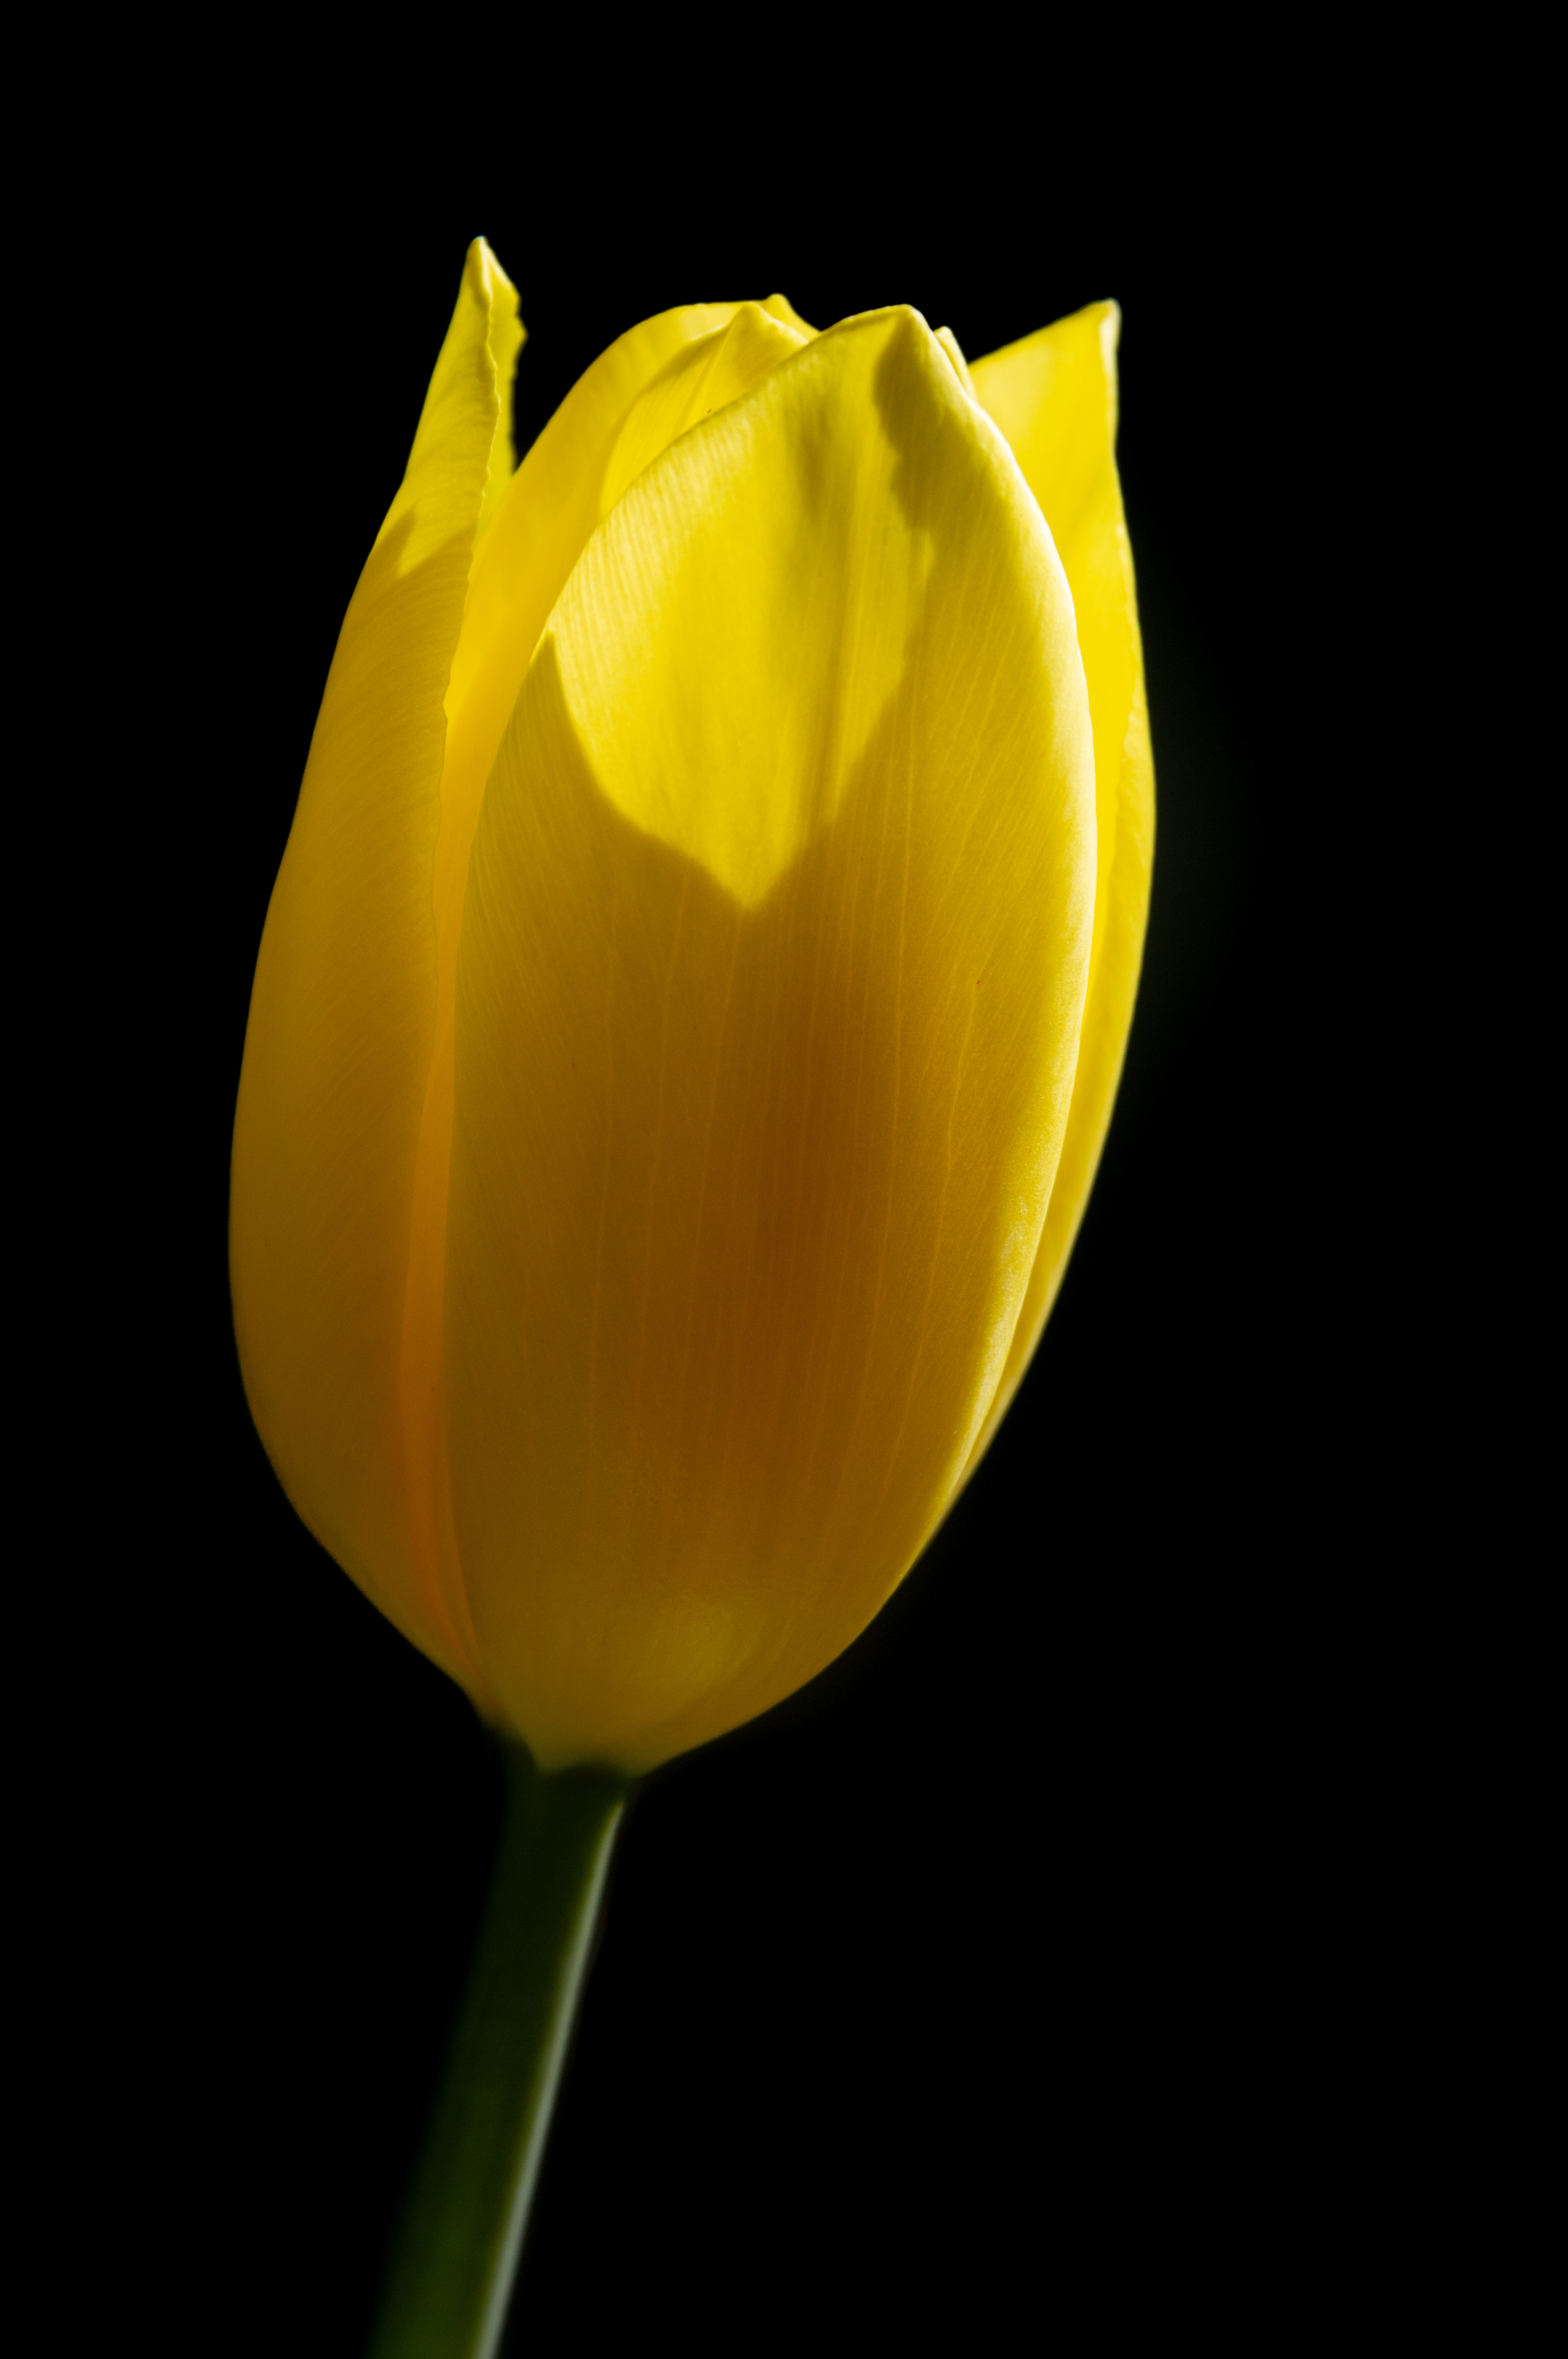
It takes absolutely beautiful images – super sharp, great colors, and strong contrast. I took many of the images using manual focus because auto just cannot lock on the right details that close (it’s a macro thing). In order to compensate for my own movement and less-than-accurate manual focus on my part (even with stabilization), I “focus-stacked” by firing 3-5 shots while ever so slightly turning the focus ring. Usually 1 out of 5 of those images was tack sharp as I intended and the rest were trash. A bit wasteful, but memory is cheap and deletion is easy.
I also learned first hand how whacked out aperture is on a macro. As you get closer to a subject (closer to 1:1 reproduction), less light is available and the effective aperture decreases. The depth of field decreases with it. I had to use small apertures like f/16 to get enough elements of the flower in focus for a good image and the background was still blurred. No wonder this lens goes up to f/40!
I took photos all week and weekend until the tulips started to wither and eventually die. I learned a ton about technique and did a lot of experimentation. I also came out with a ton of great images. I’m going to continue playing with studio lighting (umbrellas, soft boxes, and ring lights) and I bought some new subjects to take care of this weekend.
All the photos are below, with a link to full size images too.


Straight out of my D750 with no editing. Fantastic! 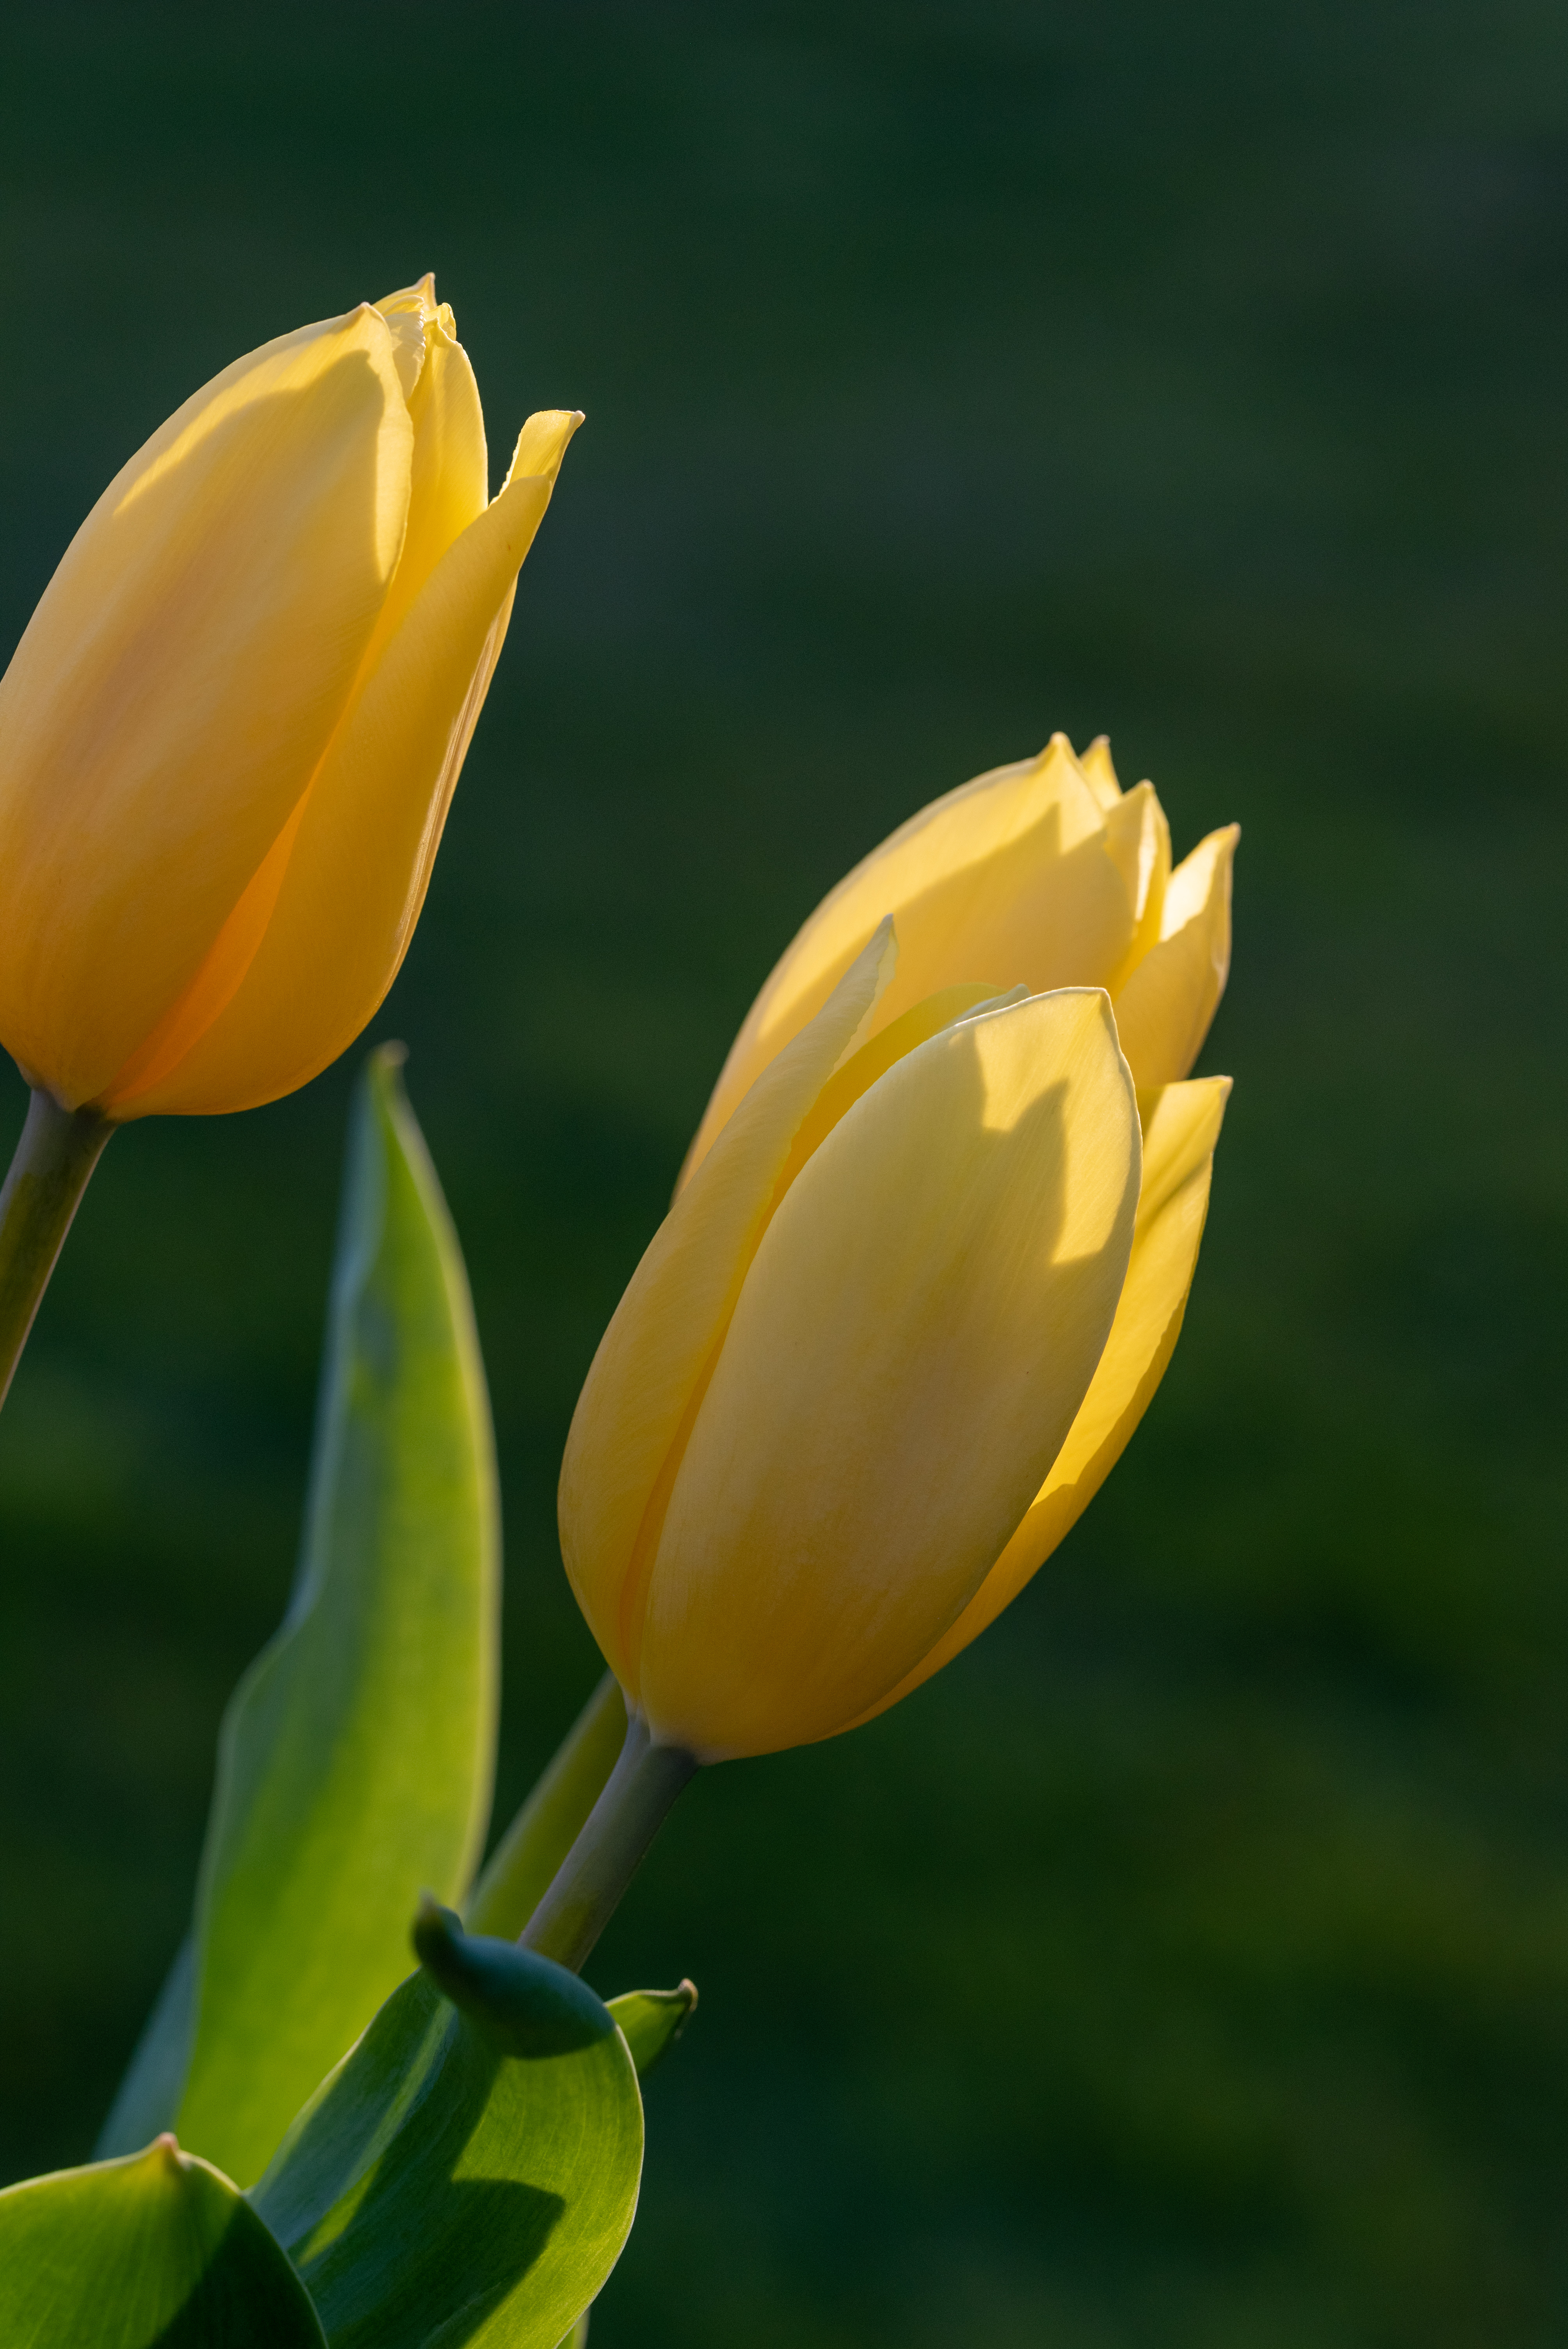
From my D750, edited to brighten the background. 
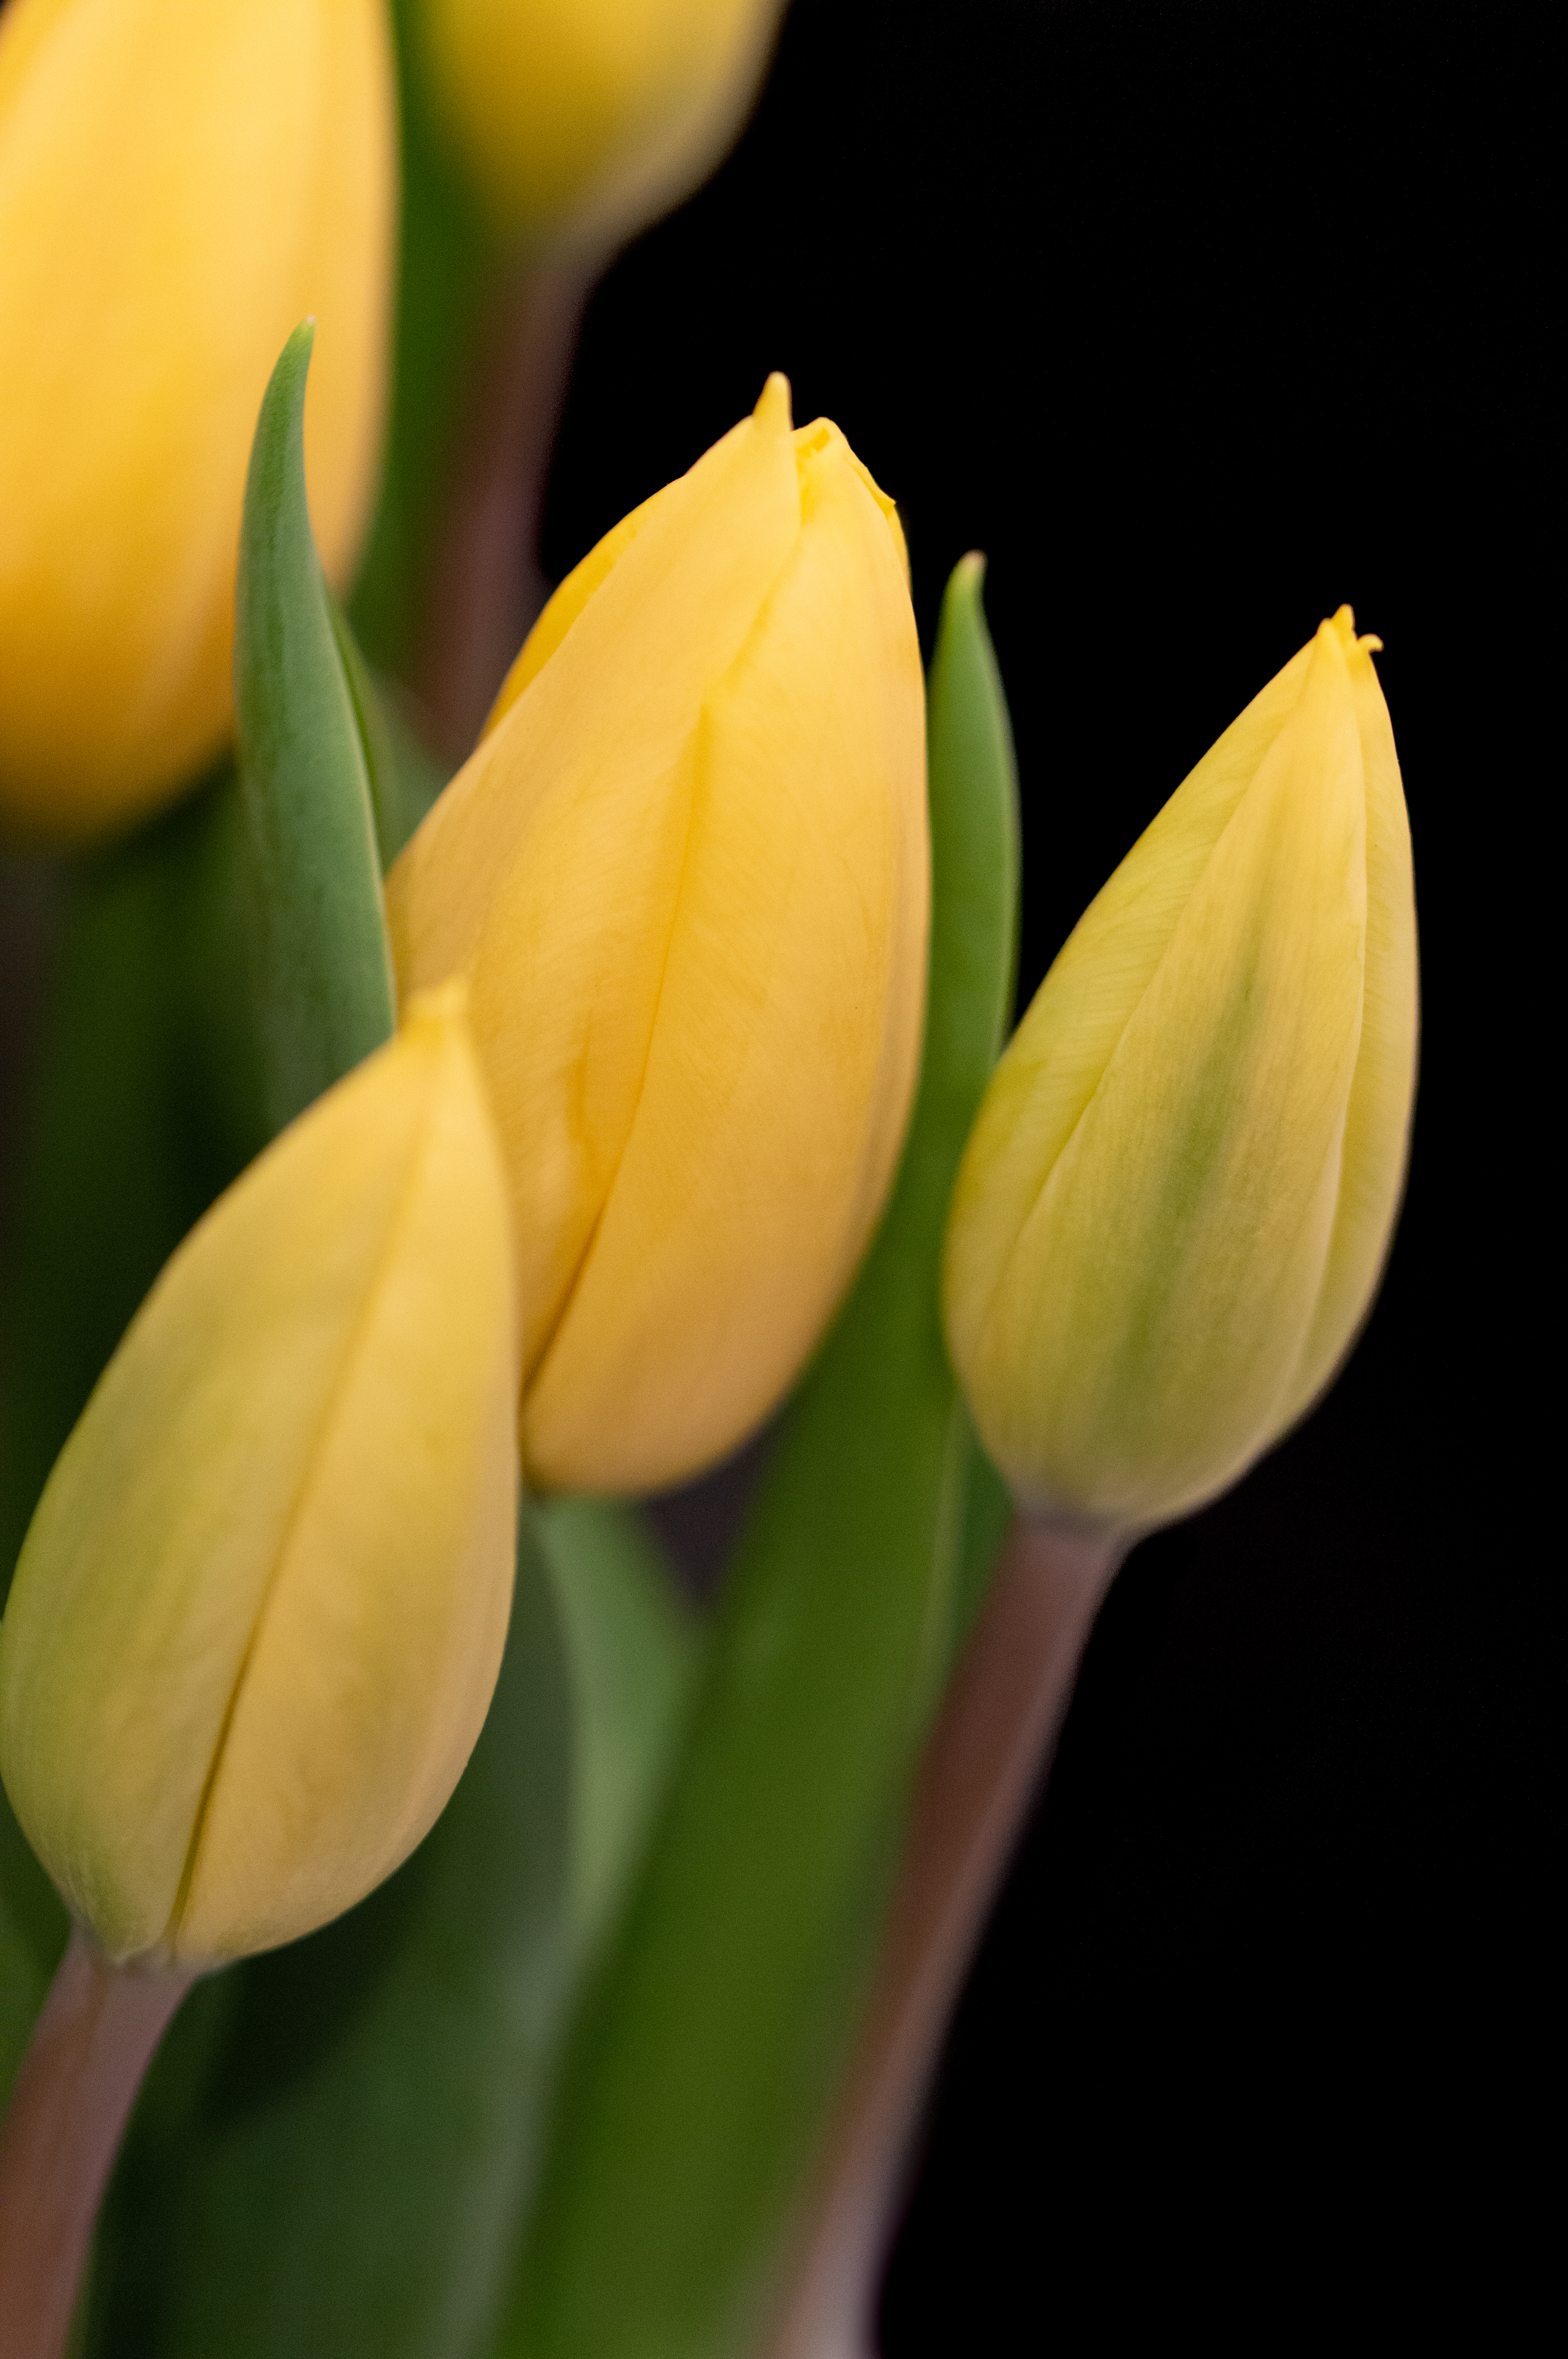
Manual focus, baby! 
From my D750, increased contrast, darkened background 
My stump setup 
There was nothing white behind this – just bright light! Could use a bit of whitening at the bottom though… 

D750. Slight exposure adjustment but nothing else. 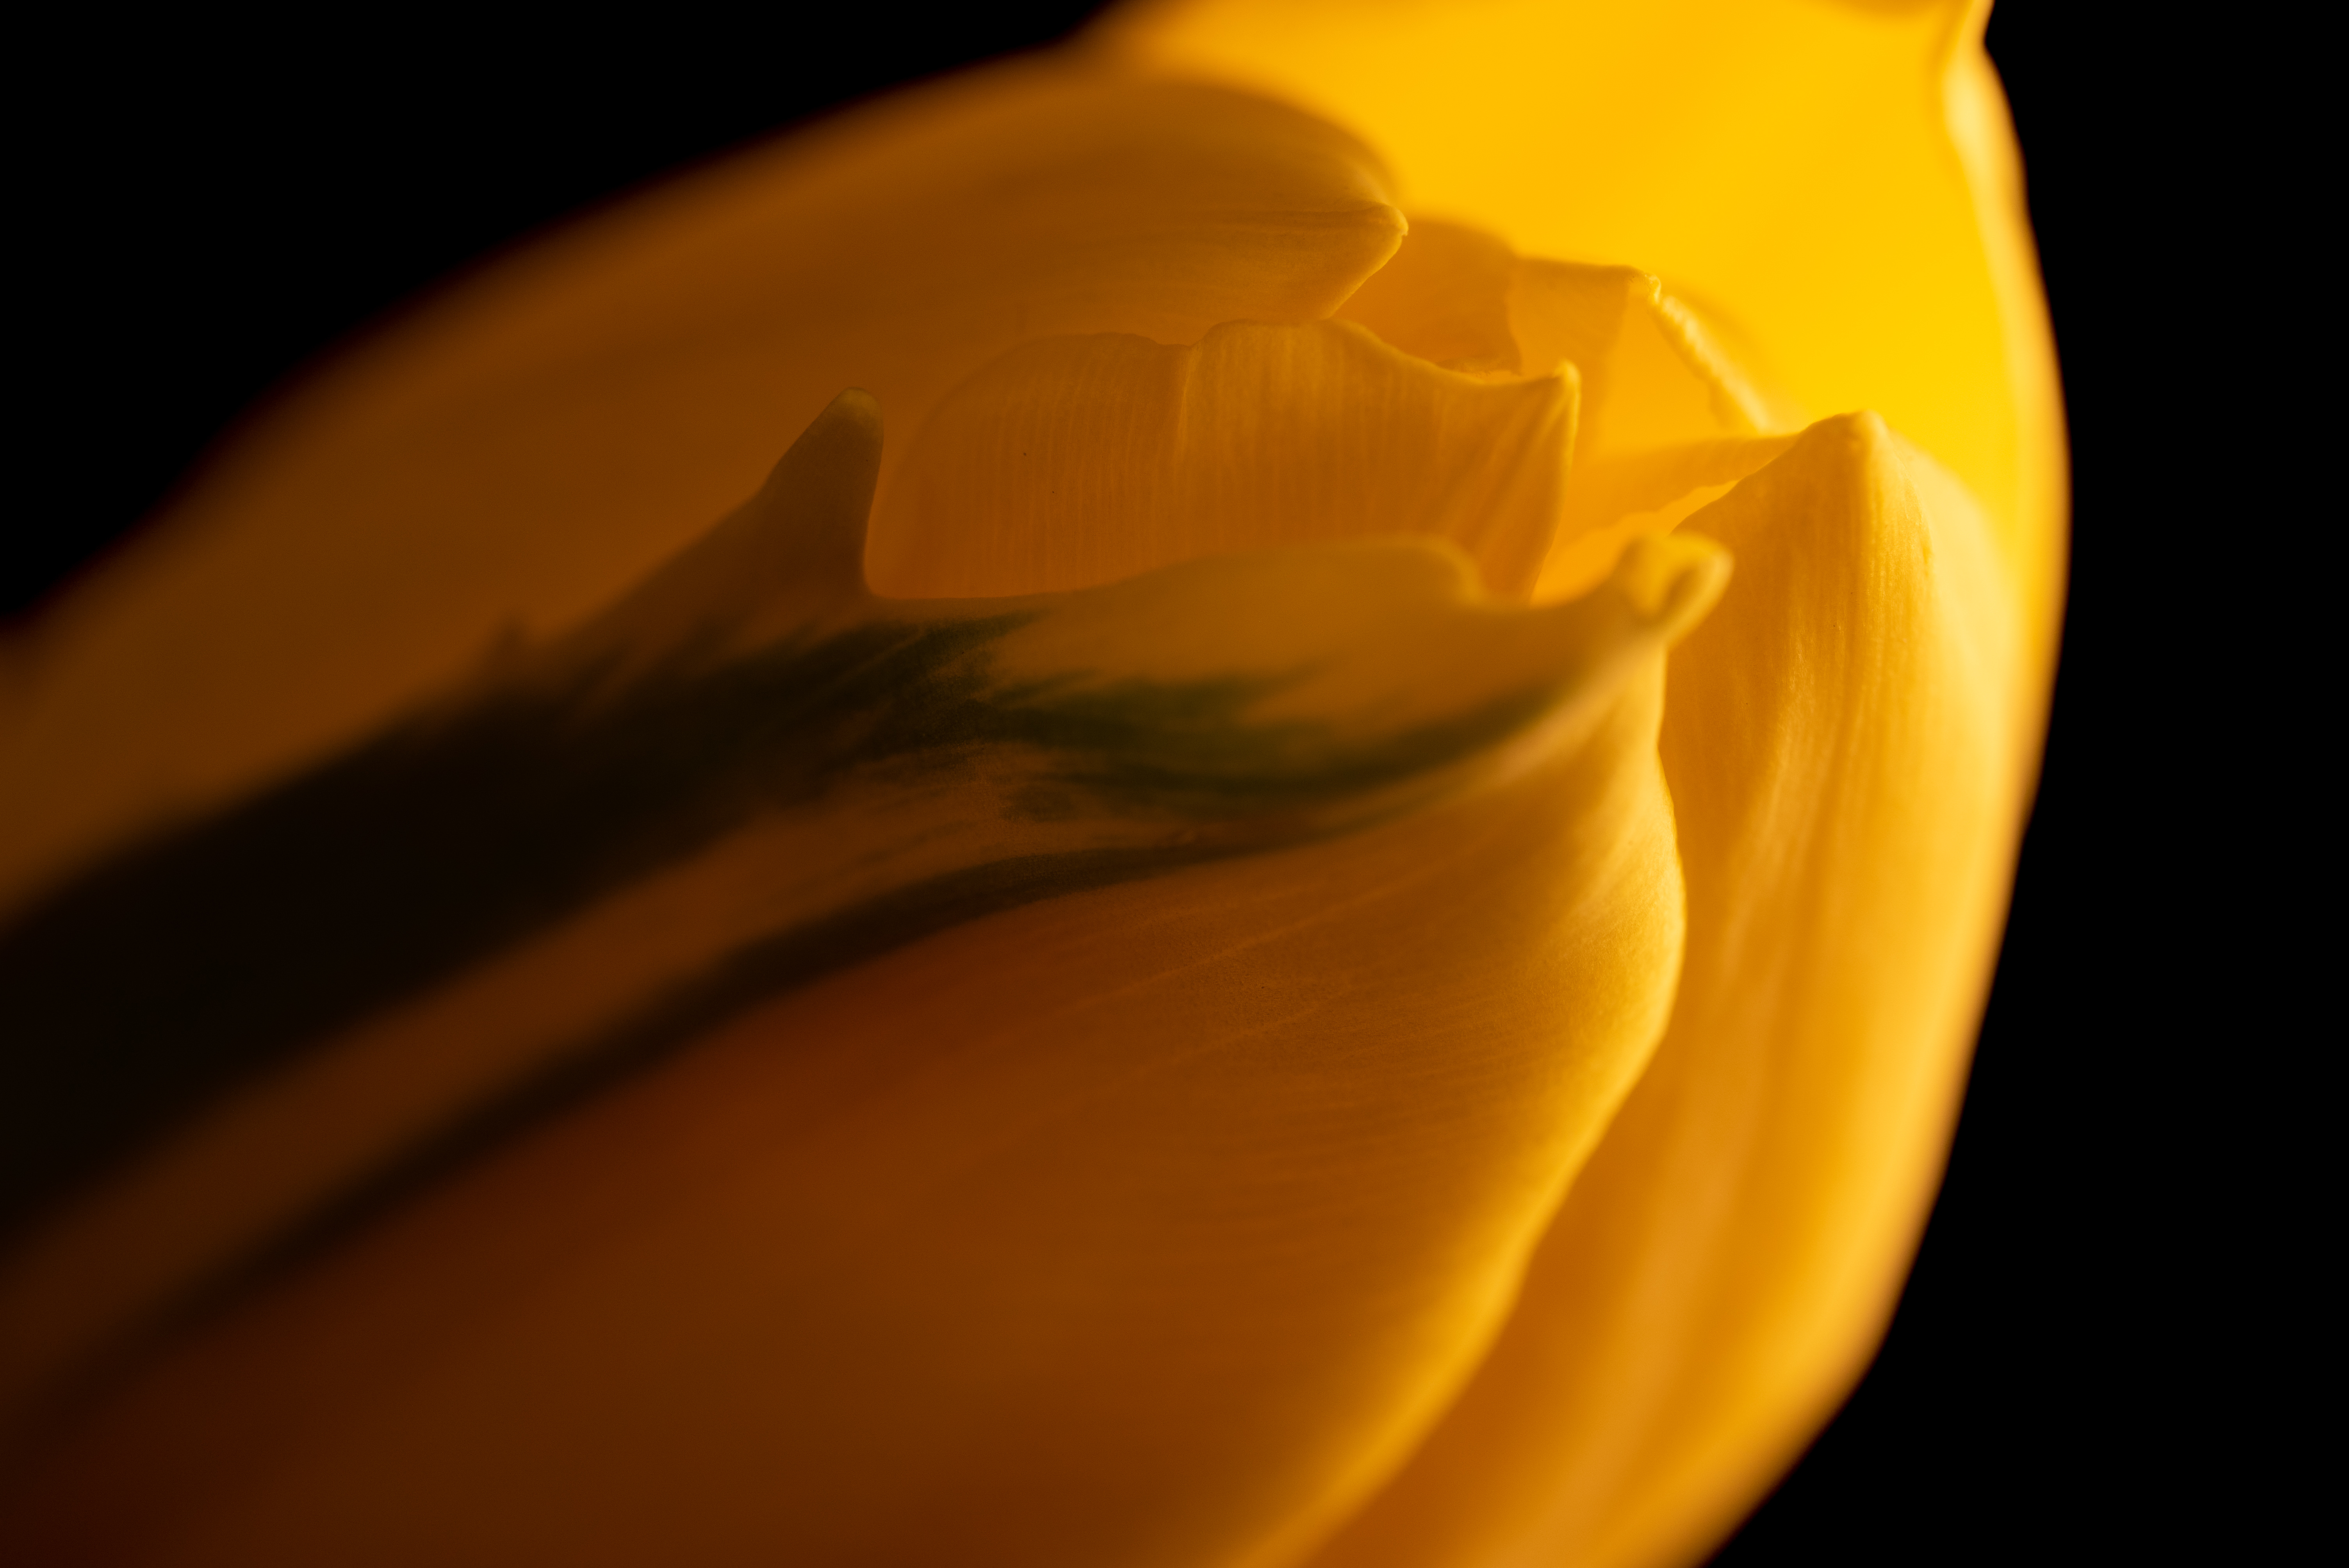

It was so windy, but I like the flare here 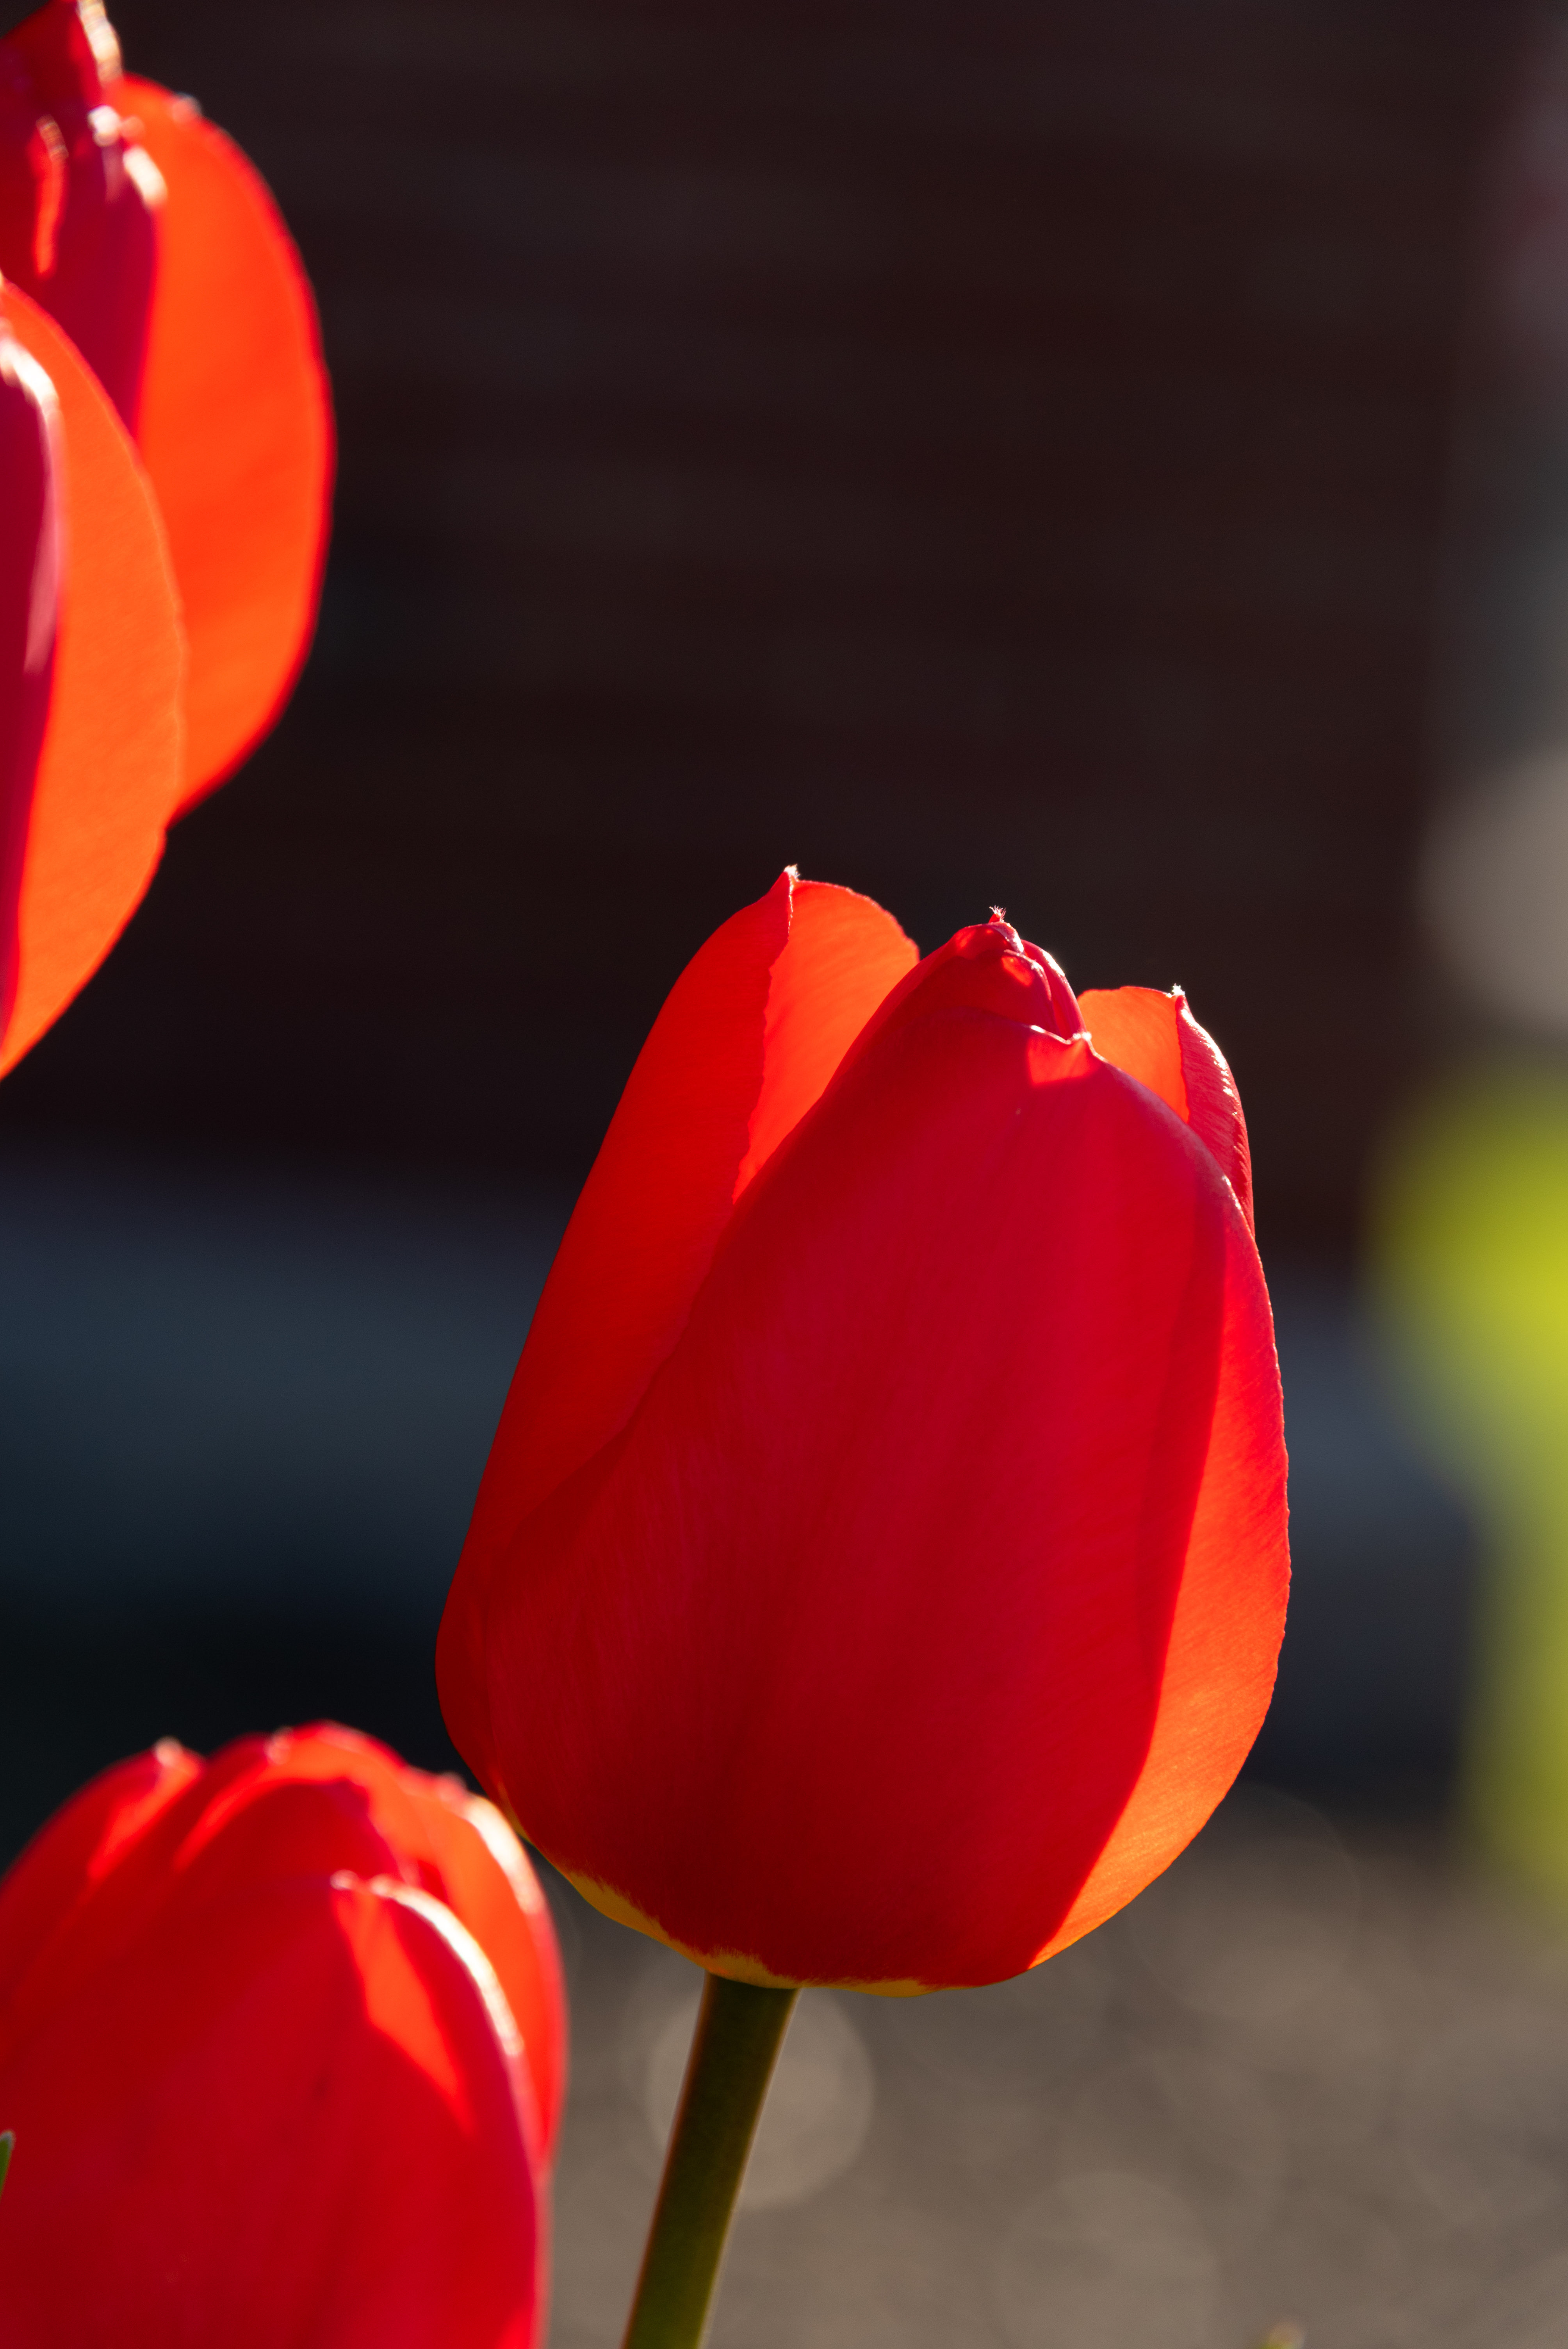
I could make this a “studio image” by using a masked-brush in Lightroom to blacken the background 


This was taken on a 14-year-old 12 MP camera. Antique? 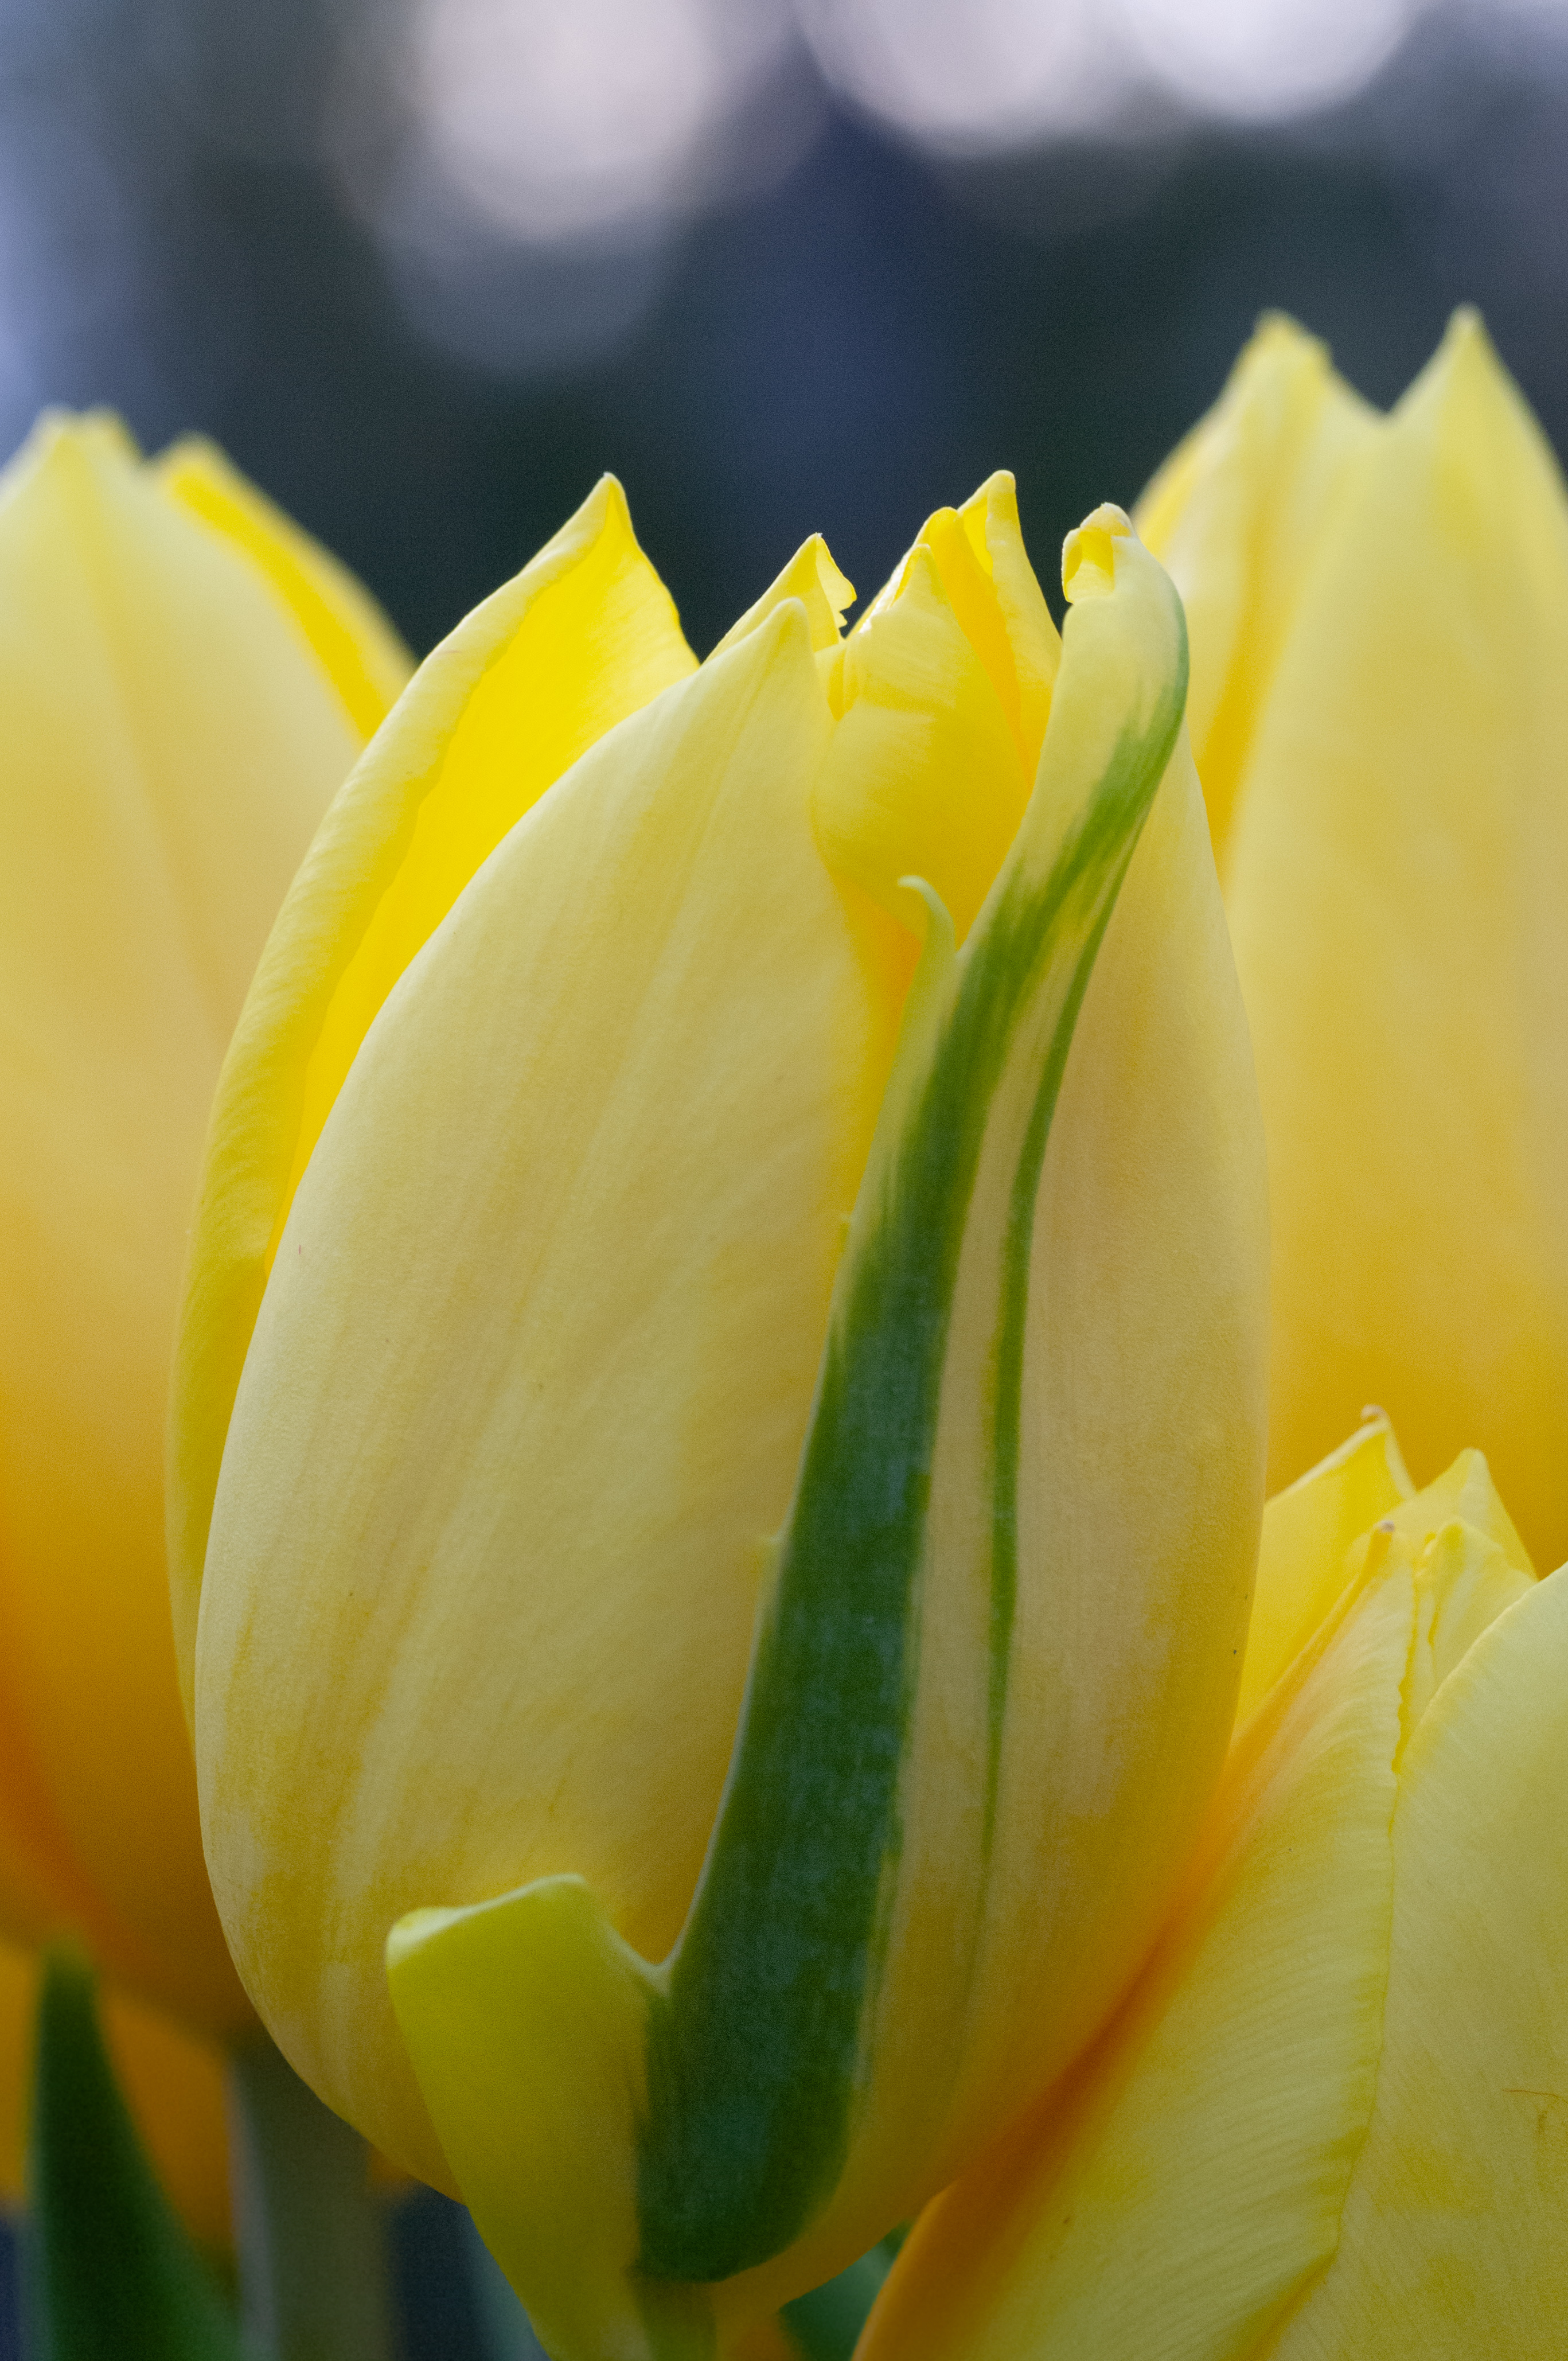


D750. Unedited. 


D3200, background brushed black. Not bad for a “beginner” camera that was $500 new. 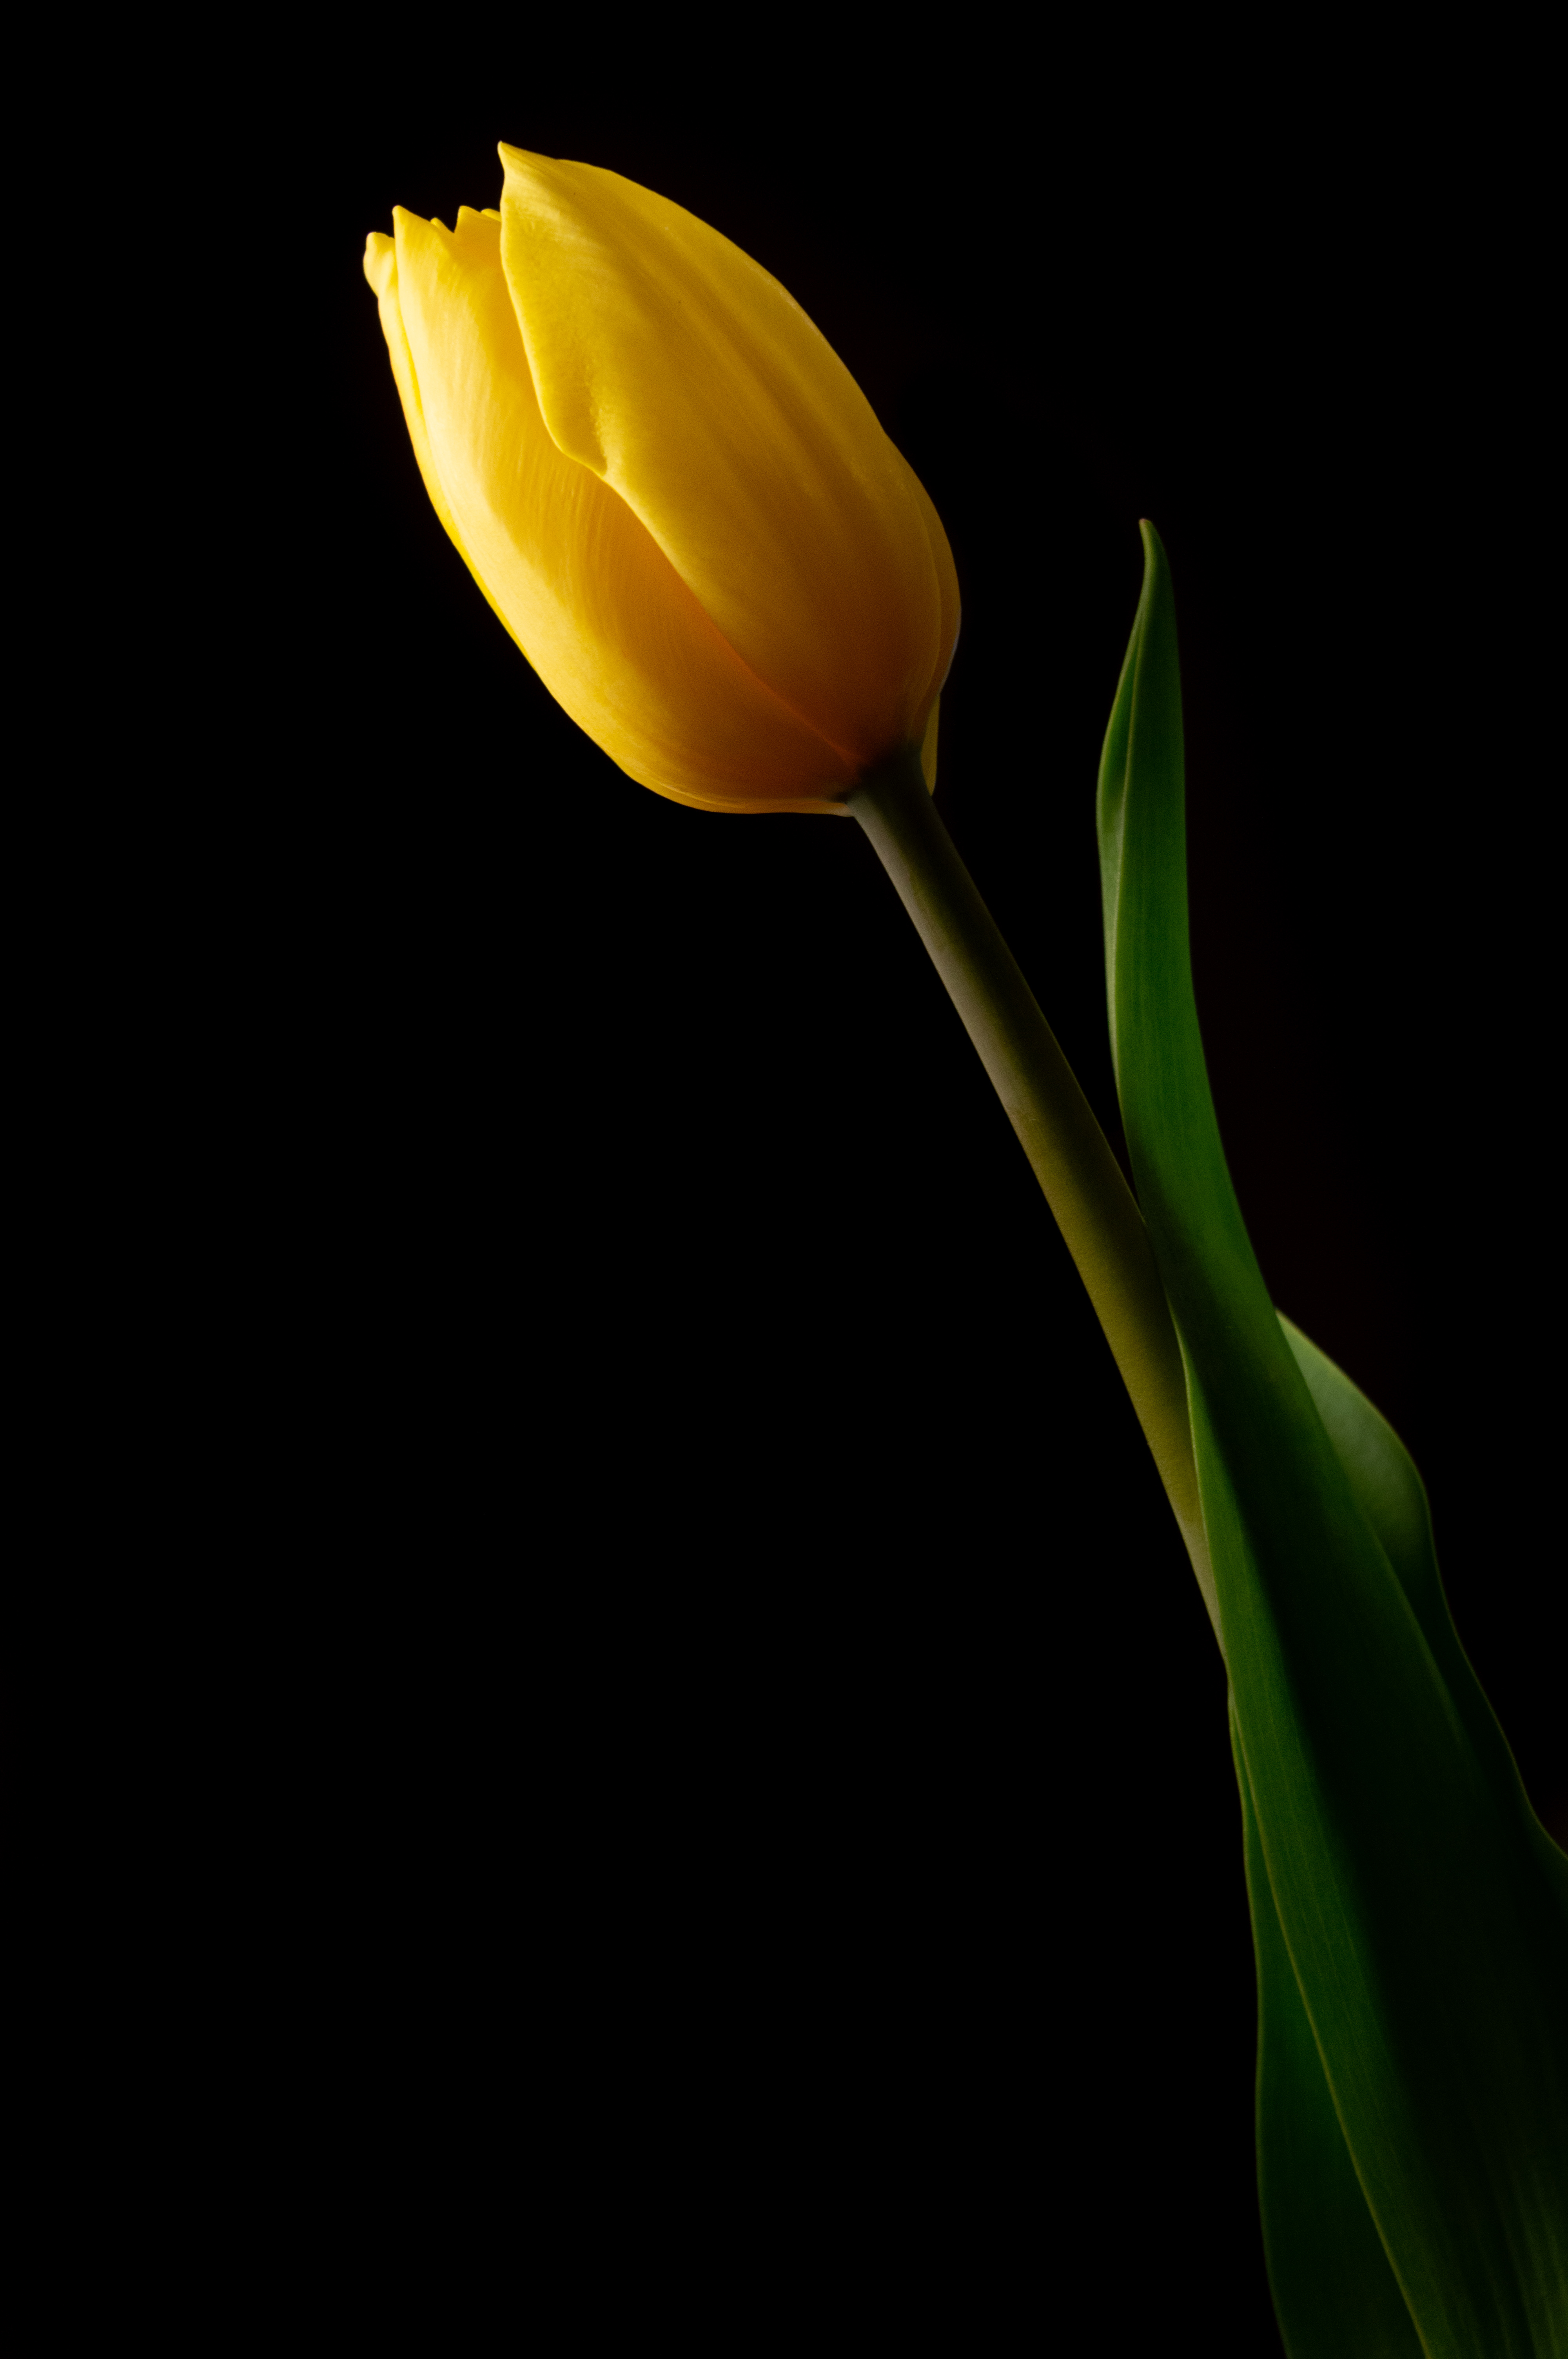
Also brushed black background 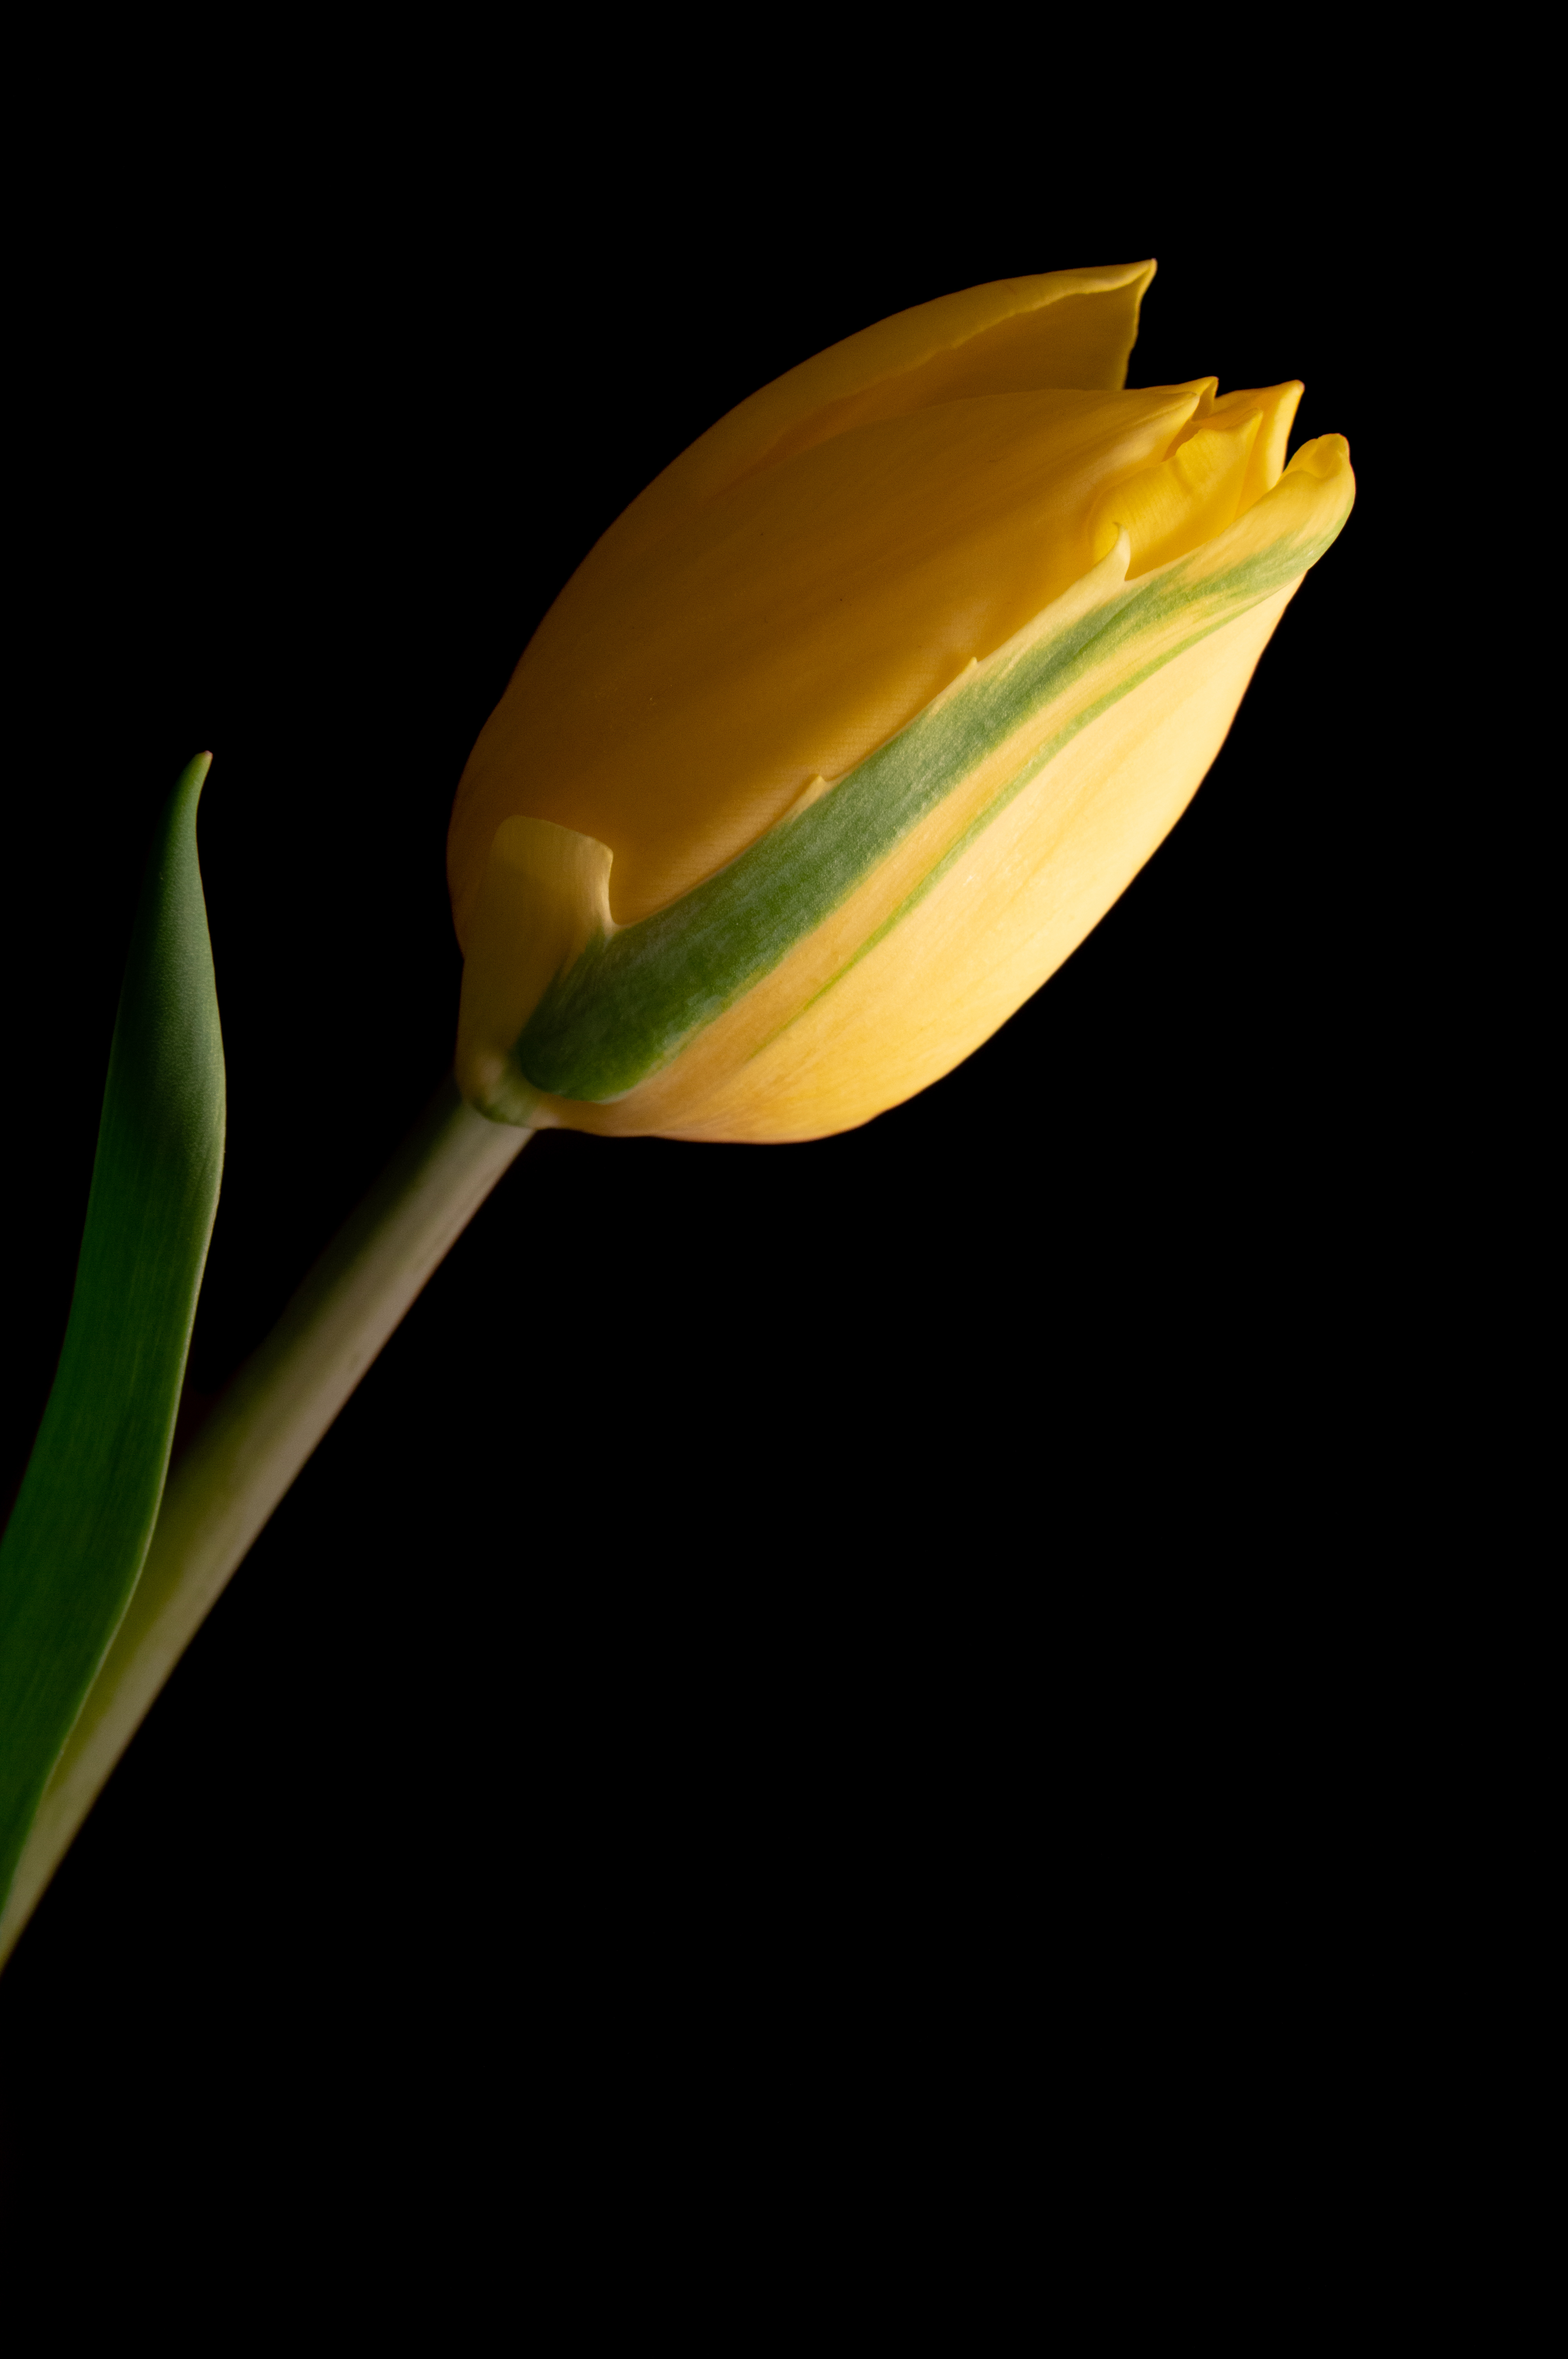


A shot of my lighting setup that turned out to be cool enough to keep 
My slightly improved lighting setup with a shoot-through reflector to soften the light. It’s ghetto, held between a light stand and a broken tripod. 


One Reply to “”