
I was really into photography back in June. It was an opportunity to photograph lots of different things to break the monotony of being home. It was also summer, which is when I typically get re-interested in photography. I shot a bunch of tulips and I loved them, but it was toward the end of the season and I was disappointed that the only color I could find was yellow. A couple weeks later I came across some pink tulips that were “on sale” in bouquets because they were about to die. I snapped them up and shot them in my studio.
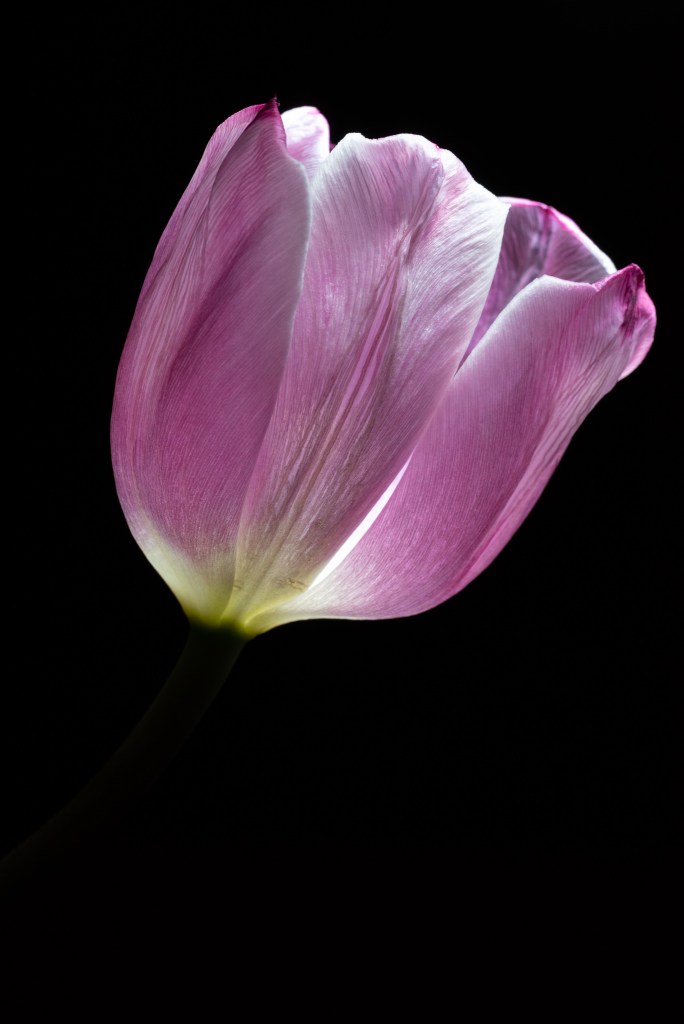
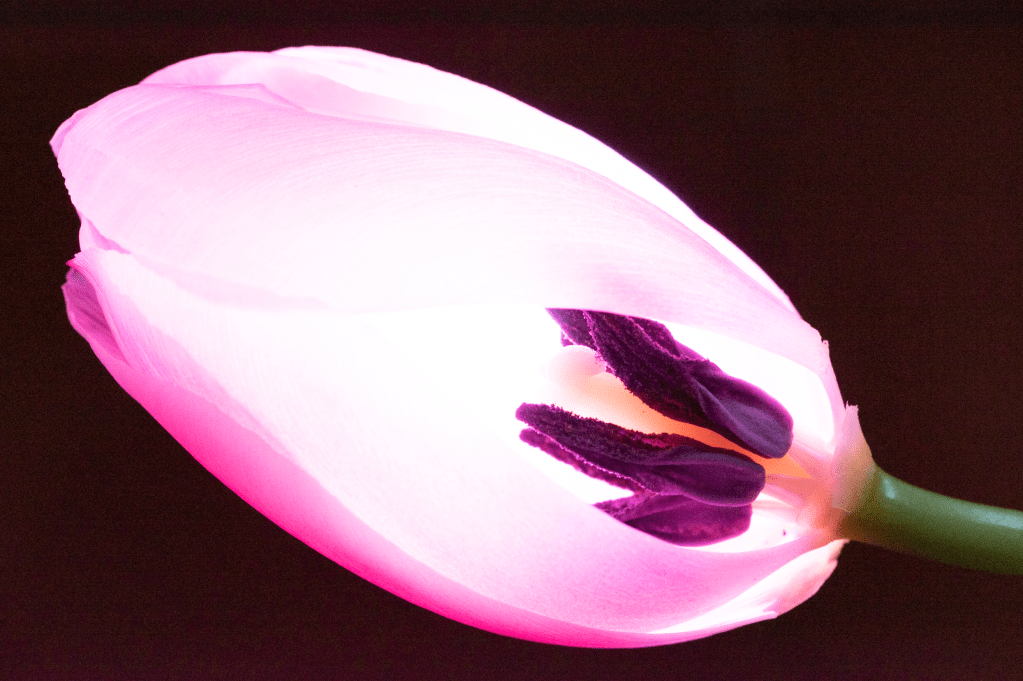
I waited almost two days before shooting these images and by that time the tulips were starting to die. Unlike the yellow ones, the petals didn’t fall off, the color deepened instead. They started turning transparent, which revealed the pistol, and shiny, which made them look silky.


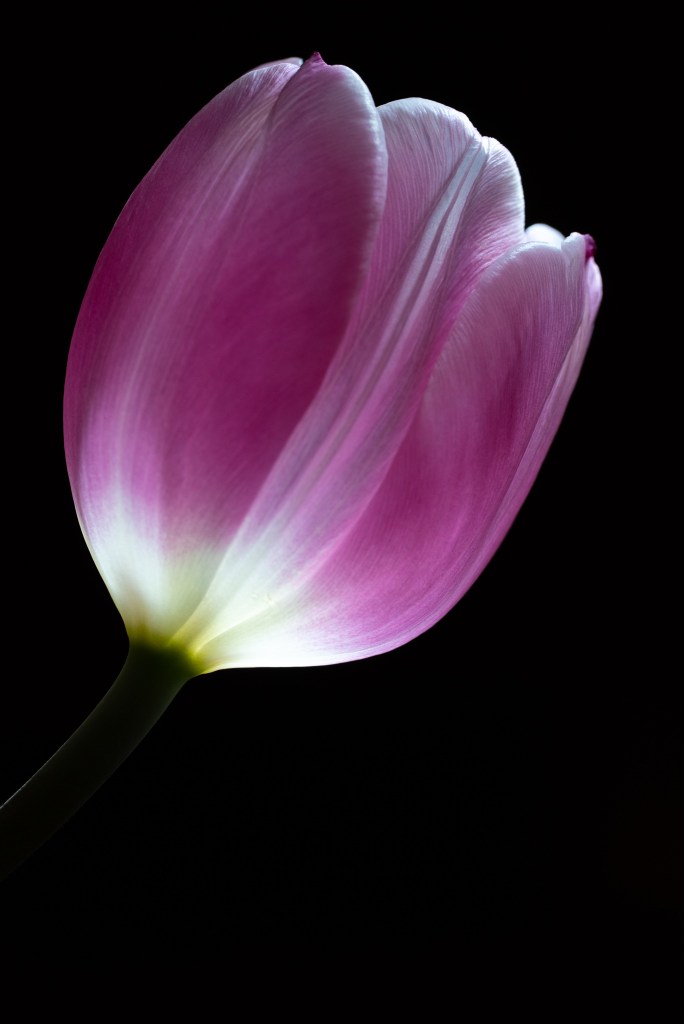
These three images were taken in my dining room with my 90mm macro. I set the camera to its max flash sync speed 1/200, ISO 100, and f/11 to start, then adjusted the ISO up or down in order to use a smaller aperture of f/16 or f/32 to ensure the image was entirely sharp. The flash was in remote mode off camera so that I could move it around and the camera was on a tripod. It took a lot of shots to get these images but I’m very happy with them. They required minimal post-processing and I didn’t use any brushing to make the background dark. I put a black foam board in the background and attached a piece of black craft foam to my flash to prevent the light from spilling away from the flowers and illuminating the background. Keeping the lights dim or dark in the room also helped the background stay black.
The third image was a bit of a random inspiration that I took as I was moving things around. I really enjoyed how the vase and leaves blurred into the background due to their distance from the camera. This was still at f/16, but it was very close up so the depth of field was still pretty narrow.
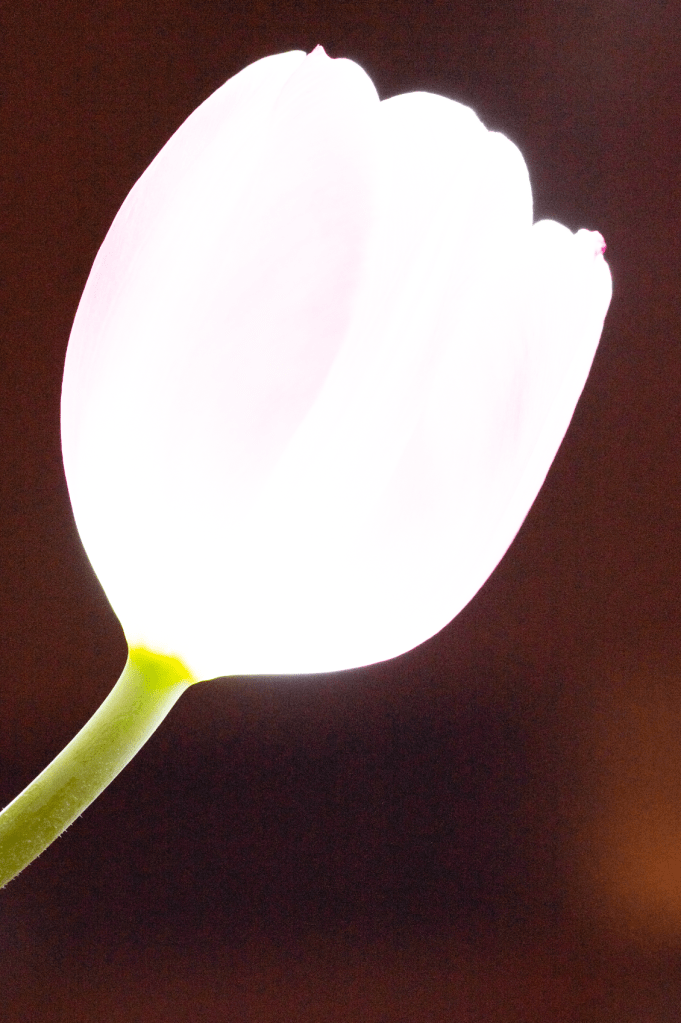
The next two images were a bit more experimental. I love the way flowers look when they are backlit and I always try to recreate it. In this case I was playing with a new LED light I bought but it was too large to backlight them cleanly. Still obsessed, I remembered that we had some crappy little LED flashlights in our utility drawer that looked small enough to direct the light to the flower without spilling out. I grabbed it and gave it a shot. These shots started to give me what I wanted: a black background and the impression that light was coming from inside the tulips. I positioned the flashlight up and to the right to shine the light into the flower. You can see a bit of a highlight at the top of the petals, which is OK but ruined my plan just a bit.
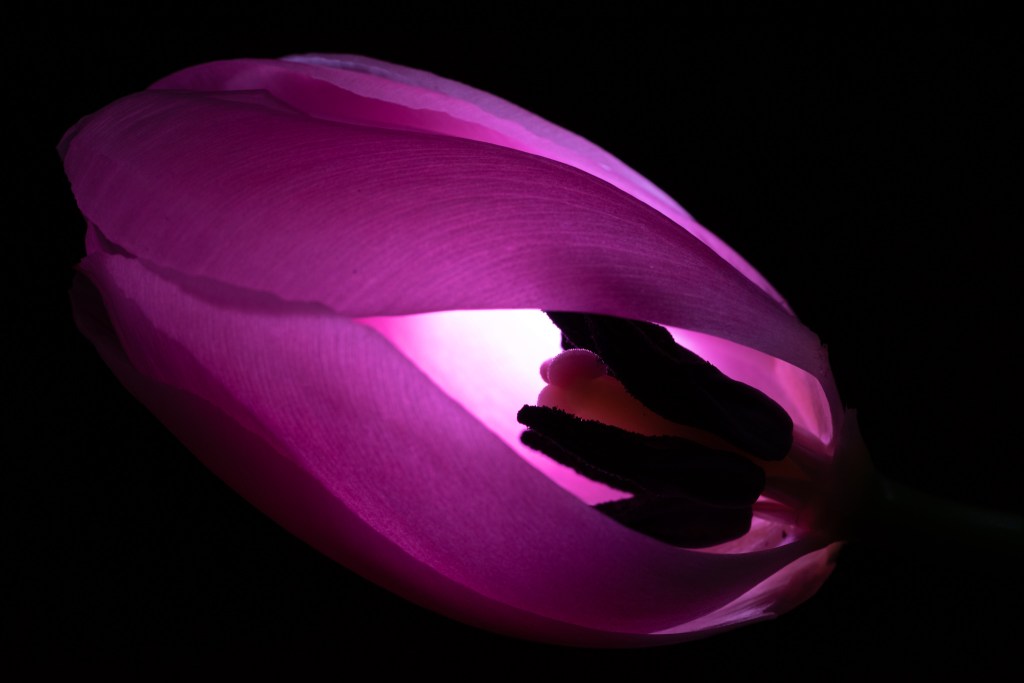
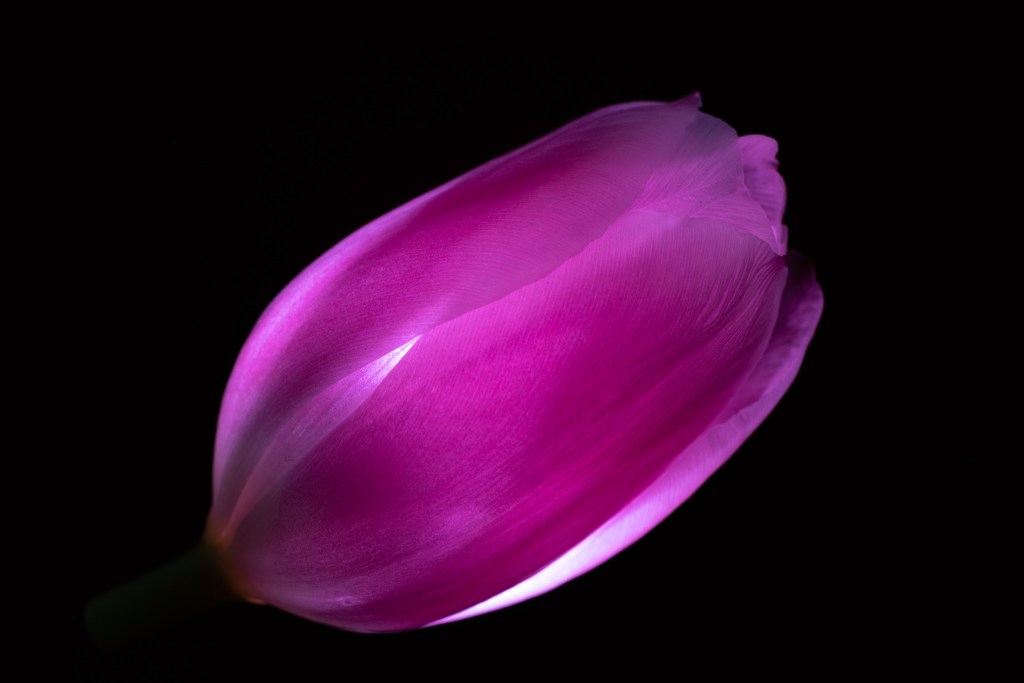
Lucky for me, my dying tulips saved the day when one of them started to fall off of its stem. I took it off and one of the petals started to loosen so I took some of those off too. I decided to go crazy and put the flower directly on top of the flashlight to see what I could get. The light was exactly the right size for the tulip and illuminated it as if it were inside without spilling out. I adjusted my shutter speed down to about 1/60 and ISO to 800 to get these shots. The background is actually my dining room table about 6 inches from the front of the lens. It’s completely black (with no post-process editing) because I exposed for the light from the flowers which is facing away from the table top. I did this in dim light, but it wasn’t completely dark in the room, just dark enough not to expose the table.
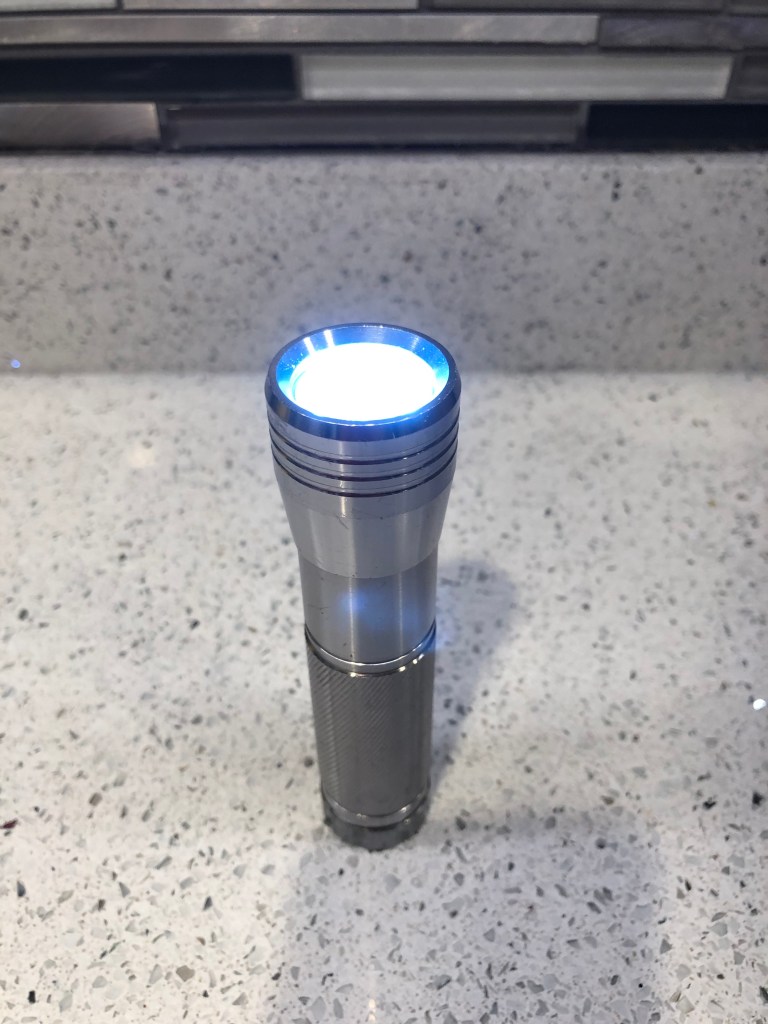
Some of my “secrets” are shown above. The cheap little LED flashlight that I used to light these images is on the left. The images on the right are edited versions of the other images in this post with the exposure increased by 5 stops to uncover the backgrounds. You can see that the background of the first flower is brown (my dining room table) and the background of the second image has black and brown in it (the back wall and a chair). A brightly lit subject + a dim background + a short exposure = a correctly illuminated subject and a black background. If the background isn’t quite black a bit of post-process editing can help darken it.
Anyway, just wanted to share the behind-the-scenes for some of these photos. It’s a cool technique and I’m really happy I tried it out. Results came out great, making these some of my greatest pictures.
